In this blogpost we will take a look at how to automate the process of updating the data in the Power BI report we created in part 2, without any need of a computer/server. We will manage to do this by scheduling a Runbook in Azure Automation.
I asume that you allready have signed up for a Azure subscription (if not thers a 30 day trial you can use for testing).
Four things is needed:
– Create automation account.
– Create credential asset.
– Import needed modules.
– Setup runbook with script and schedule it.
Create Automation Account
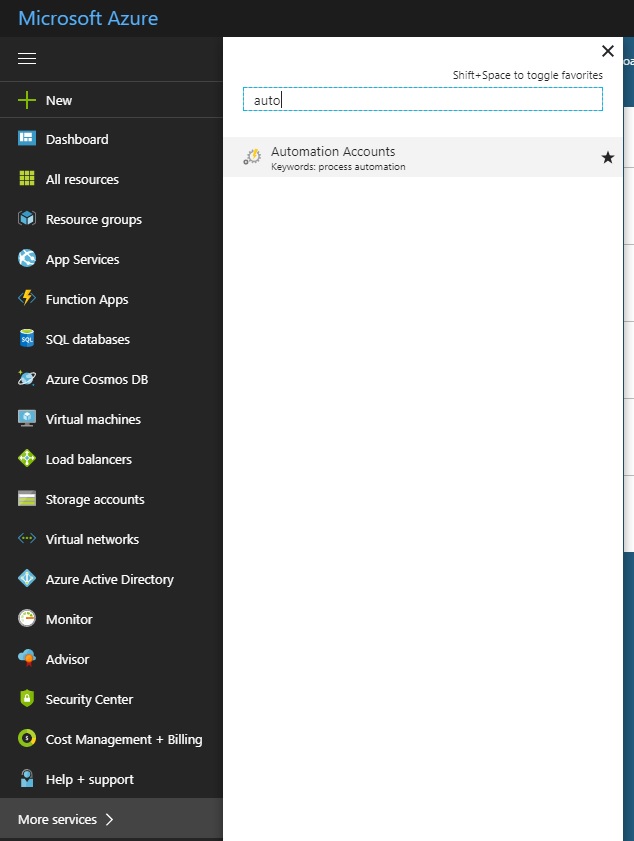
- Go to portal.azure.com.
- Select More services, and search for Automation Accounts, select it.
- Press +/Add.
- Set Name, Subrcription etc.., then Create.

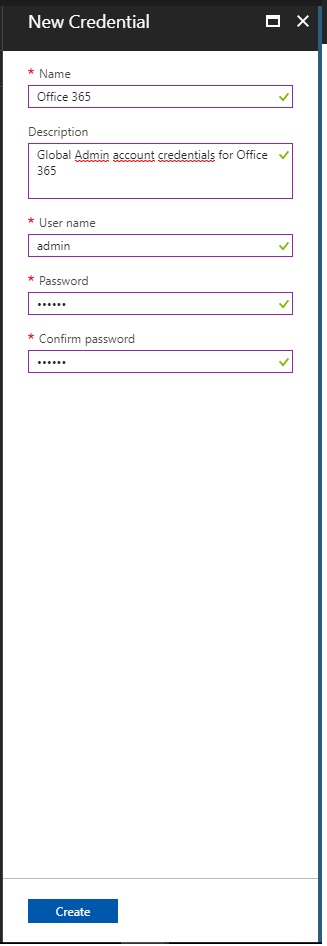
Create credential asset.
Now we need to create a asset were we can store the username and password needed for the script.
- Go to Automation Accounts and select your newly created account.
- Select Credentials, then +/Add a credential.
- Fill in the form and press create.
Import modules.
Now we need to import the needed moduels into Azure.
- Go to Automation Accounts and select your newly created account.
- Select Modules gallery and search for Microsoft.ADAL.PowerShell. Select the module.
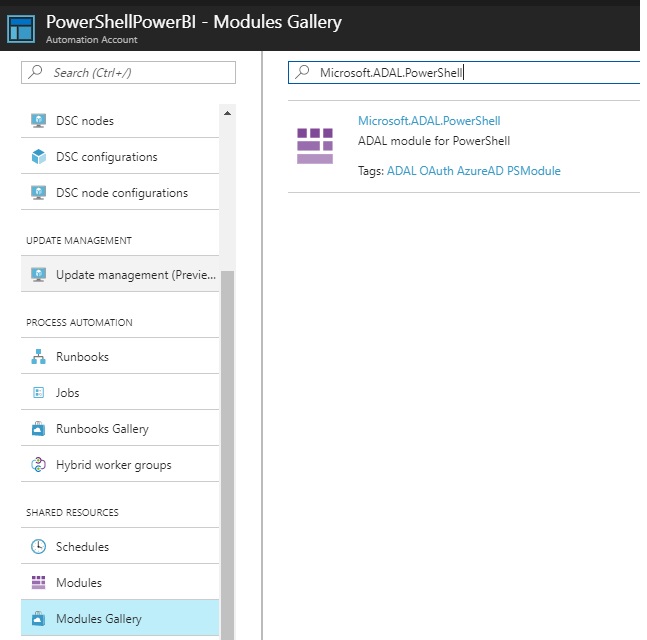
- Press Import.

- Now serach for and import Microsoft.PowerBI.PowerShell.
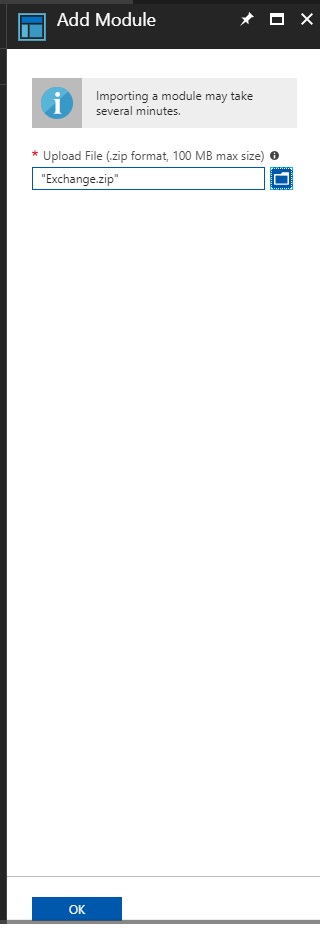
- Our script needs the Exchange Online module, but this is not to be found in the Moduels Gallery. We need to copy that from a comptuere where its installed.
Open a PowerShell window and enter: (Get-Module -ListAvailable *).path - Go to the path of the Exchange module and compress the content to a zip file.
- Go to Modules under your Automation Account and select +/Add a module.

- Select the path to where you stored the zip file and press OK.
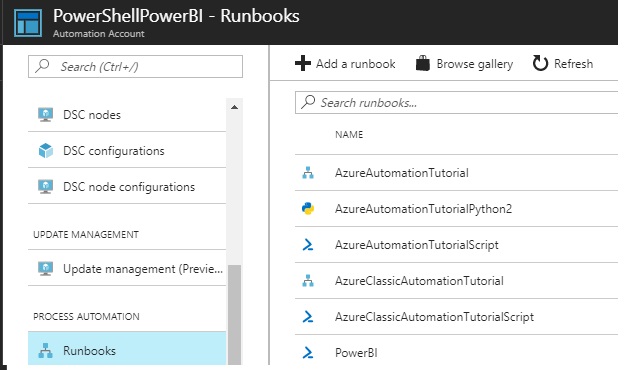
Setup Runbook with script.
- Go to Automation Accounts and select your newly created account.
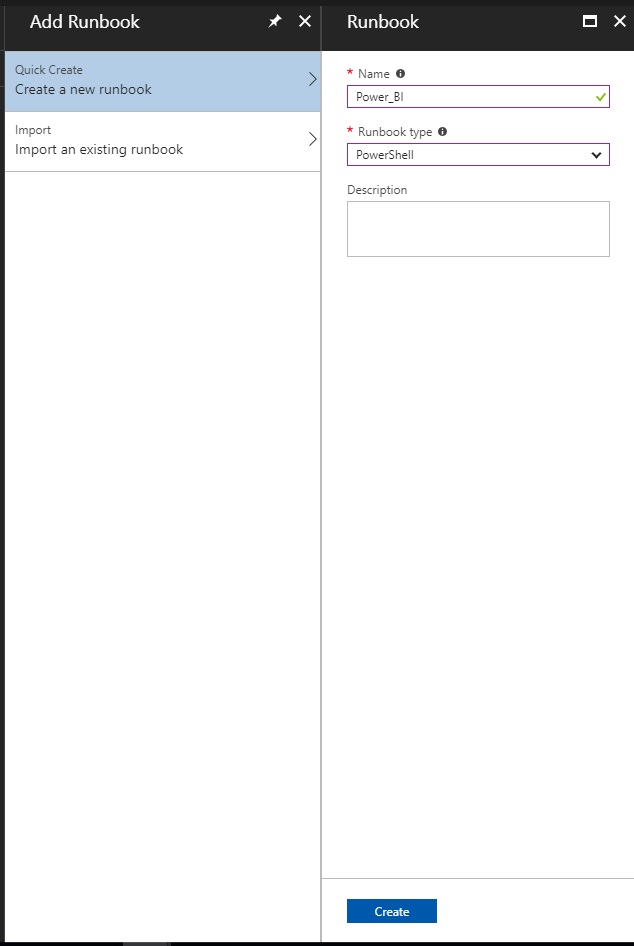
- Select Runbooks and press +/Add a runbook.
- Create a new runbook.
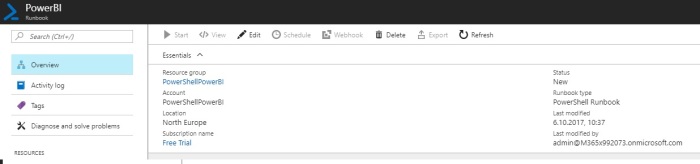
- Select your runbook.
- Press Edit.
- Select your runbook and enter the modified script under.
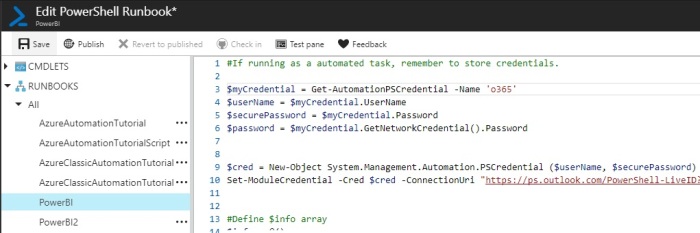
Script:
#If running as a automated task, remember to store credentials.

$myCredential = Get-AutomationPSCredential -Name 'o365'
$userName = $myCredential.UserName
$securePassword = $myCredential.Password
$password = $myCredential.GetNetworkCredential().Password

$cred = New-Object System.Management.Automation.PSCredential ($userName, $securePassword)
Set-ModuleCredential -Cred $cred -ConnectionUri "https://ps.outlook.com/PowerShell-LiveID?PSVersion=5.1.14393.187"

#Define $info array
$info = @()

#Get all groups
$Groups = Get-UnifiedGroup | Select-Object Alias,Accesstype,ManagedBy,PrimarySmtpAddress,Displayname,Notes,GroupMemberCount,GroupExternalMemberCount,WhenChanged

foreach($Group in $Groups) {

    Write-Host -Object "Number of Groups left to process $GroupsCount" -ForegroundColor Green
    $Members = Get-UnifiedGroupLinks -Identity $Group.alias -LinkType members
    $Owners = Get-UnifiedGroupLinks -Identity $Group.alias -LinkType owners
    $MembersCount = $Members.count
    $OwnerCount = $Group.ManagedBy

    foreach($Owner in $Owners){
        $Object=[PSCustomObject]@{
            Name = $Group.Displayname
            Group = $Group.Alias
            Email = $Group.PrimarySmtpAddress
            UserName = $Owner.name
            NumberOfMembers = $Group.GroupMemberCount
            MemberOrOwner = 'Owner'
            NumberOfOwners = $OwnerCount.count
            GroupType = $Group.AccessType
            ExternalMemberCount = $Group.GroupExternalMemberCount
            WhenChanged = $Group.WhenChanged | Get-Date -Format 'yyyy.MM.dd hh:mm'
            Description = $Group.Notes
            }#EndPSCustomObject
        $info+=$object
    }

    foreach($Member in $Members){
        $Object=[PSCustomObject]@{
            Name = $Group.Displayname
            Group = $Group.Alias
            Email = $Group.PrimarySmtpAddress
            UserName = $Member.name
            NumberOfMembers = $Group.GroupMemberCount
            MemberOrOwner = 'Member'
            NumberOfOwners = $OwnerCount.count
            GroupType = $Group.AccessType
            ExternalMemberCount = $Group.GroupExternalMemberCount
            WhenChanged = $Group.WhenChanged | Get-Date -Format 'yyyy.MM.dd hh:mm'
            Description = $Group.Notes
            }#EndPSCustomObject
        $info+=$object
    }

    $GroupsCount--

}

#Connects to PowerBI
Connect-PowerBI -AuthorityName m365x992073.onmicrosoft.com -ClientId 'fa7af8a7-56ad-429f-8f57-76b1bd2087e1'  -UserName $username -Password $password

#Removes old data before updating with new data.
Remove-PowerBIRows -DataSetId '025bc397-b8a2-4a3e-bca1-7502b4e50e33' -TableName 'GroupReport'

#Adds new data.
Add-PowerBIRows -DataSetId '025bc397-b8a2-4a3e-bca1-7502b4e50e33' -TableName 'GroupReport' -Rows $info
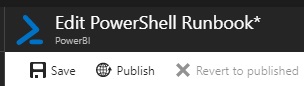
7. Select Save and then Publish.
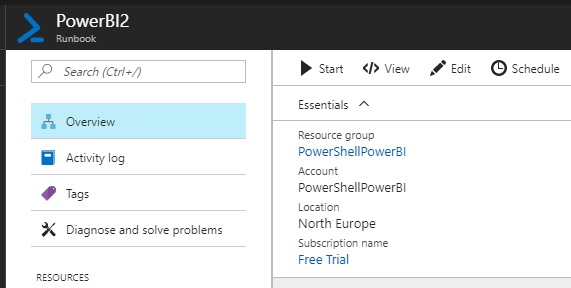
8. Go to overview and select Schedule.
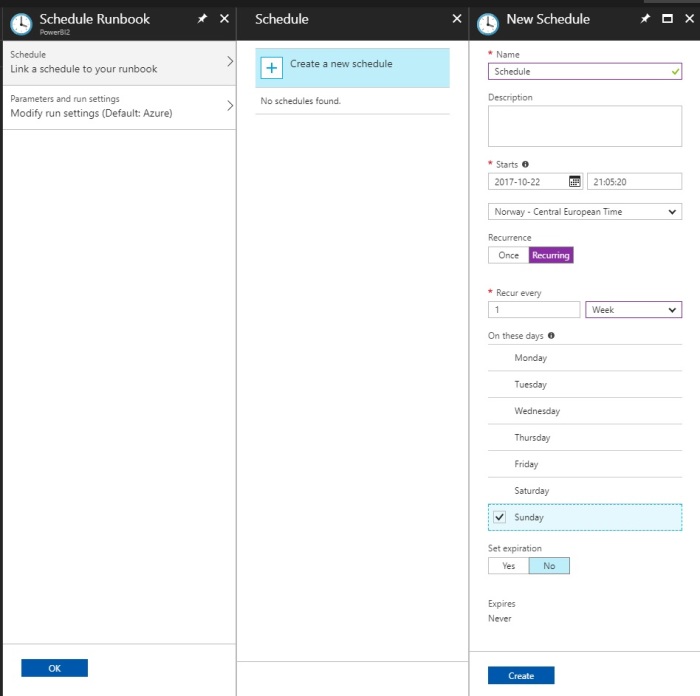
9. Select Link a schedule to your runbook, Create a new Schedule, fill out the details then select Create.
10. You are now good to go. You can get some statistics about the Job if you go back to Overview.
