![]()
Here are my step-by-step notes and experience from when I moved a Pexip environment to its own video domain seperate from Skype for Business. Before this I had moved the customers Skype for Business hybrid deployment to Online only. Before moving Skype to the cloud, the federation goes trough the Skype Edge. After moving to Skype Online the federation with Pexip breaks, and thats why you will need a seperate domain for video interop.
You need to register new domain for your Pexip system and get a new certificate for your Pexip Edge nodes.
DNS changes
You need the following records in DNS for your new external video domain.
| A | IP |
| PexipConfDMZ.contosovideo.com | Edge node IP |
| PexipEdgeNode01.contosovideo.com | Edge node IP |
| SRV | FQDN | IP | Port |
| _h323cs._tcp.contosovideo.com | Pexipconfdmz.contosovideo.com | Edge node IP | 1720 |
| _h323ls._udp.contosovideo.com | Pexipconfdmz.contosovideo.com | Edge node IP | 1719 |
| _sip._tcp.contosovideo.com | Pexipconfdmz.contosovideo.com | Edge node IP | 5060 |
| _sips._tcp.contosovideo.com | Pexipconfdmz.contosovideo.com | Edge node IP | 5061 |
| _sipfederationtls._tcp.contosovideo.com | Pexipconfdmz.contosovideo.com | Edge node IP | 5061 |
| _pexapp._tcp.contosovideo.com | Pexipconfrp.contosovideo.com | Remote proxy IP | 443 |
You can verify your DNS settings by entering your domain here.
Updating the certificate
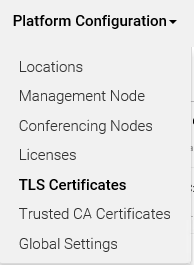
In the Pexip Management node, go to Platform Configuration -> TLS Certificates
- Add TLS Certificate. You can also use Utilities -> Certificate Signing Requests if you created your certificate request there.

- Follow the instructions, and after the certificate is added you go back the TLS Certificates overview.
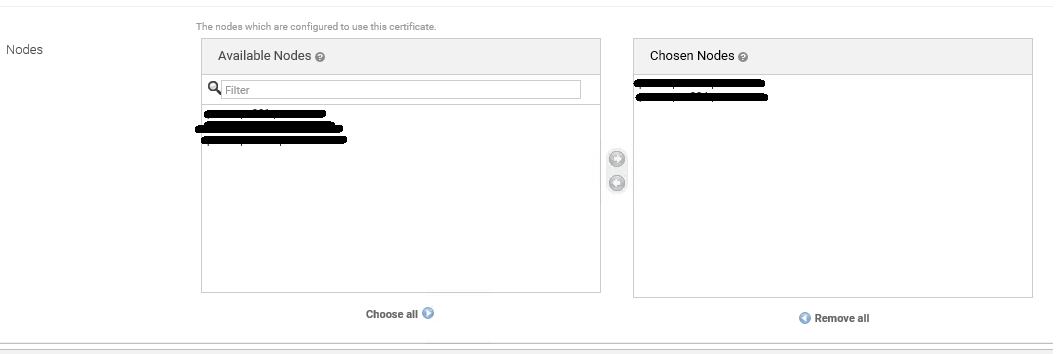
- Open the newly added certificate.
- Scroll down to Nodes and move your Edge nodes over to “Chosen Nodes” and Save.
Remember to update the certificate on the reverse proxy also. There’s no way in the management node menus to see if you have a reverse proxy.
Pexip have a great step by step guide here.
Update SIP domain
- Now go to Platform Configuration -> Global Settings.
- Scroll down until you find Pexip Infinity Domain (for Lync/Skype for Business integration).
- Change from you Skype for Business domain to your new Pexip video domain. We do this so we are able to make a call from Skype for Business to [email protected].

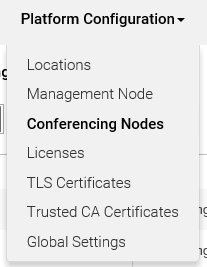
- Now go to Platform Configuration -> Conferencing nodes.
- Open the Edge node, and scroll down to SIP TLS FQDN, where you enter the new external FQDN for your Edge node.

If you scroll to the bottom of the page you will see a Domain field that you cannot edit.
You don’t need to change this, as that domain is for internal reference.
Updating VMR alias
- Remember to add [email protected] as alias to all your virtual meeting rooms.You find your VMRs under Service Configuration -> Virtual Meeting Rooms.
- Open your meeting room, and scroll down to Alias, and enter the new alias, then save.


No more trusted application
One thing to remember when you have Skype Online, is that you can’t setup Pexip as a trusted application as you did on-premises. So now you can’t from the Pexip app or conference join website enter a Skype meeting ID and join. You will have to invite/drag-drop this endpoint into your Skype meeting, the Skype meeting will then place an outbound call towards this address, and as long as that call routes to Pexip, Pexip can then gateway the call to the relevant video device.
If loosing this function is a huge loss for you, then you can leverage a third-party solution as Synergy Sky.
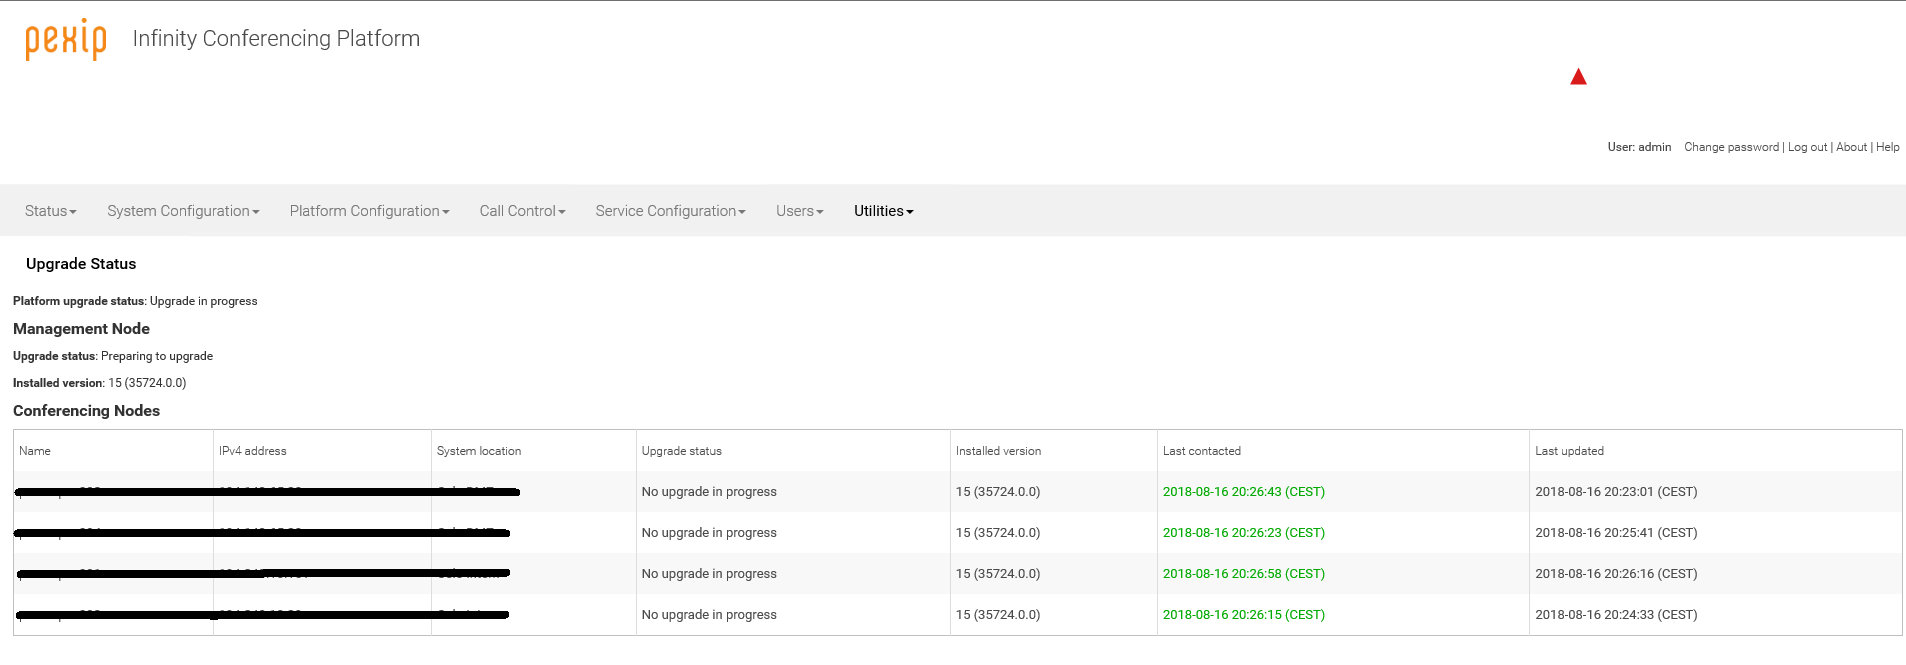
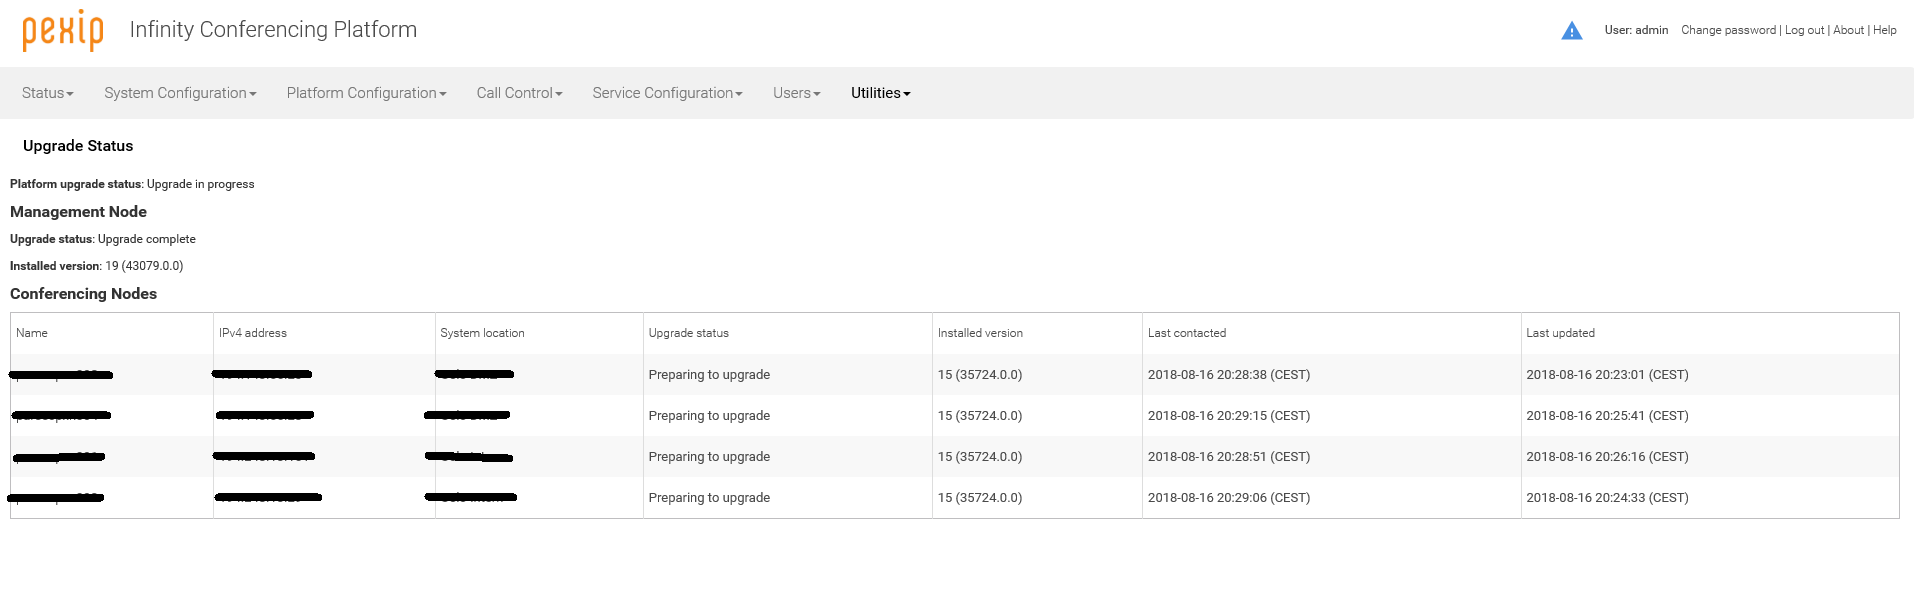
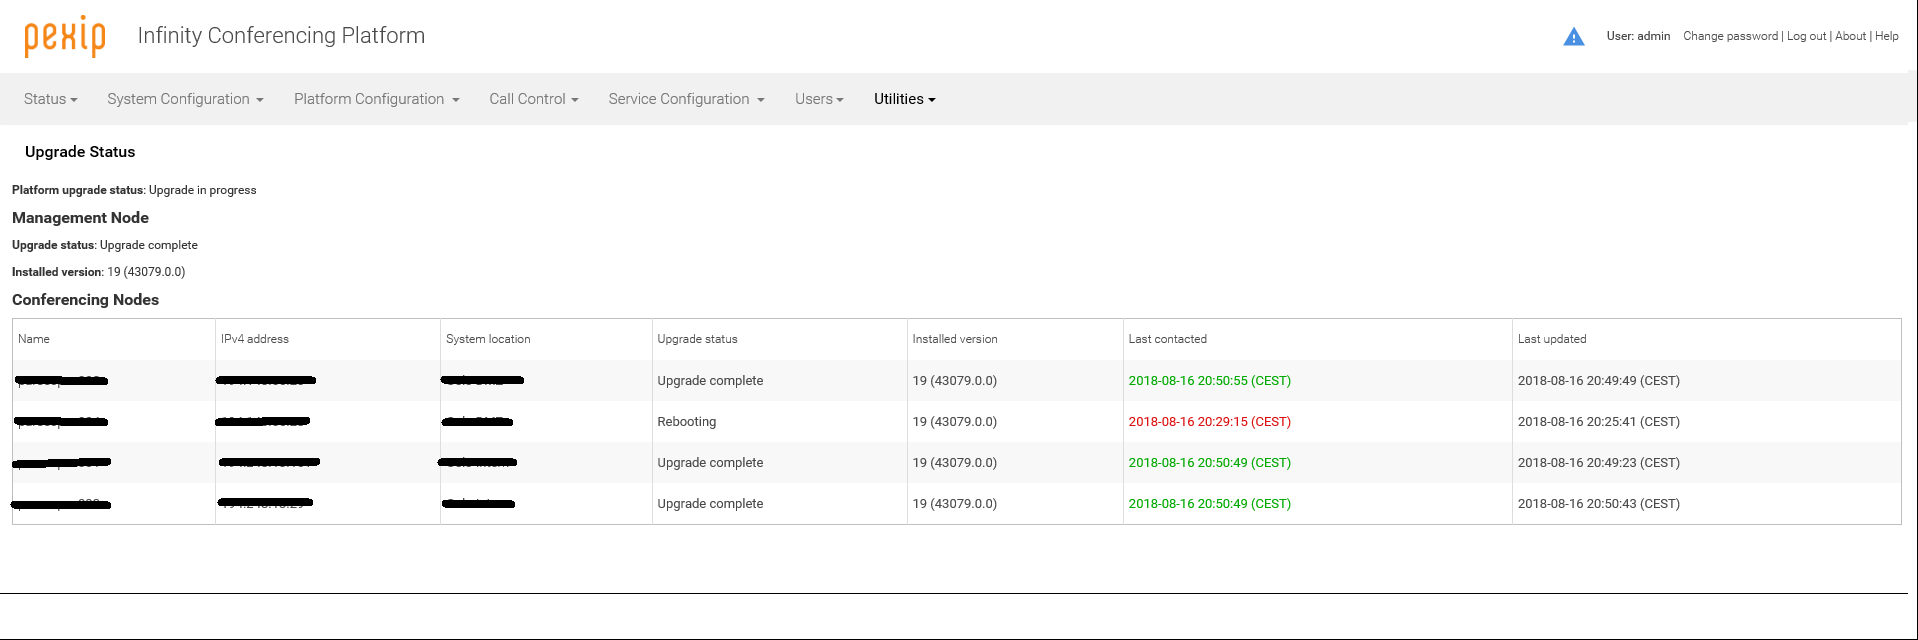
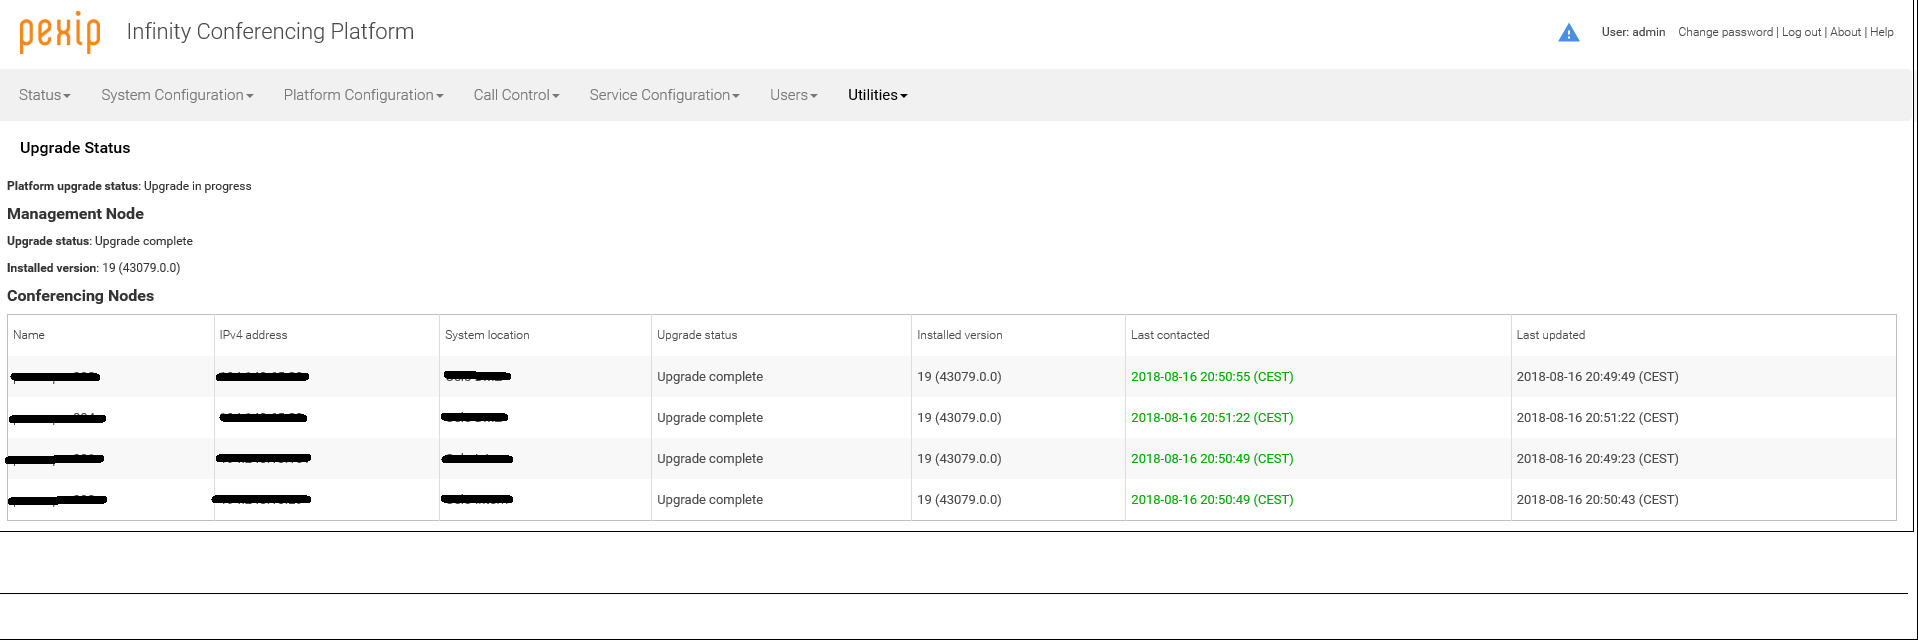
As a last step to make sure your system is ready for a new day, is to upgrade your Pexip deployment.
If you are on version 15 and above, you are in for treat (think it was from version 15), the nodes are upgraded simultaneously. You don’t have to wait for one and one node to complete.
This is by far the smoothest upgrade process I have ever encountered.
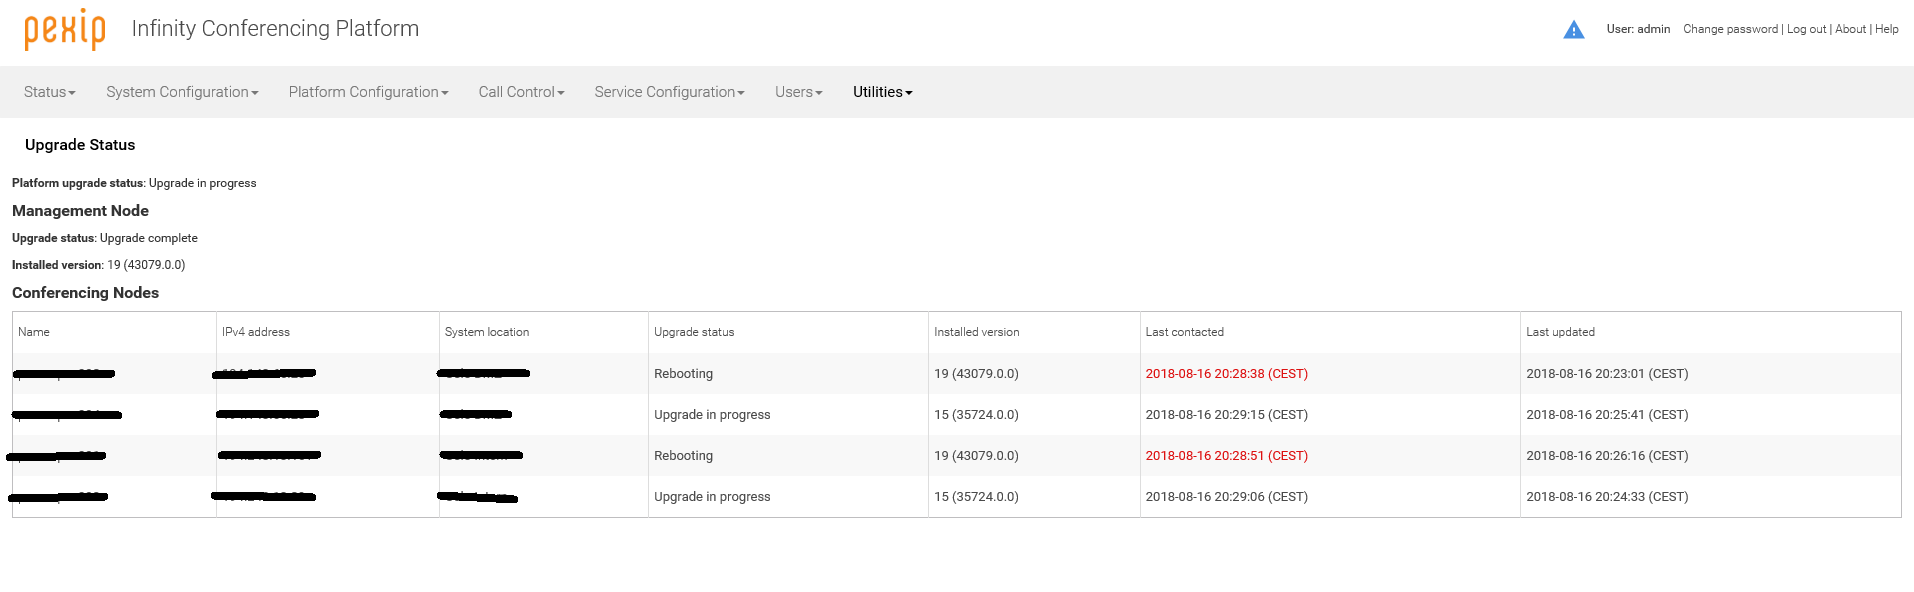
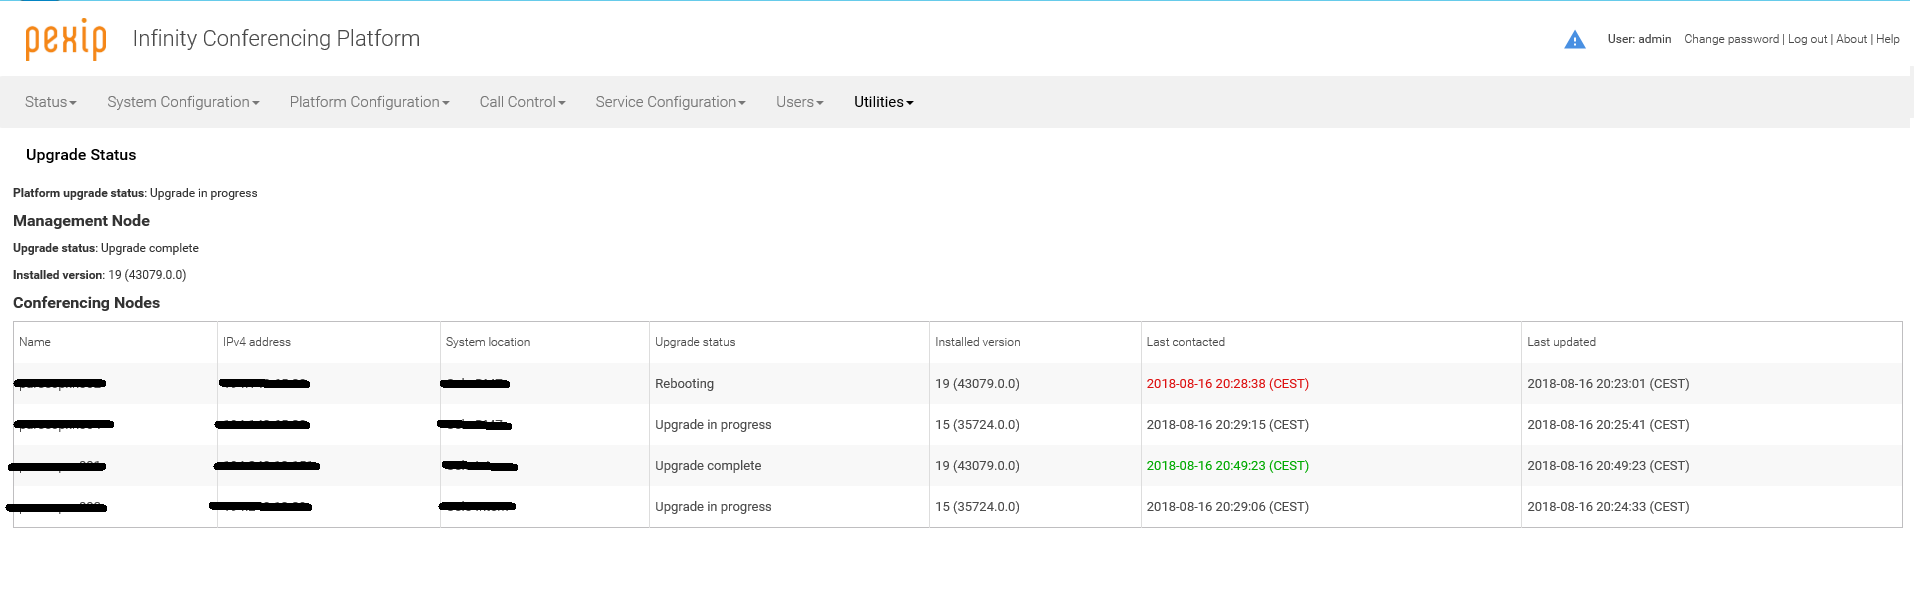
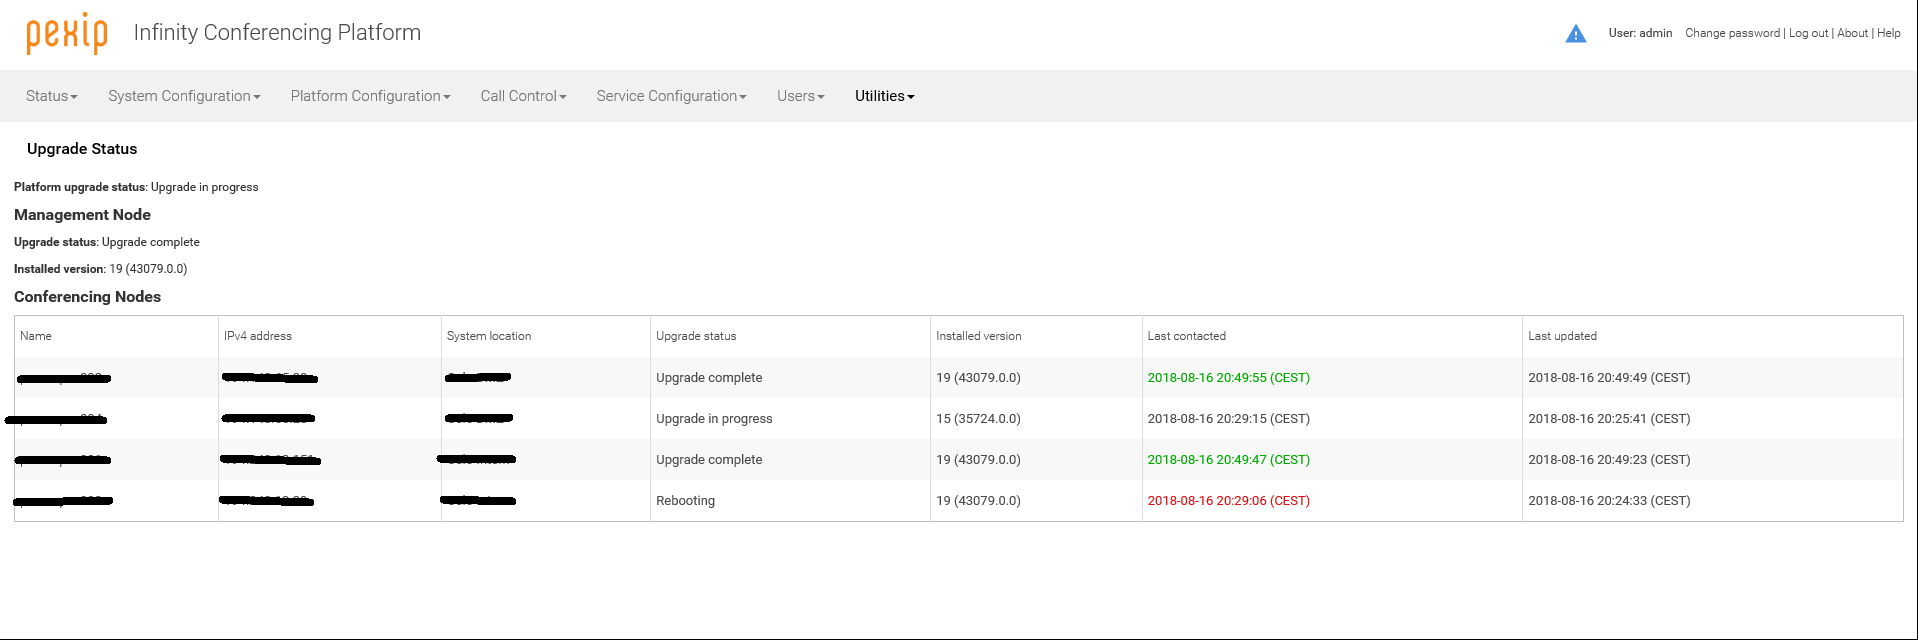
Here is how you upgrade and under you can see screenshots from a upgrade I did:

Move to Skype Online checklist
- Move every user to online.
- Stop Skype for Business services on your on-premises servers.
- Change internal and external DNS pointers.

THANKS!!!!!
LikeLike