When using Azure Automation one of the big questions have always been, what do we do about Runbooks that needs access to Exchange Online PowerShell? If you were reckless security wise you could always have an admin account with basic auth and no MFA. The second best thing, but a hassle, is to setup a Hybrid Worker and enforce conditional access for the Exchange admin account. You would then set that this Exchange admin account can only be run from the this specific Hybrid Worker based on IP address.
So how do we do this both securely and less bothersome? Exchange Online PowerShell V2 introduced a parameter called -CertificateThumprint and -AppID. Conveniently if you create an Azure “Run as account”, you get an Azure App for that service principal that contains a certificate. No need to generate the certificate yourself. This App you can give the Exchange.ManageAsApp application right. My colleague Jan Ketil Skanke wrote a blog post about BitLocker recovery, where he used a certificate to authenticate in the Azure PowerShell module. This made me look into if it was possible for Exchange Online. You also need to add the “Run as account” service principal to the Exchange admin role. Now you are able connect to Exchange Online both easy and securely.
Bellow you have all the steps needed to set this up!
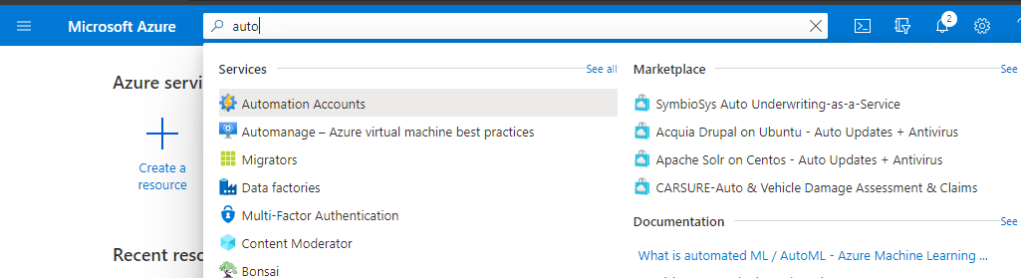
Go to portal.azure.com and search for “auto”, then click Automation Accounts.
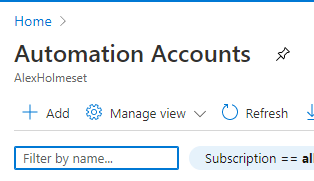
Click ‘Add’.
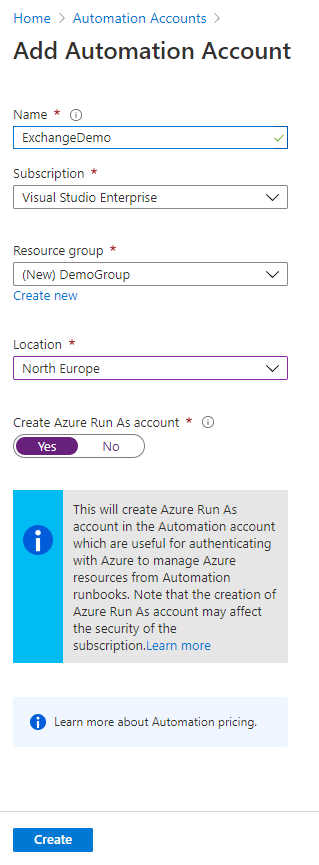
Fill out this form, and make sure you select ‘Yes’ for creating an ‘Azure Run As account’. Then click ‘Create’.
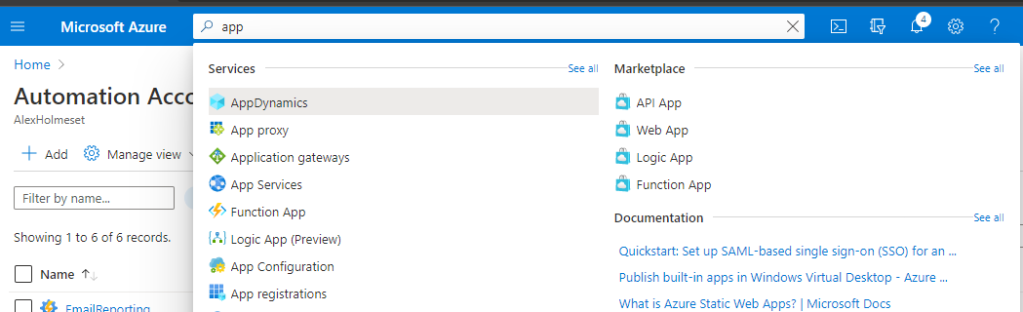
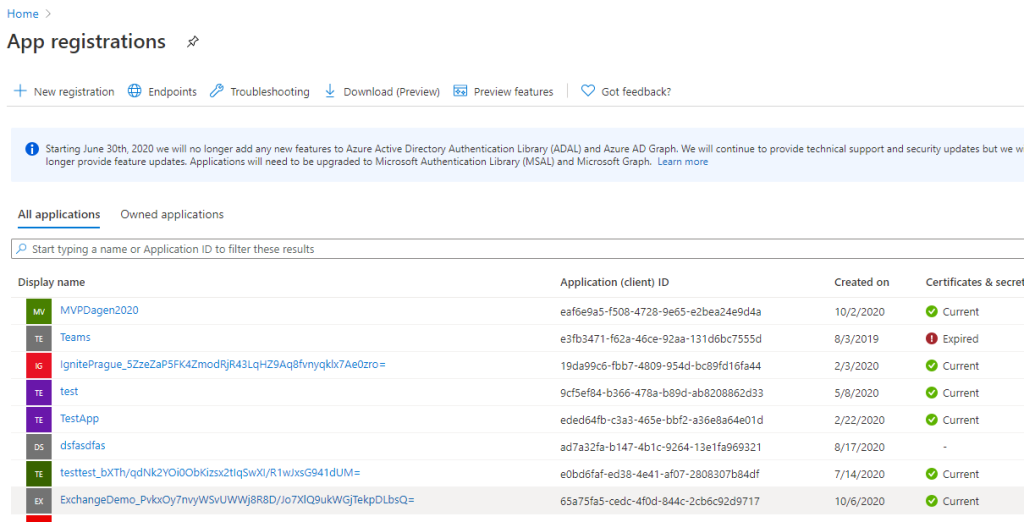
Search for ‘app’ and select ‘App registrations’.
Open your service principal application. In this case ‘ExchangeDemo_…..’.
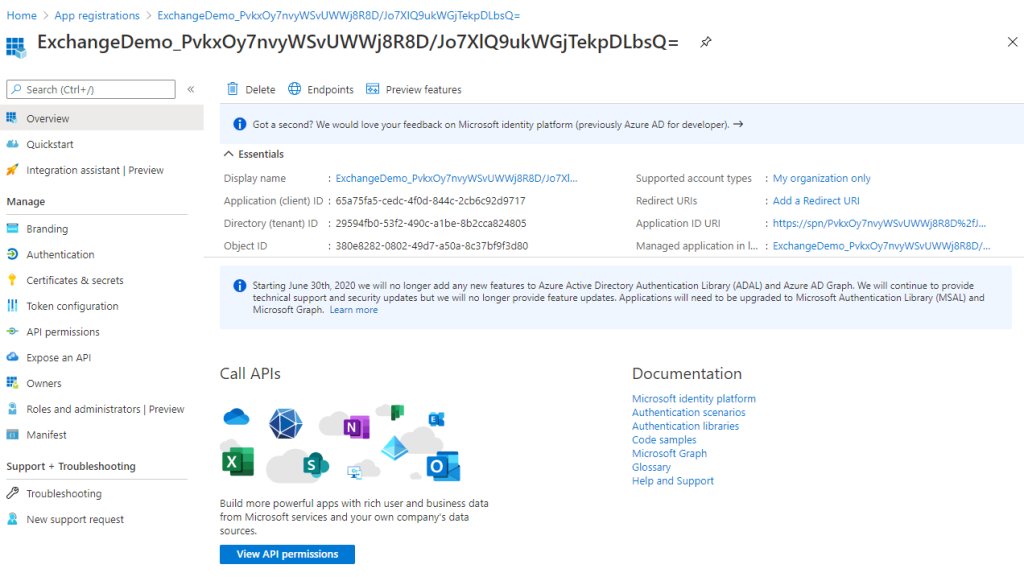
Here you see the service principal application as any other Azure App. Copy the Application (client) ID.
Open PowerShell and log on to AzureAD with Connect-AzureAD and run the following script:
$AppID = "Enter your Application (Client) ID here"
$ExchangeOnlineObjectID = (Get-AzureADServicePrincipal -Filter " AppId eq '00000002-0000-0ff1-ce00-000000000000'").ObjectID
$ExchangeRightsID = "dc50a0fb-09a3-484d-be87-e023b12c6440"
$ServicePrincipalID = (Get-AzureADServicePrincipal -Filter "AppId eq '$AppID'").ObjectId
New-AzureAdServiceAppRoleAssignment -ObjectId $ServicePrincipalID -PrincipalId $ServicePrincipalID -ResourceId $ExchangeOnlineObjectID -Id $ExchangeRightsID
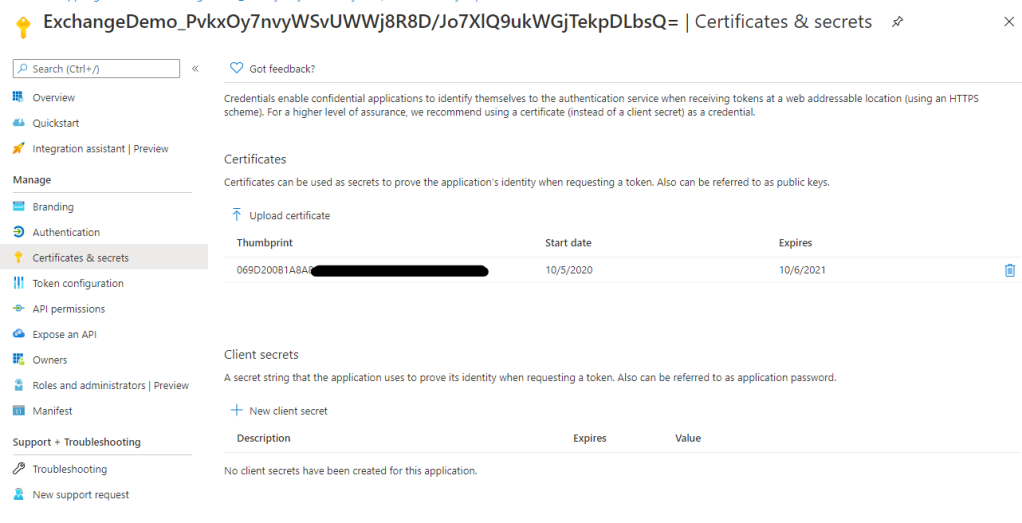
If you look at ‘Certificates & secrets’, you will see what there is already a certificate in place. This will expire in a year, so you will need a routine in place to renew these certificates. The renewal is done inside the Automation Account. I will show you this at the end.
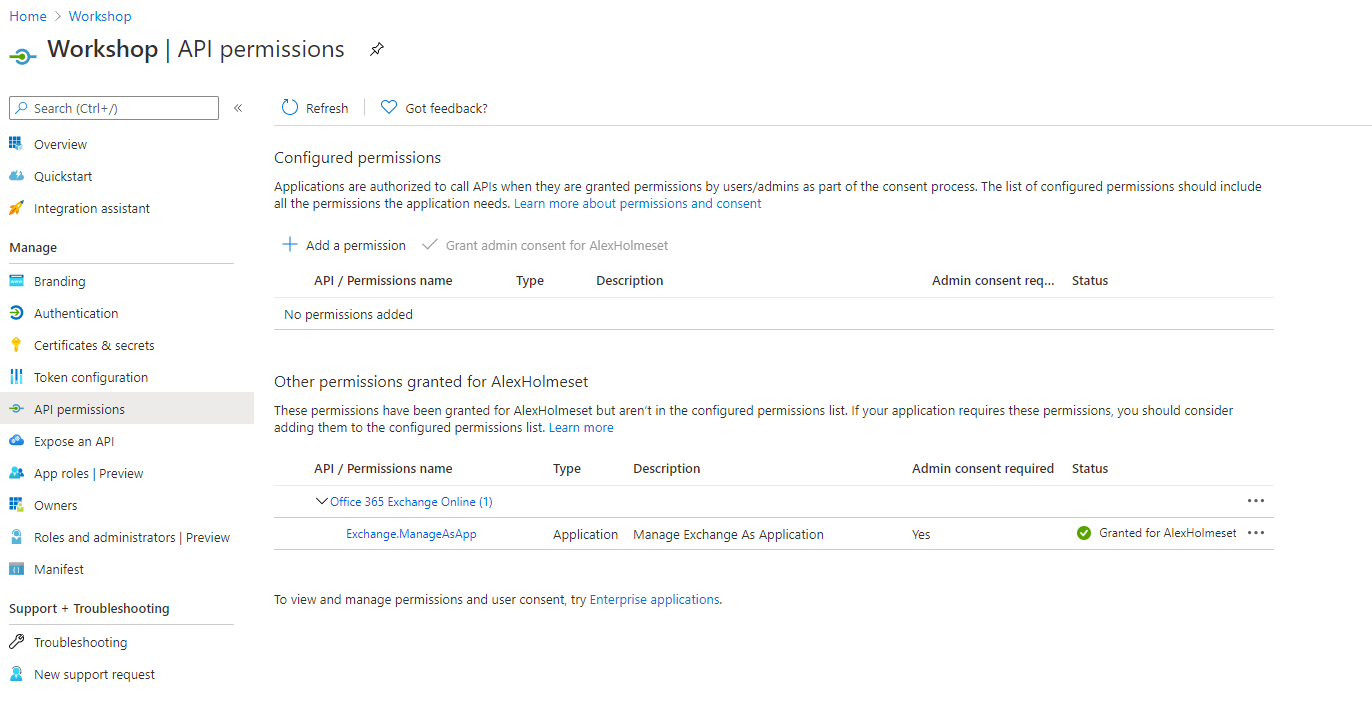
Go to ‘API permissions’ and here you should see you have the Exchange.ManageAsApp permission.
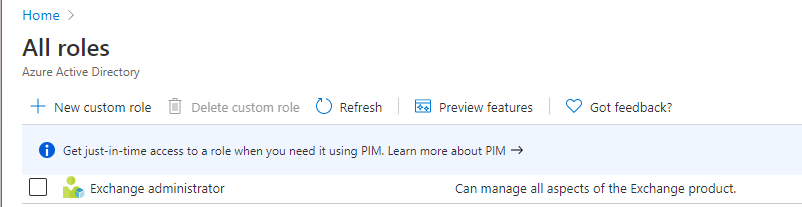
Search for ‘role’ and select ‘Azure AD roles and administrators’.

Open the ‘Exchange administrator’ role.
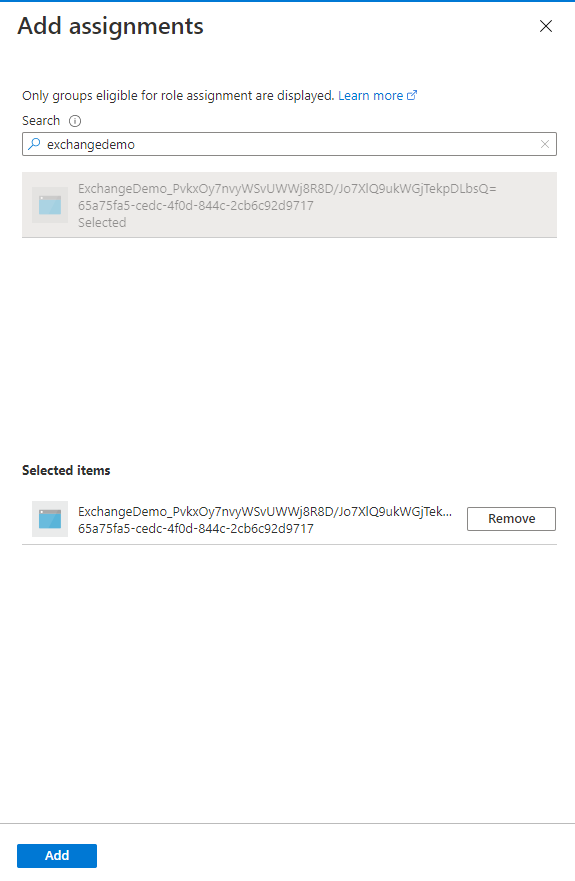
Click ‘Add assignments’.

Search for you ‘Run as account’ service principal, select it and click ‘Add’.
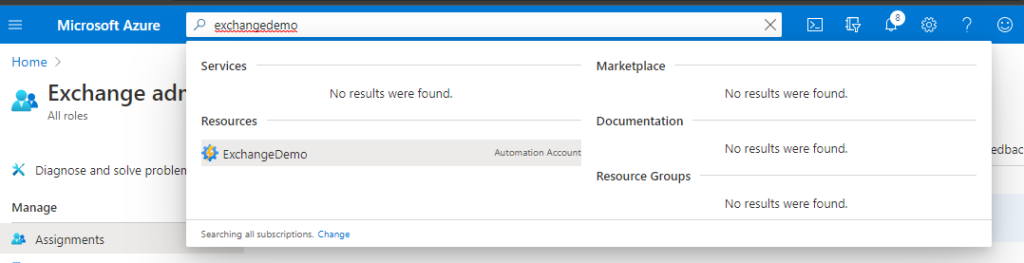
Go to your Automation Account.
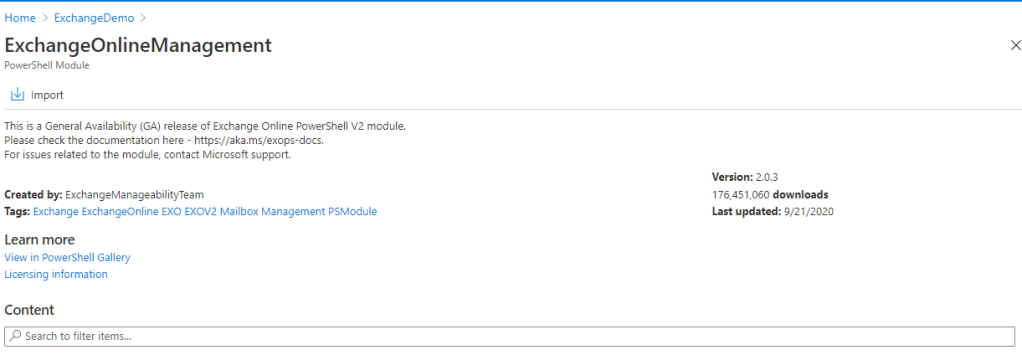
Go to ‘Modules gallery’ and search for ‘exchange’. Select ‘ExchangeOnlineManagement’.
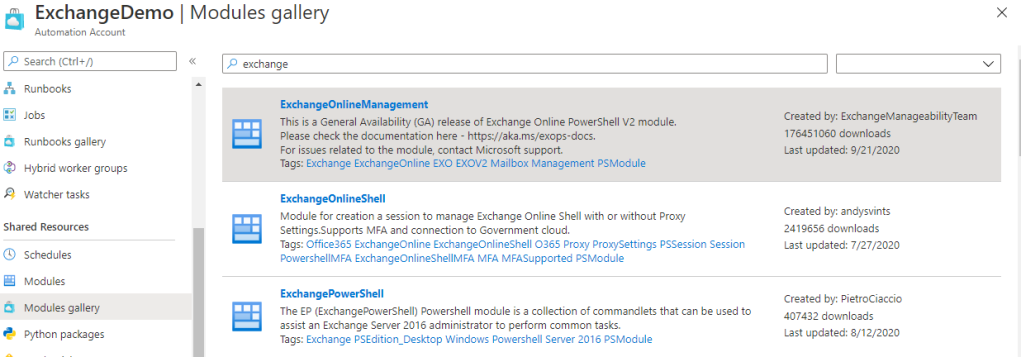
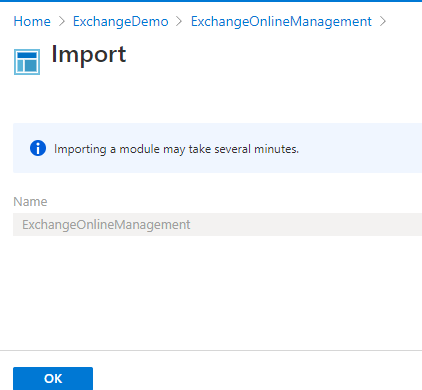
Click ‘Import’.
Click ‘OK’. After a couple of minutes the module should be imported to your Automation Account. You can confirm this to see if its listed as available under the ‘Modules’ menu.
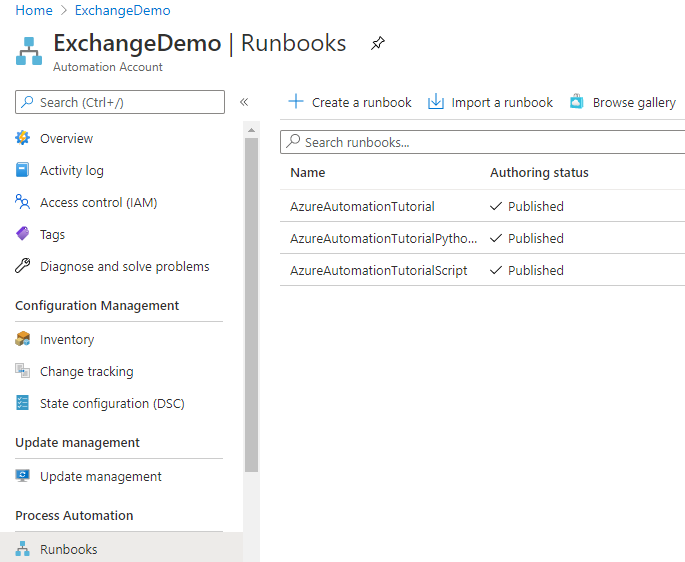
Go to ‘Runbooks’ and click ‘Create a runbook’
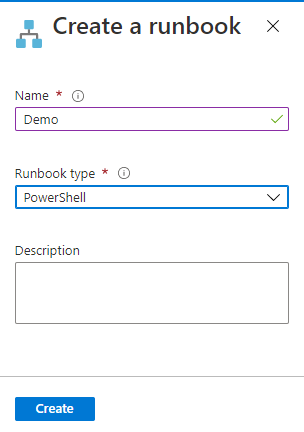
Give it a name and set PowerShell as runbook type. Click ‘Create’.
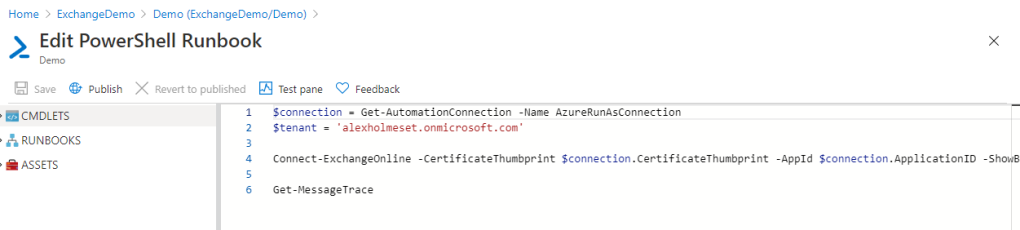
Use the following to get a automation connection, extract certificate thumbprint / app id and connect to Exchange Online. At the end i put a Exchange Online PowerShell command to test the connection.
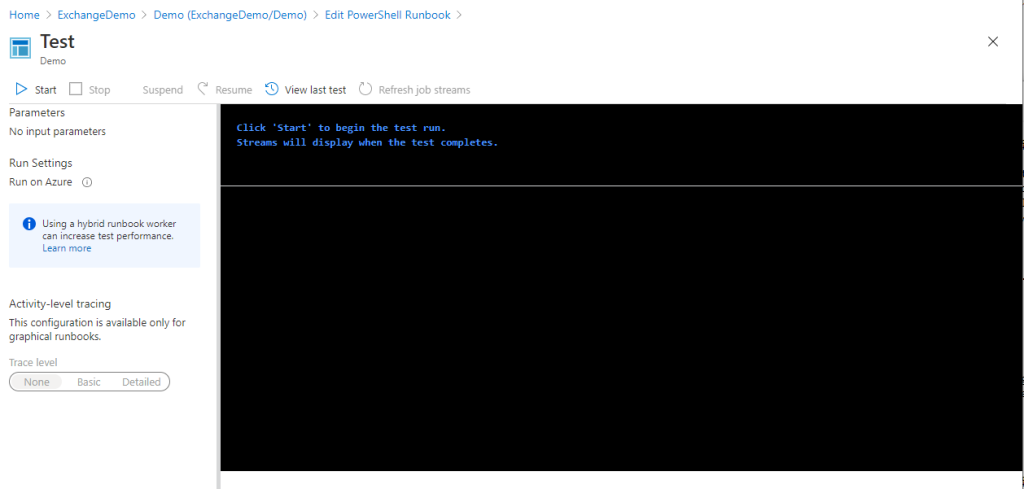
Click ‘Test pane’.
Click ‘Start’.
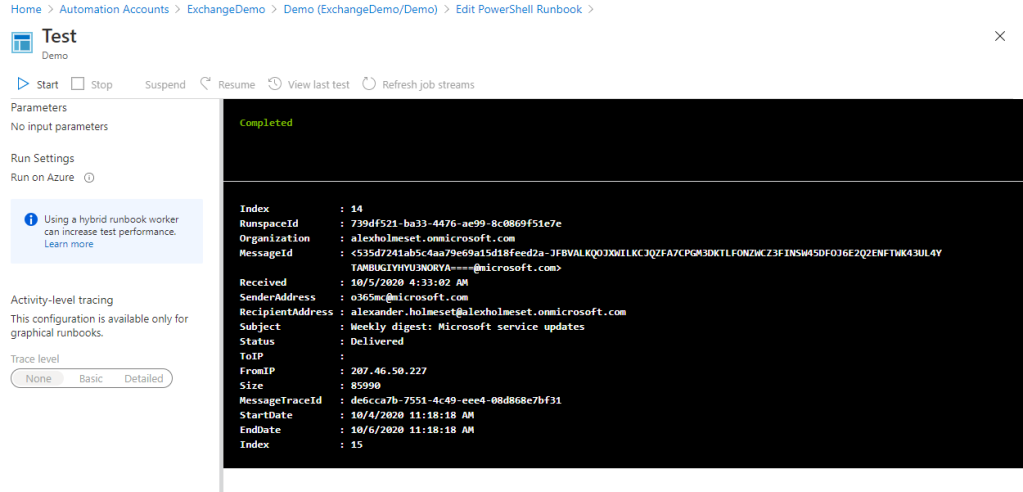
When is done running, you see output from the get-messagetrace command. This is confirmation that you were able to connect!
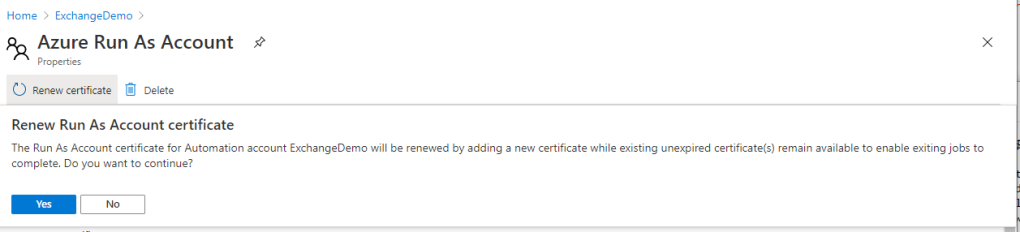
Now for the bonus content. How do you renew the certificate? You open your Automation Account and go to the ‘Run as accounts’ menu.
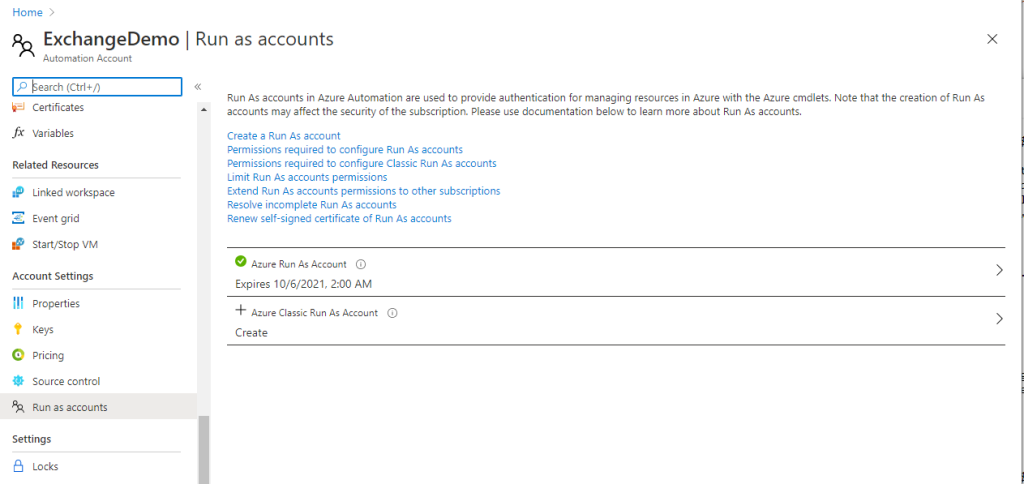
Open active ‘Azure Run As Account’. Click ‘Renew certificate’ and ‘Yes’.
Automating the certificate renewal is a story for another day.

Excellent article. I will try this out shortly in my lab tenant.
Have one question though: how do you create the ExchangeDemo app registration ? This is not covered here, right ?
Thanks!
LikeLike
[…] run into. Today you actually can do most things through Graph API or Exchange PowerShell through certificate-based authentication. The newest preview of Exchange Online PowerShell 2.0.6-preview7 even lets you use managed identity, […]
LikeLike
I have used this site and these script to connect with EXO. However my question is at the end of the script after script has been run do we need to end the session or connection to EXO? This way script ends gracefully..?
LikeLike
You could do that, and thats a great idea. There is a limit of how many connections you can have, and expiry takes a bit of time.
Think you can use Disconnect-ExchangeOnline at the end of the script.
LikeLike
Hi Alex, I am getting this error after following your instructions. The term ‘Update-ModuleManifest’ is not recognized as the name of a cmdlet, any ideas?
LikeLike
Looks like some others have the same issue:
https://learn.microsoft.com/en-us/answers/questions/1179786/exchangeonlinemanagement-authentication-broken-in
https://learn.microsoft.com/en-us/answers/questions/1182186/azure-runbook-issue
Some have used the preview version aslo, which works. Ping me if your not able to install the preview or older version. I cant find it right now, but i had a guide on how to install a specific version of a module in azure automation.
LikeLike