In this blog post, you will learn how to add a blog/website as a content provider in Microsoft Viva Learning and have all new posts to be automatically added to your learning repository. We achieve this by using Logic Apps with an RSS feed monitoring connector and doing Graph calls through an HTTP connector. Since this Graph API endpoint is in preview, it is only supported to add one content provider. If you try to add a second one, it will overwrite the one that’s currently there. You can add URLs from multiple sites to the same content provider though. To use this API, you also need a Viva Learning dedicated license or Viva Suite license.
First, you need to create the content provider. As the rights required for this are delegated, and a one-time thing, it’s easiest to use Graph Explorer with an admin user that has the rights to consent Graph API rights.
Go to Graph Explorer.
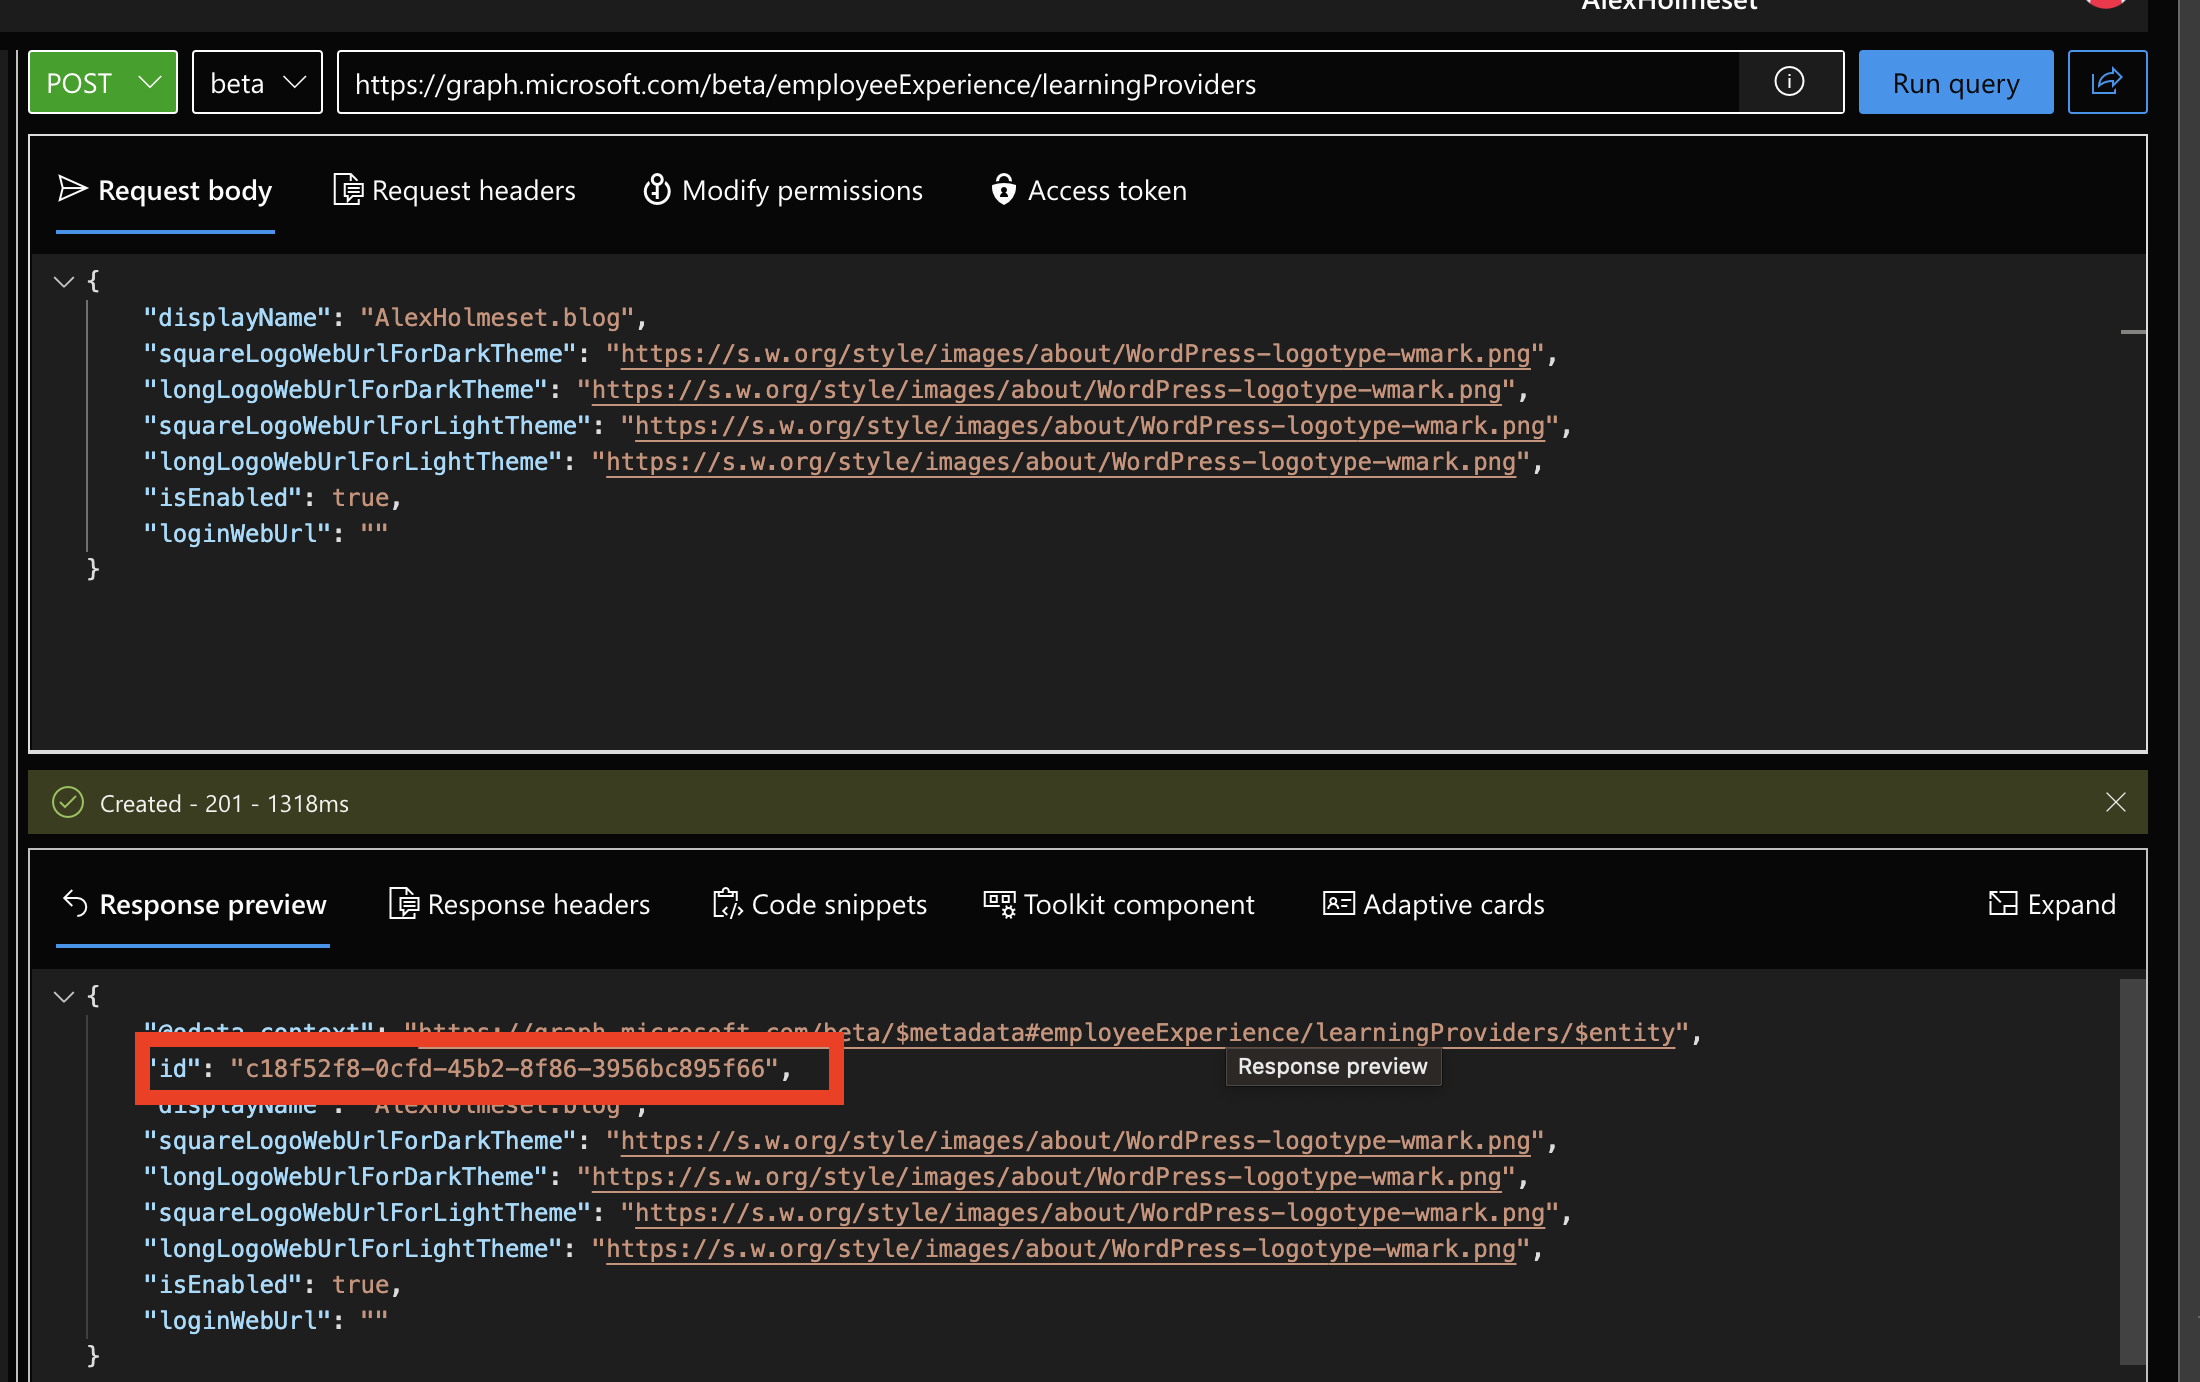
Use this URL – https://graph.microsoft.com/beta/employeeExperience/learningProviders and set the request to be of the type POST. Use the JSON request below. Edit it as you like. I used the logo for WordPress to represent my blog.
| { | |
| "displayName": "AlexHolmeset.blog", | |
| "squareLogoWebUrlForDarkTheme": "https://s.w.org/style/images/about/WordPress-logotype-wmark.png", | |
| "longLogoWebUrlForDarkTheme": "https://s.w.org/style/images/about/WordPress-logotype-wmark.png", | |
| "squareLogoWebUrlForLightTheme": "https://s.w.org/style/images/about/WordPress-logotype-wmark.png", | |
| "longLogoWebUrlForLightTheme": "https://s.w.org/style/images/about/WordPress-logotype-wmark.png", | |
| "isEnabled": true, | |
| "loginWebUrl": "" | |
| } |
Click “Run Query”.
You might need to consent to LearningProvider.ReadWrite under “Modify Permissions”.
After a successful run, copy the ID you get back. You will need it for the request URL when adding content.
Next, we need to create a Logic Apps, so go to portal.azure.com.
Open the Loigc Apps menu.
Click Add.
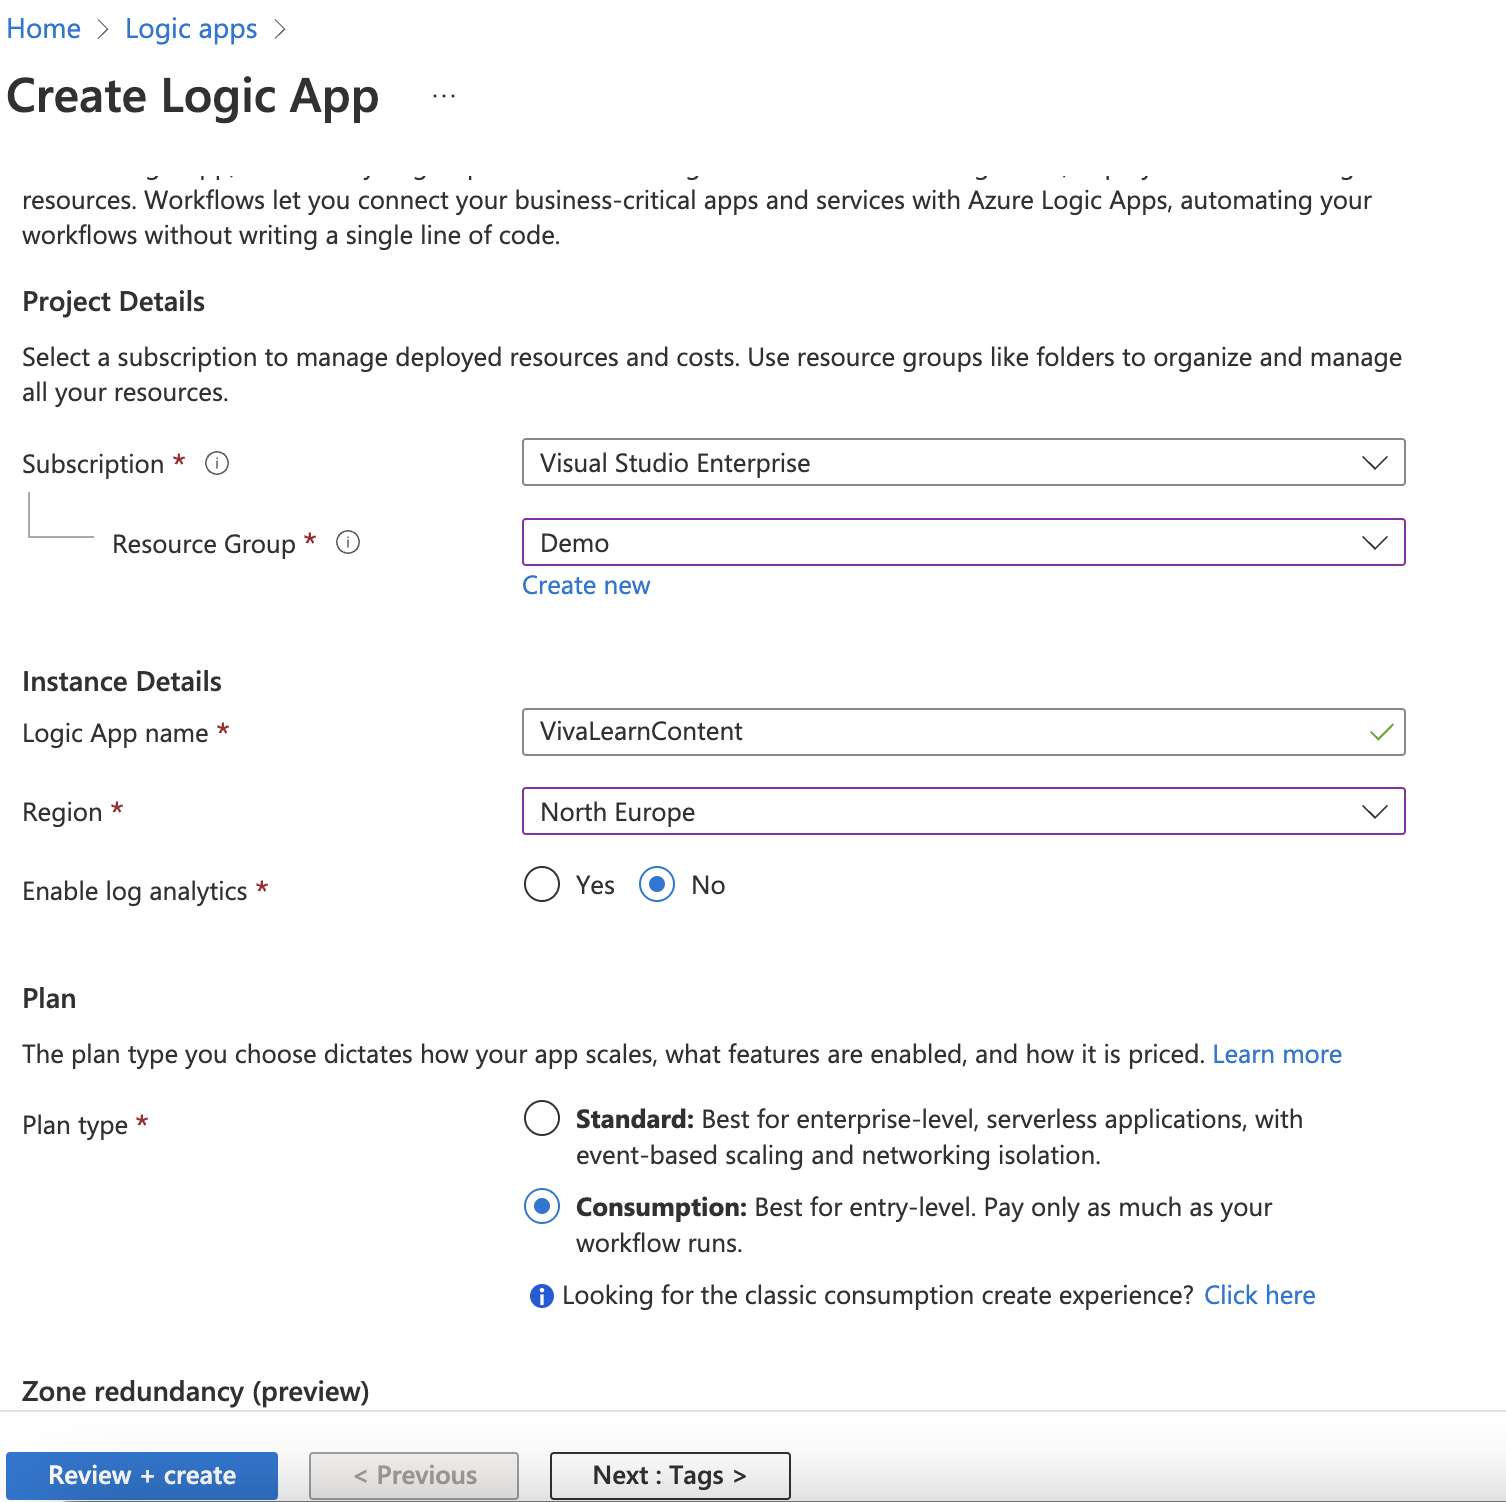
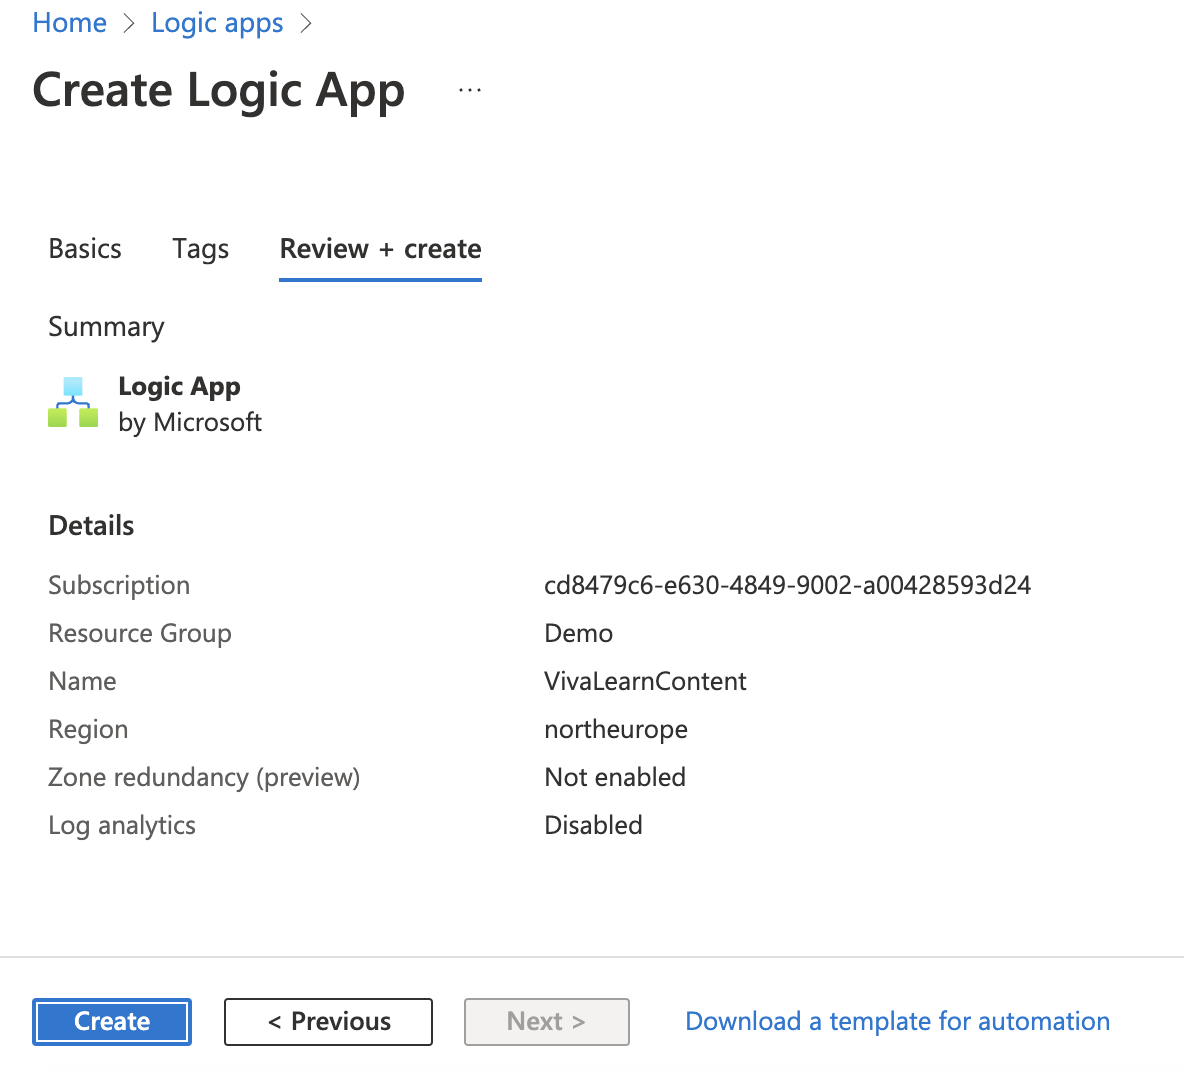
Choose the settings needed for your environment and click Review/Create.
Click Create.
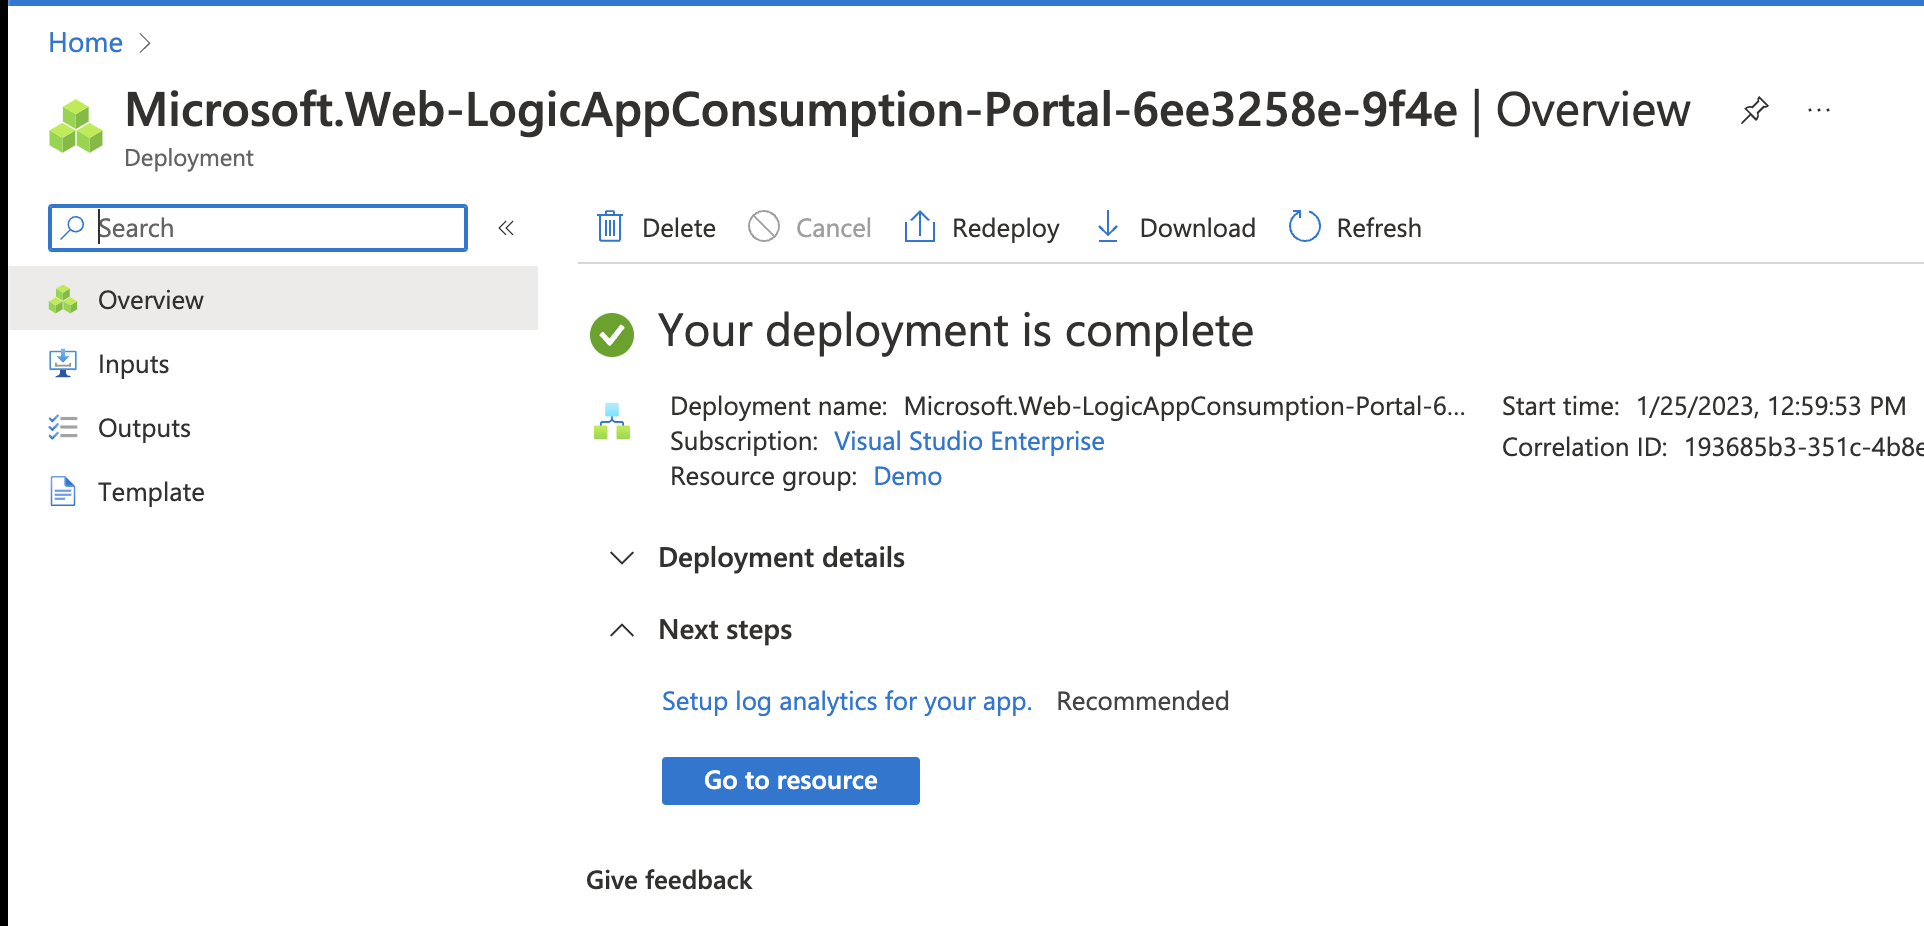
When its the provisioning is completed, click Go to resource.
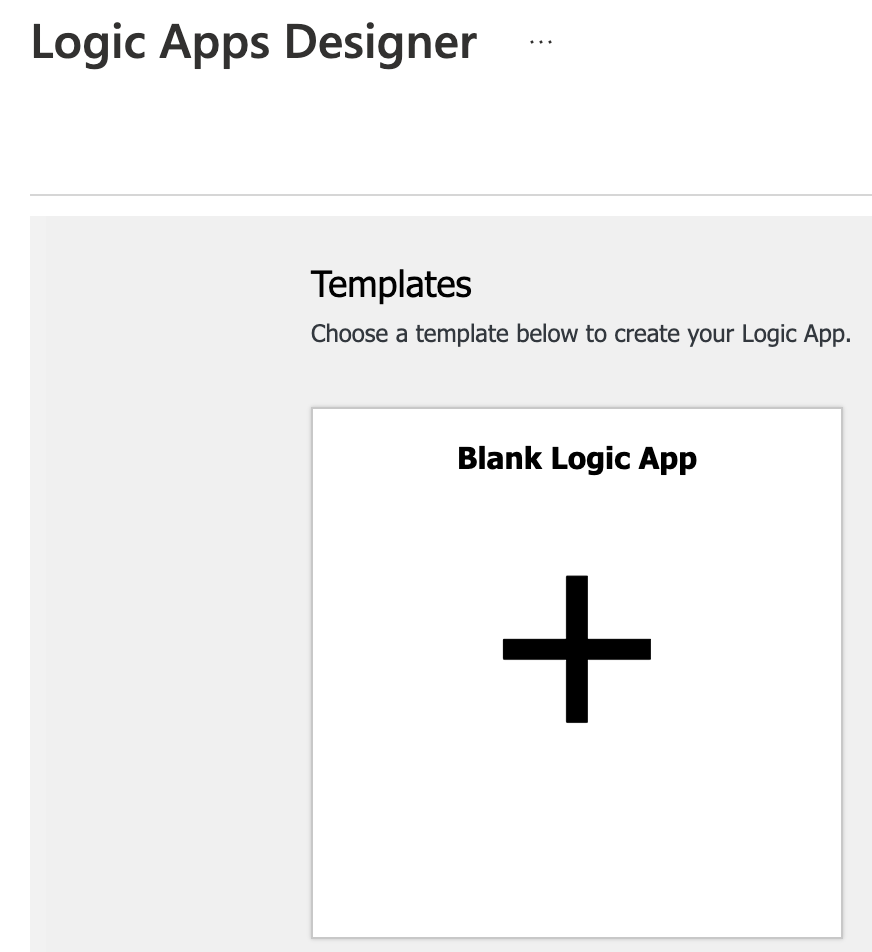
Click “Blank Logic App”.
Click “When a feed item is published”.
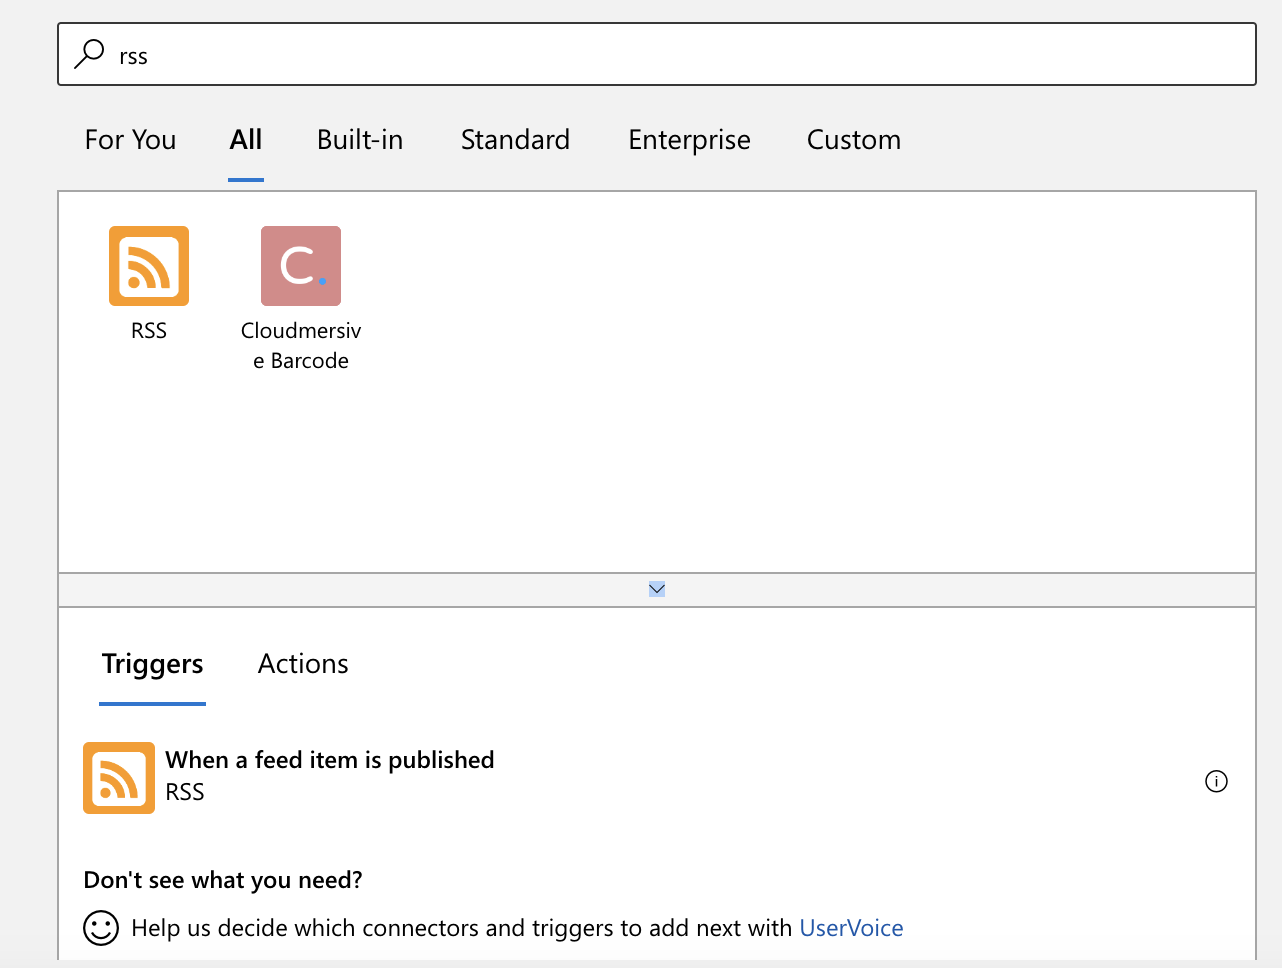
Add the RSS feed url to the site you want to use.
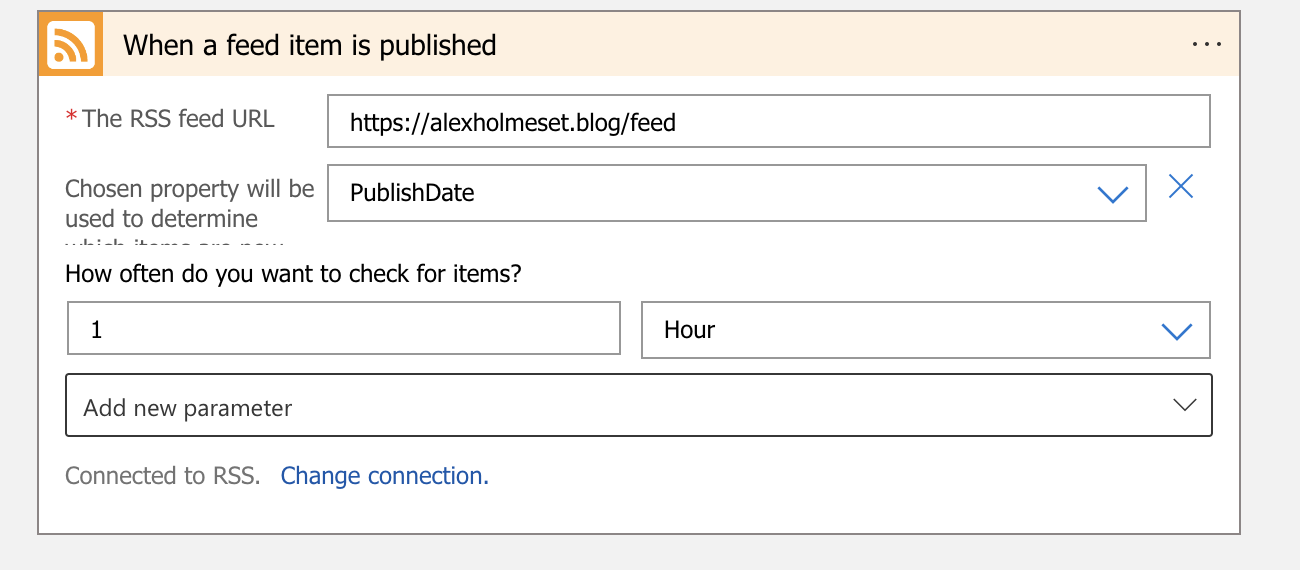
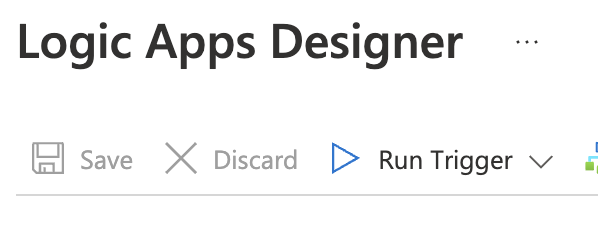
Save the logic app and click Run.
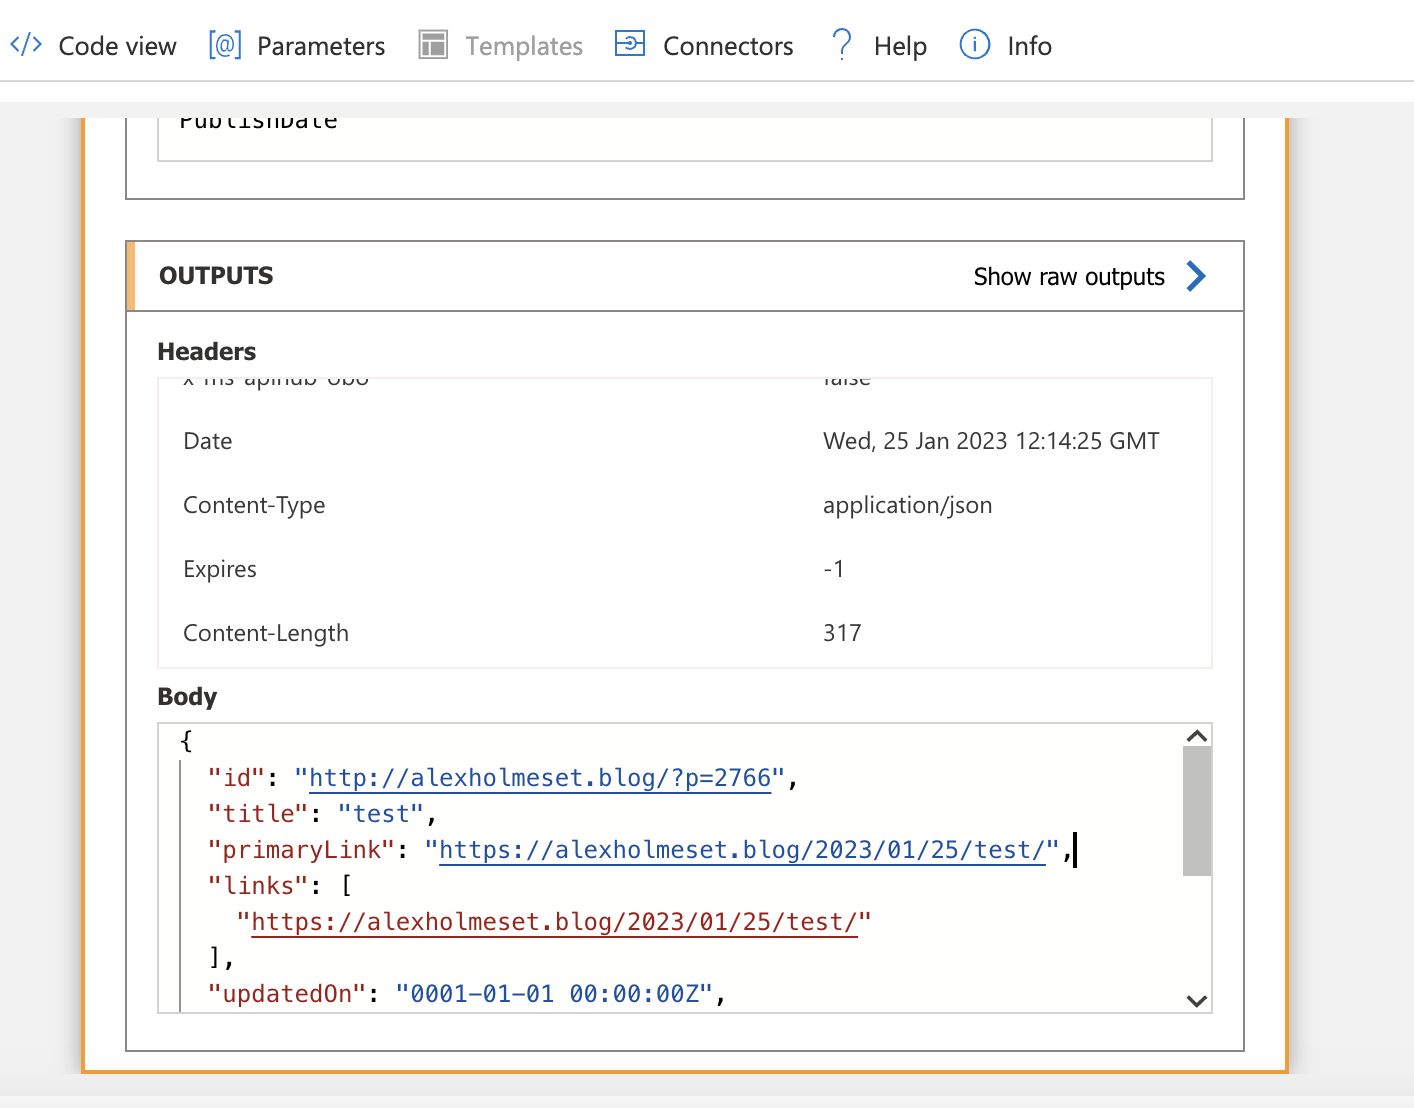
Now you need to create a new post on your site. When the trigger has run successfully, click on it. (It might be a good idea to set the RSS time to a couple seconds instead of an hour during setup).

Scroll down and copy what’s inside “Body”.
Click Designer to go back to edit mode.
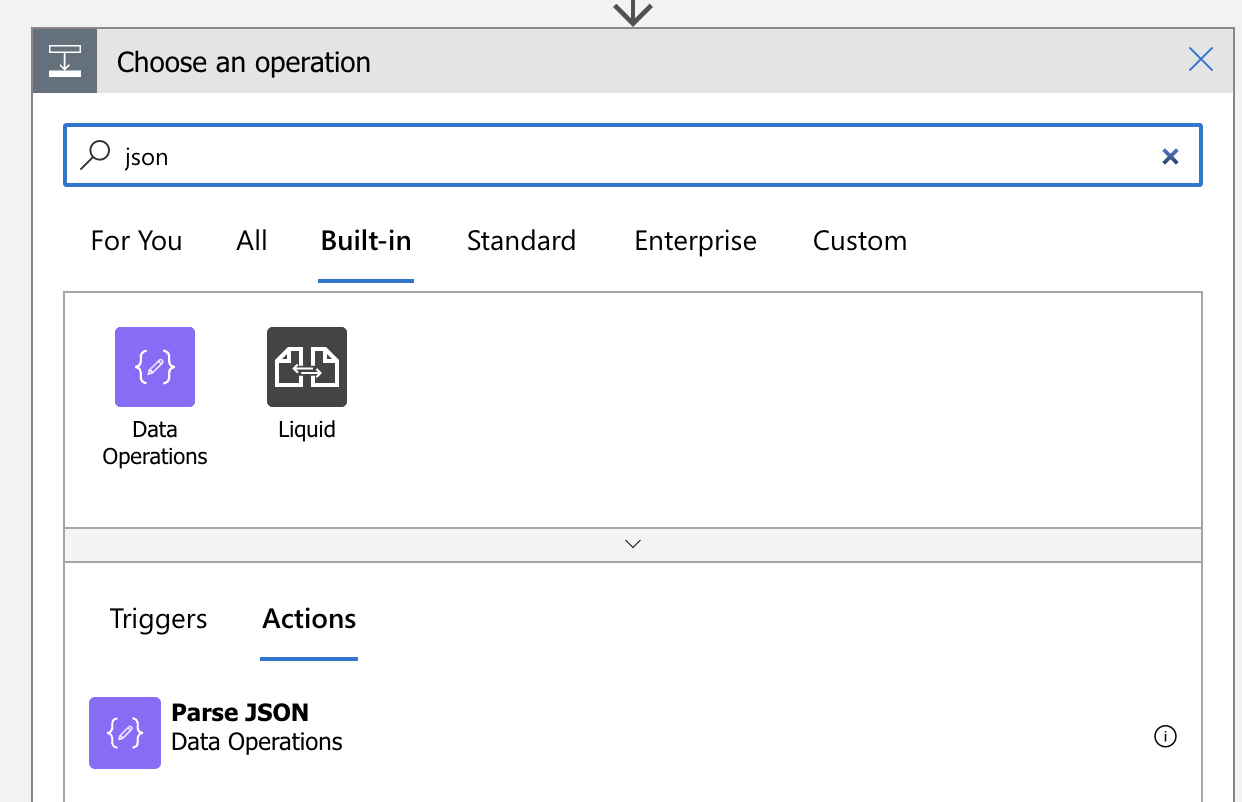
Click “New Step” and “Built-in”.
Search for and select “Parse JSON”.
Under Content, select in this case Item.
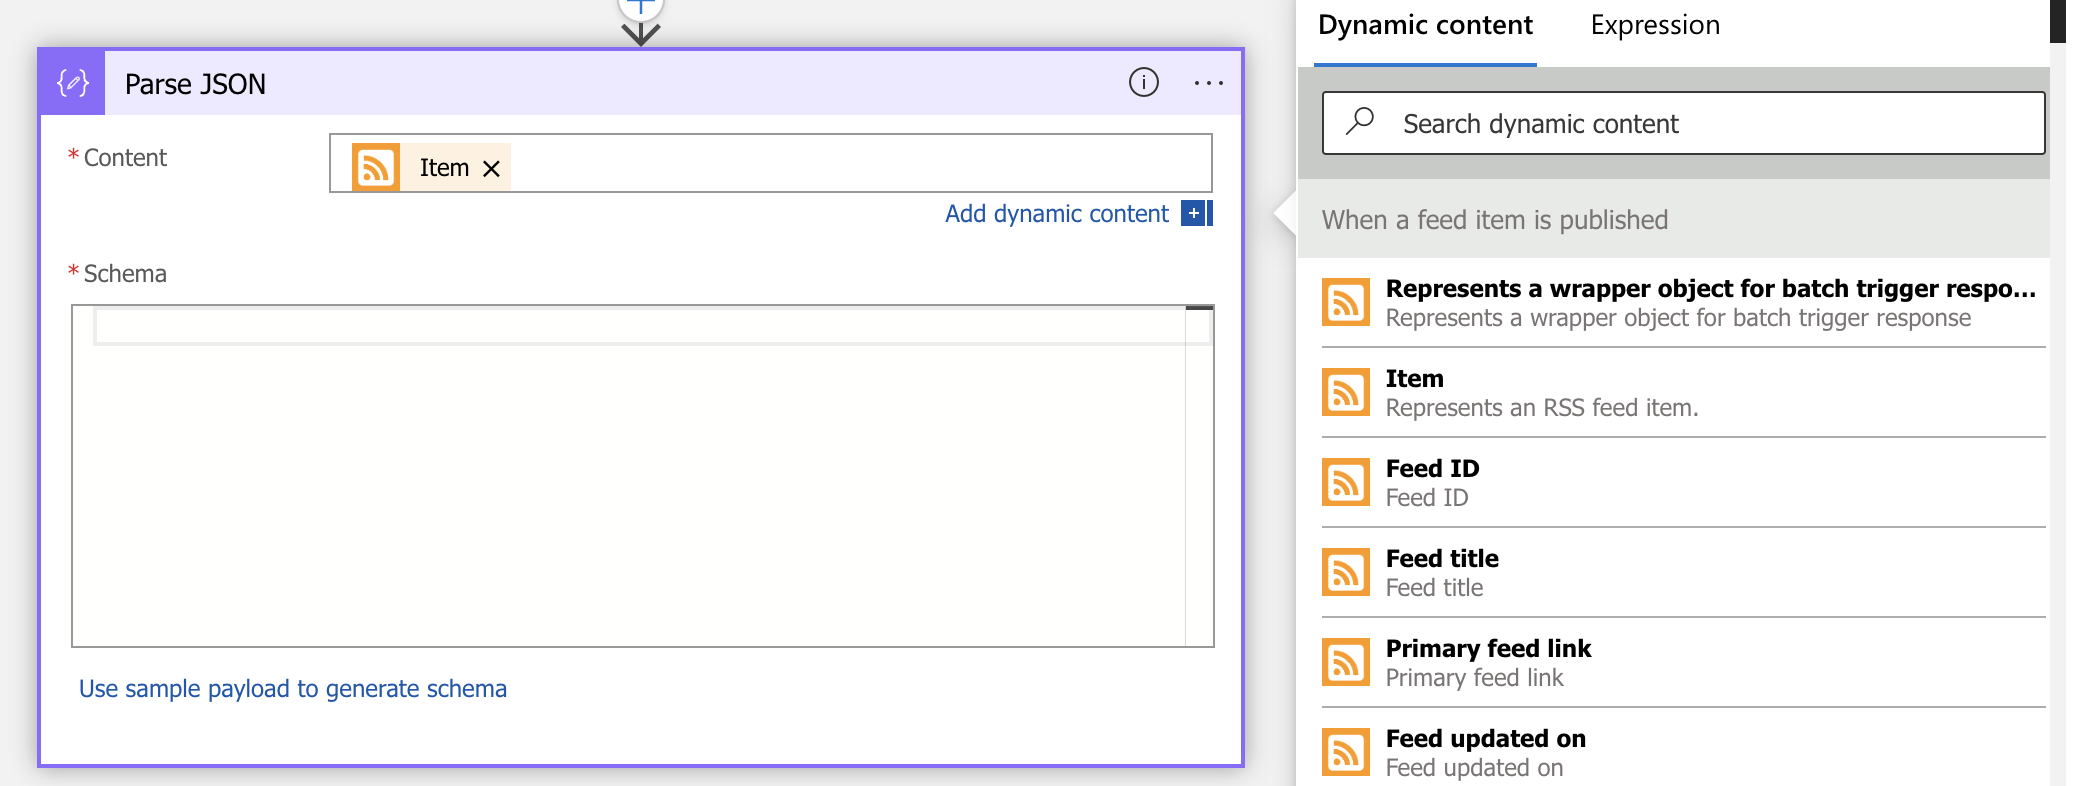
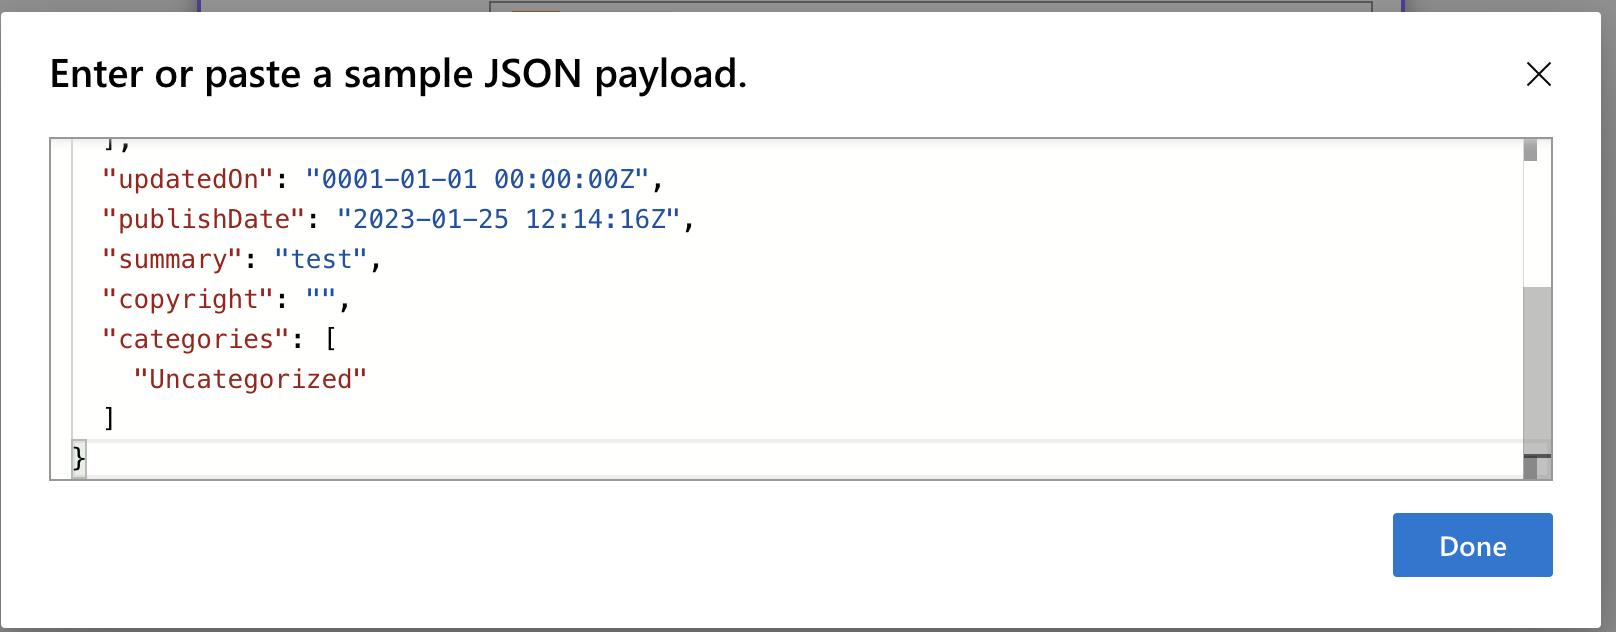
Click “Use sample payload to generate schema”.
Paste the Body you copied and click Done.
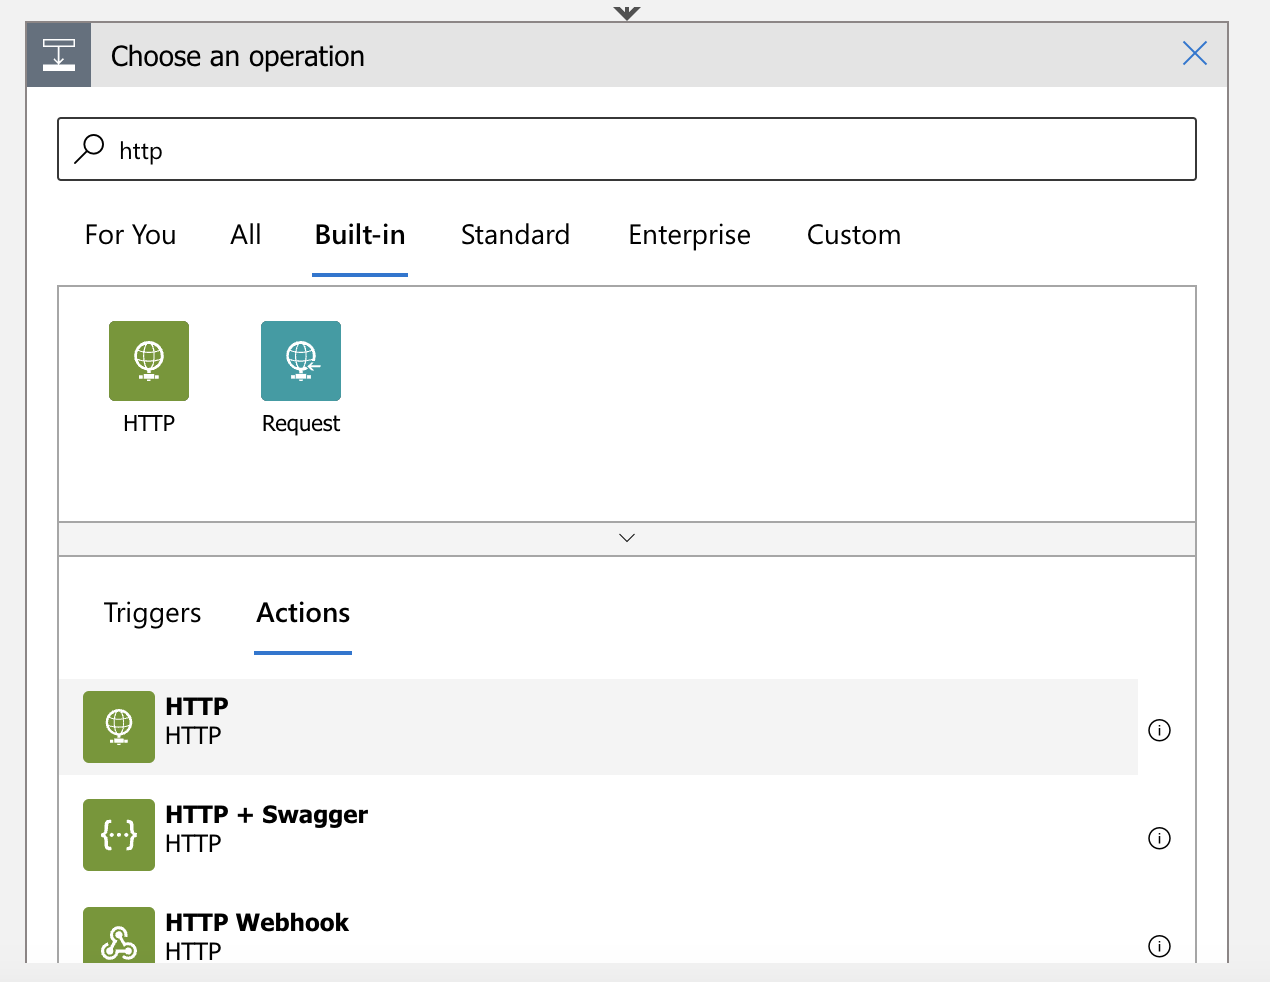
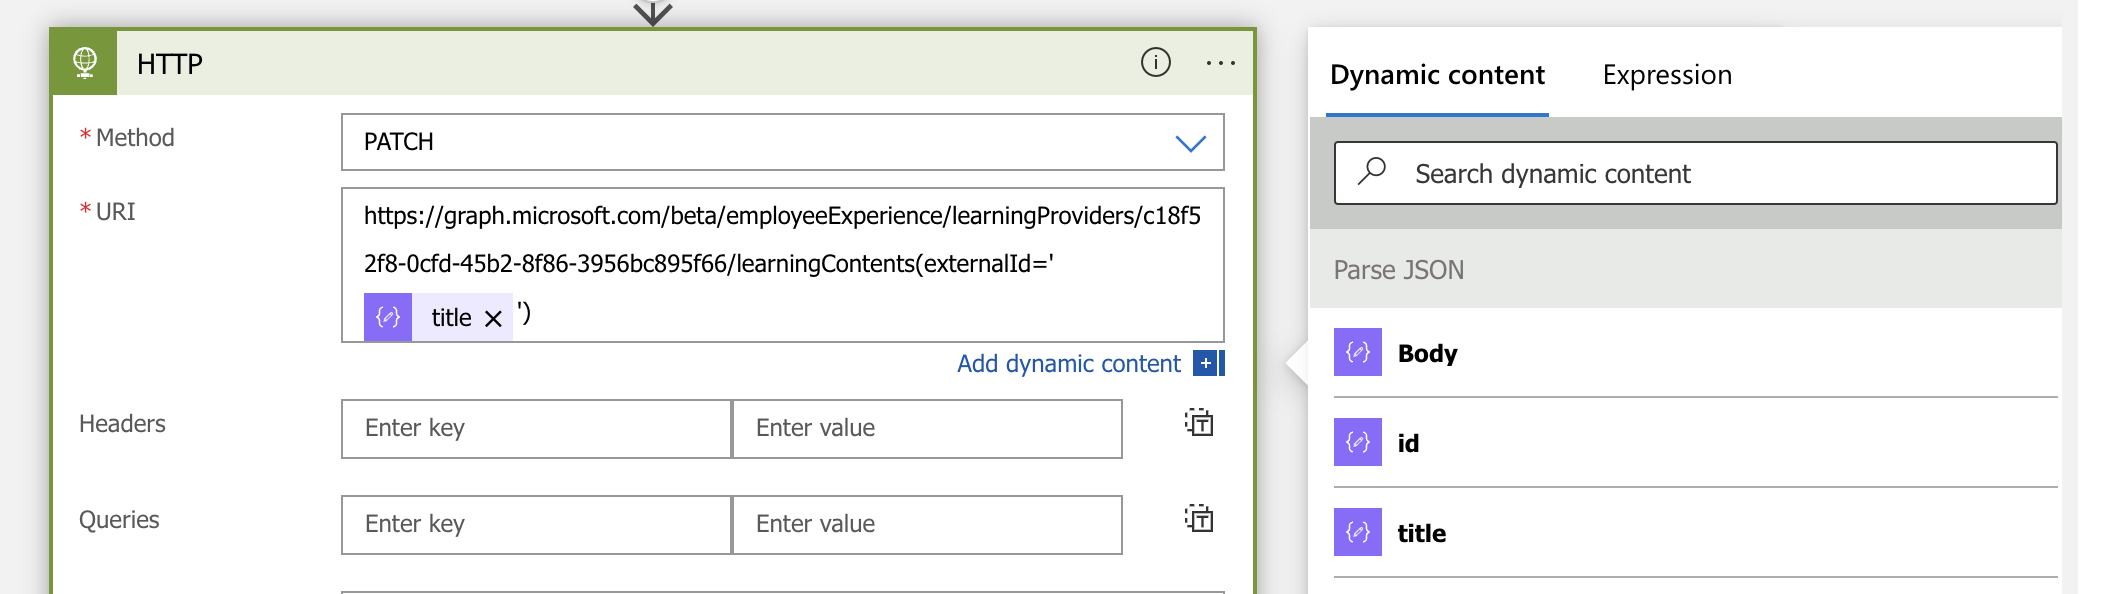
Click “New Step” and select “Built-in”. Search for and select the HTTP action.
Set the method to Patch.
Enter this URL:
| https://graph.microsoft.com/beta/employeeExperience/learningProviders/c18f52f8-0cfd-45b2-8f86-3956bc895f66/learningContents(externalId='ENTER TITLE') |
with your own content provider ID, which you got when creating the content provider. Also, add Title from the parsed JSON.
Copy this JSON request, and edit it as it suits you.
| { | |
| "additionalTags": [ | |
| "Teams Meetings" | |
| ], | |
| "contentWebUrl": "https://alexholmeset.blog/2023/01/25/asdfasdf/", | |
| "contributor": "Alexander Holmeset", | |
| "description": "Put a description here if you have.", | |
| "duration": "PT20M", | |
| "format": "Blog", | |
| "isActive": true, | |
| "isPremium": false, | |
| "isSearchable": true, | |
| "languageTag": "en-us", | |
| "numberOfPages": 1, | |
| "skillTags": [ | |
| "Teams Meetings " | |
| ], | |
| "sourceName": "AlexHolmeset.blog", | |
| "thumbnailWebUrl": "https://alexholmeset.blog/wp-content/uploads/2021/06/microsoft-teams-dynamic-view-on-bg.jpg", | |
| "title": "asdfasdf" | |
| } |
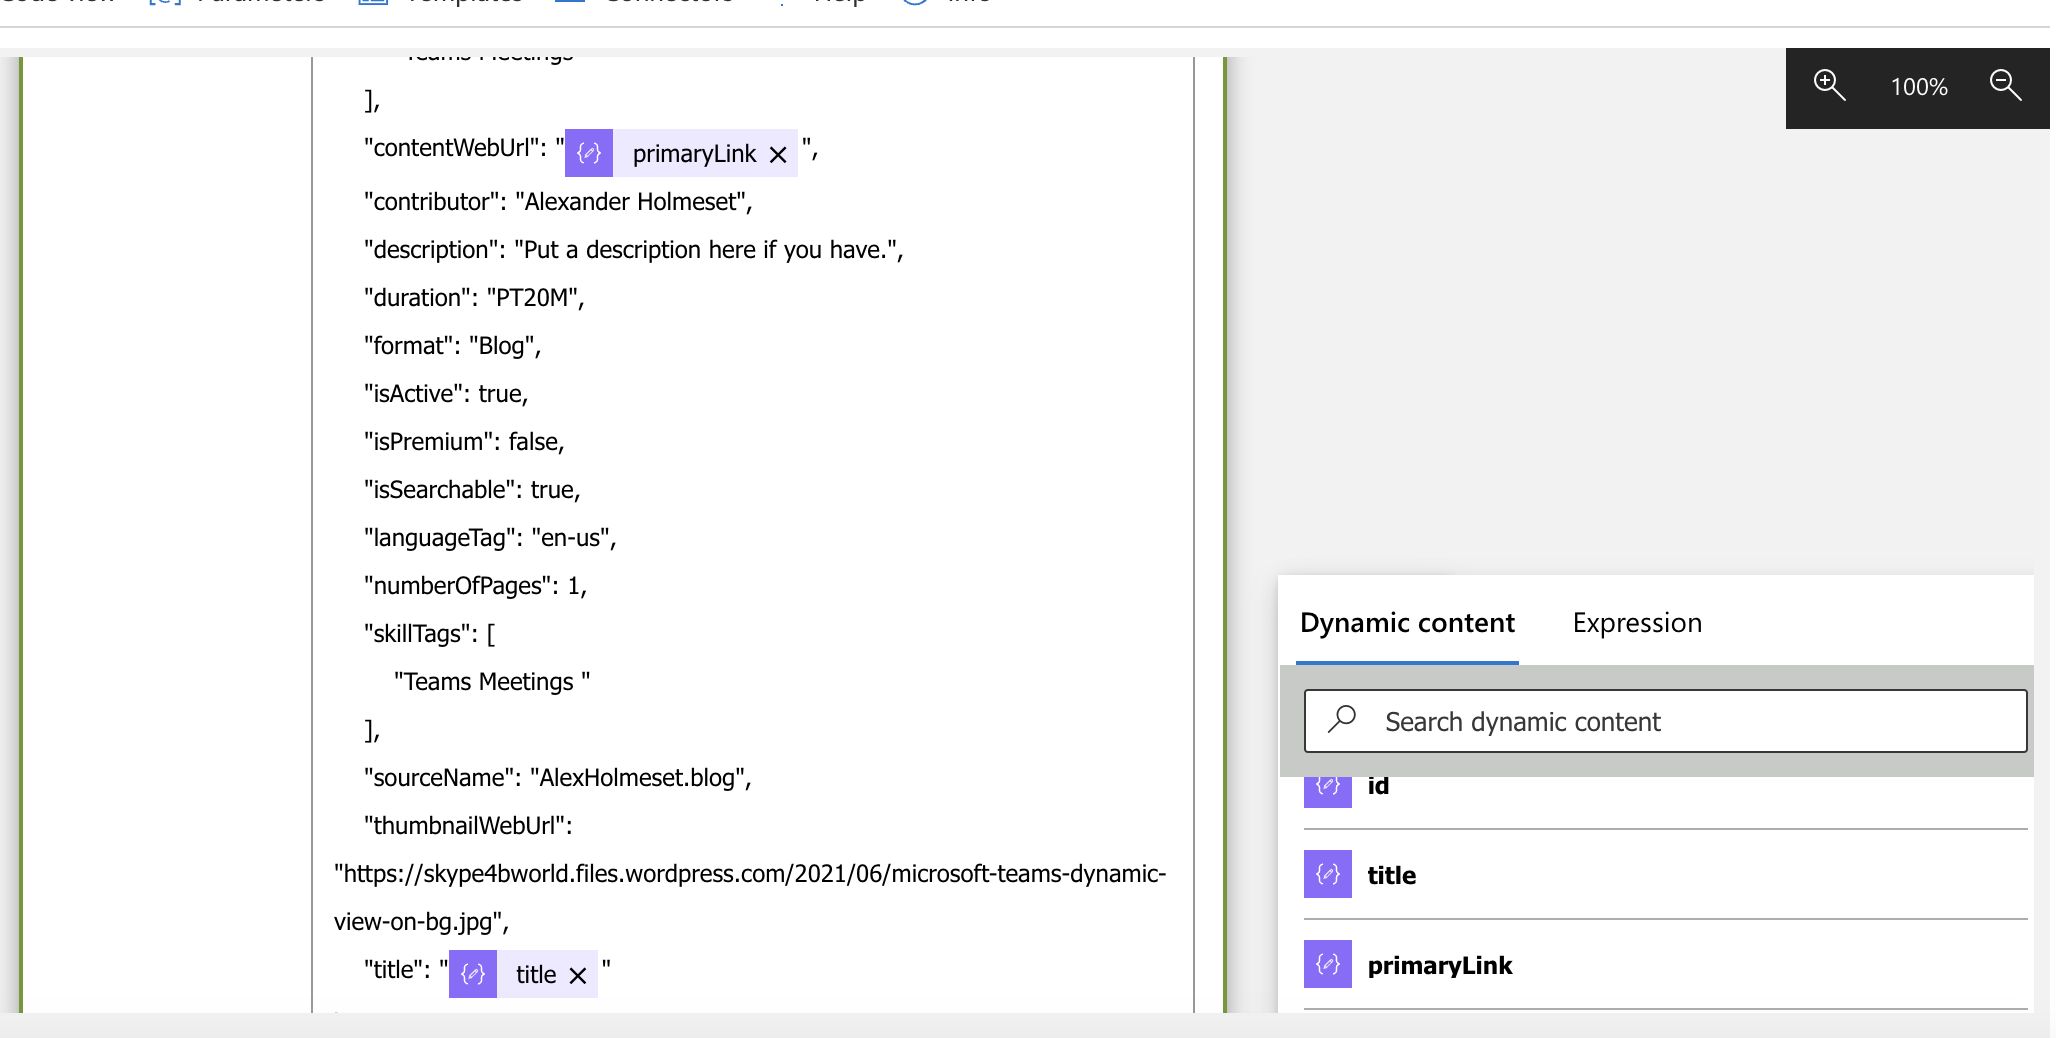
Paste the JSON request into the Body field.
Remember to add the title and primarylink from the parsed JSON.
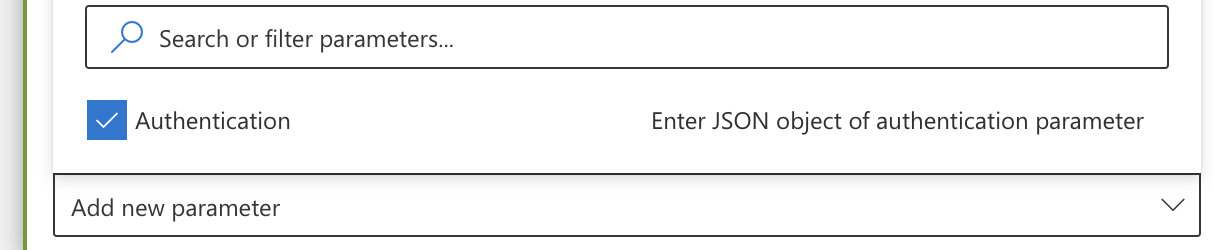
Click “Add new parameter” at the bottom and check Authentication.
Select the following and set the audience to https://graph.microsoft.com.
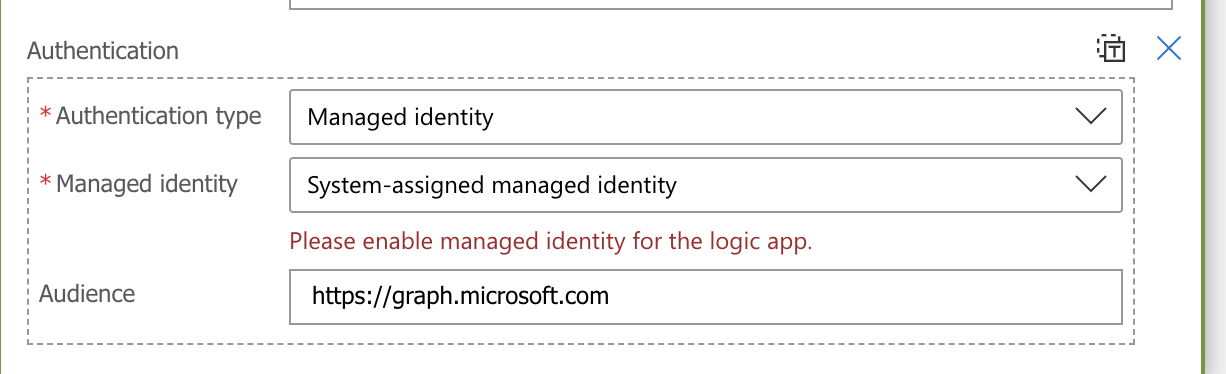
Now we need to enable the Managed Identity for the logic app.
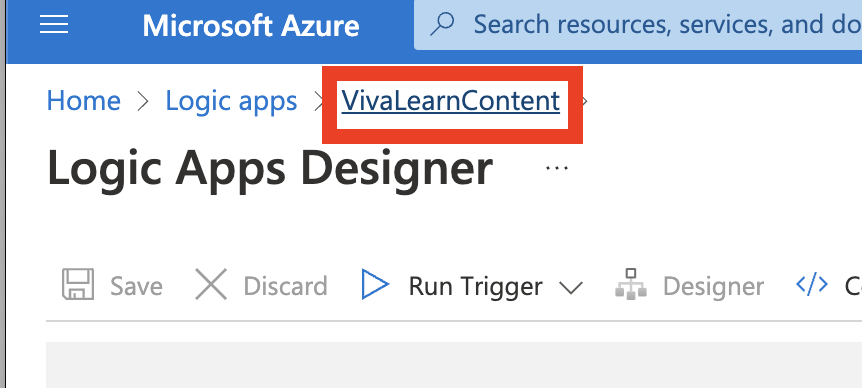
Go back to the “home screen” of the logic app.
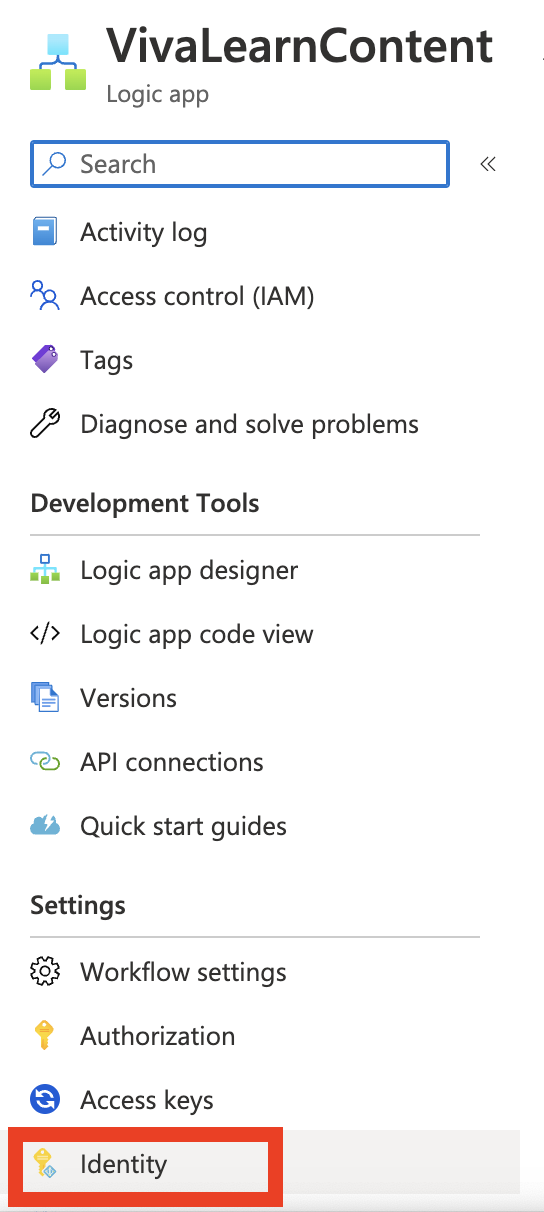
Go to the Identity menu.
Under “System assigned” select On, and save.
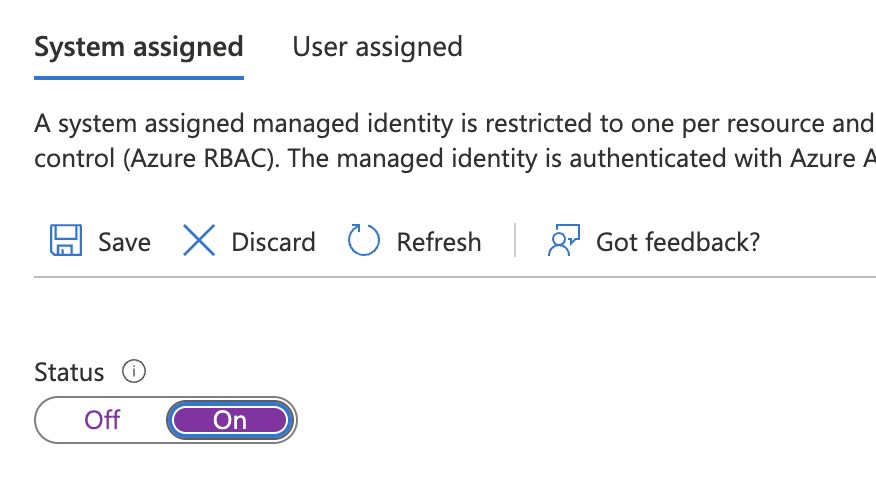
Click Yes.

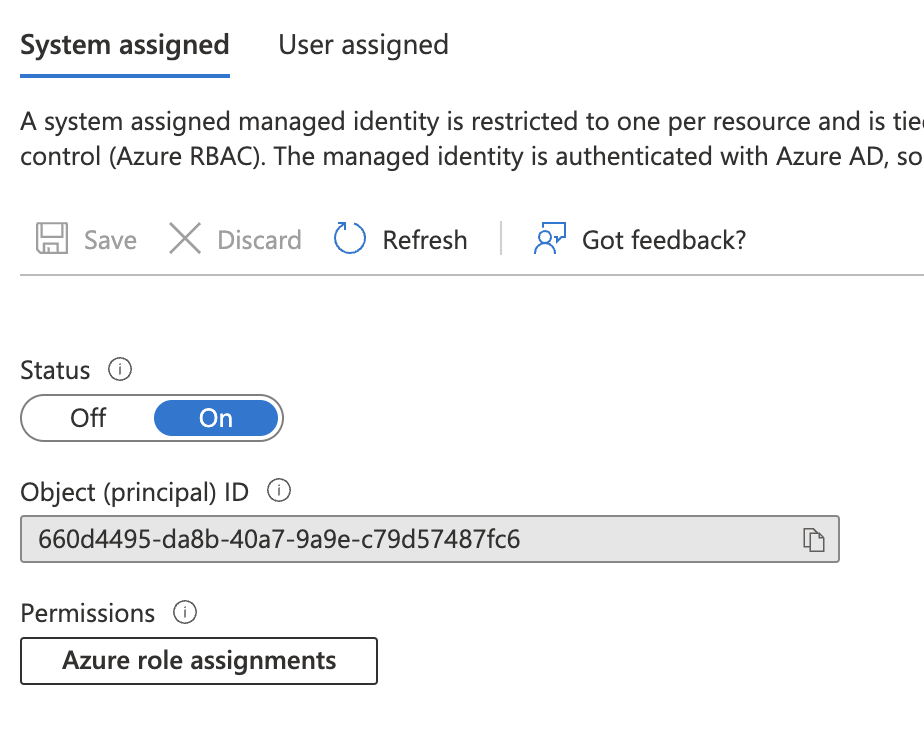
Copy the Object(principal) ID.
You then need to assign the Graph API right named LearningContent.ReadWrite.All to the logic app. This cant be done through the Azure portal and need to be done with Graph API/PowerShell. Use this script to achieve that.
| $graphScope = "LearningContent.ReadWrite.All" | |
| $servicePrincipalObjectId = "Enter object ID of Logic App here" | |
| $TenantID = "contoso.onmicrosoft.com" | |
| Install-Module Microsoft.Graph | |
| Connect-MgGraph -Scope “AppRoleAssignment.ReadWrite.All”,”Application.Read.All” -tenantId $TenantID | |
| $graph = Get-MgServicePrincipal -Filter "AppId eq '00000003-0000-0000-c000-000000000000'" | |
| $graphAppRole = $graph.AppRoles | ? Value -eq $graphScope | |
| $appRoleAssignment = @{ | |
| "principalId" = $servicePrincipalObjectId | |
| "resourceId" = $graph.Id | |
| "appRoleId" = $graphAppRole.Id | |
| } | |
| New-MgServicePrincipalAppRoleAssignment -ServicePrincipalId $servicePrincipalObjectId -BodyParameter $appRoleAssignment | Format-List |
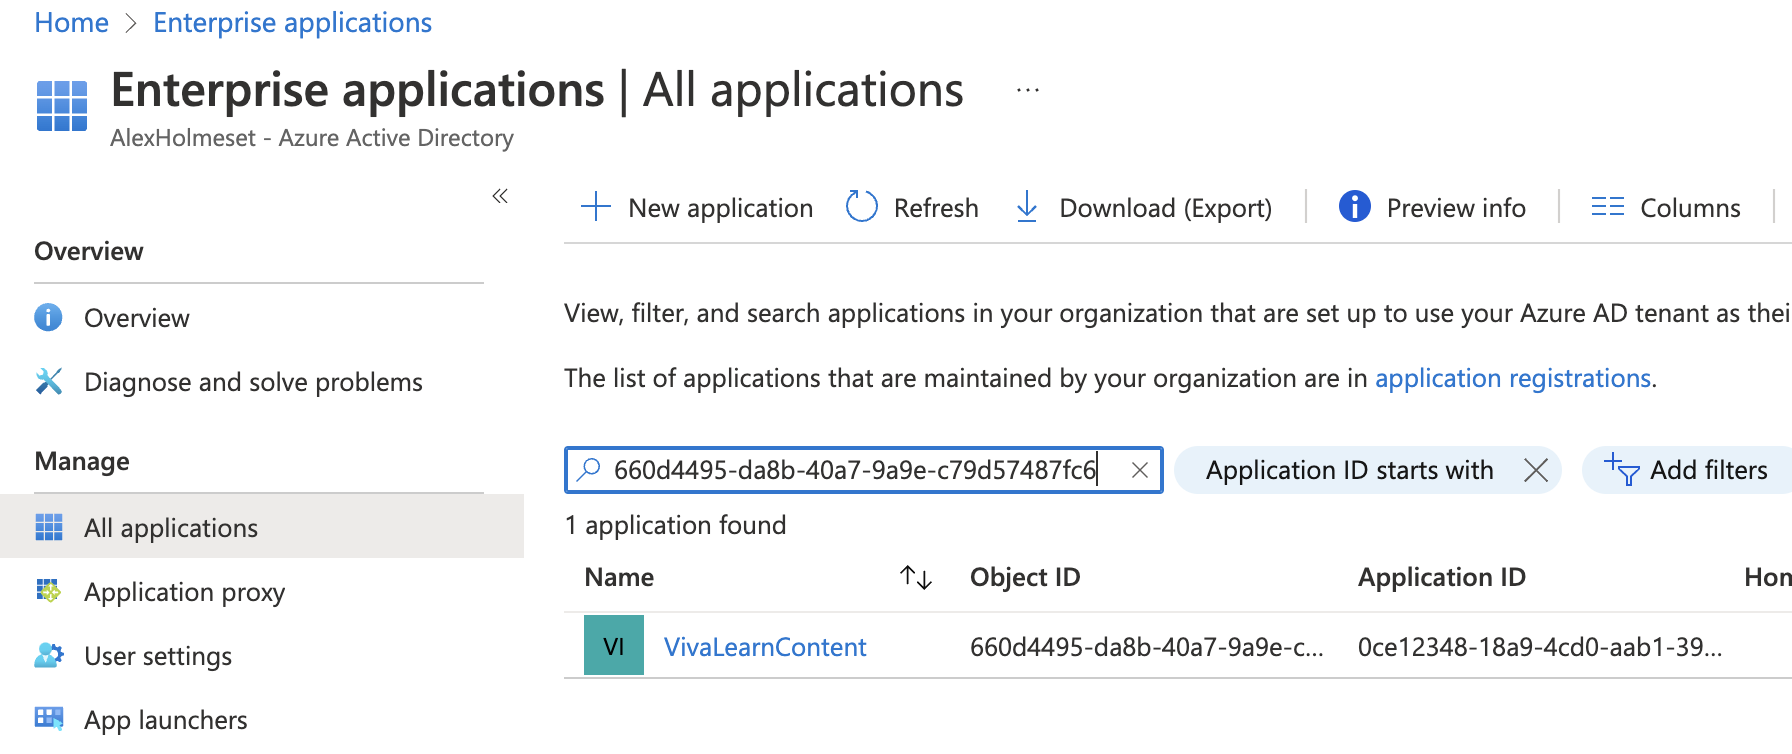
After its run, you can check that the logic app got the permission by going to the Enterprise App menu in Azure and searching for the logic app object id or name.
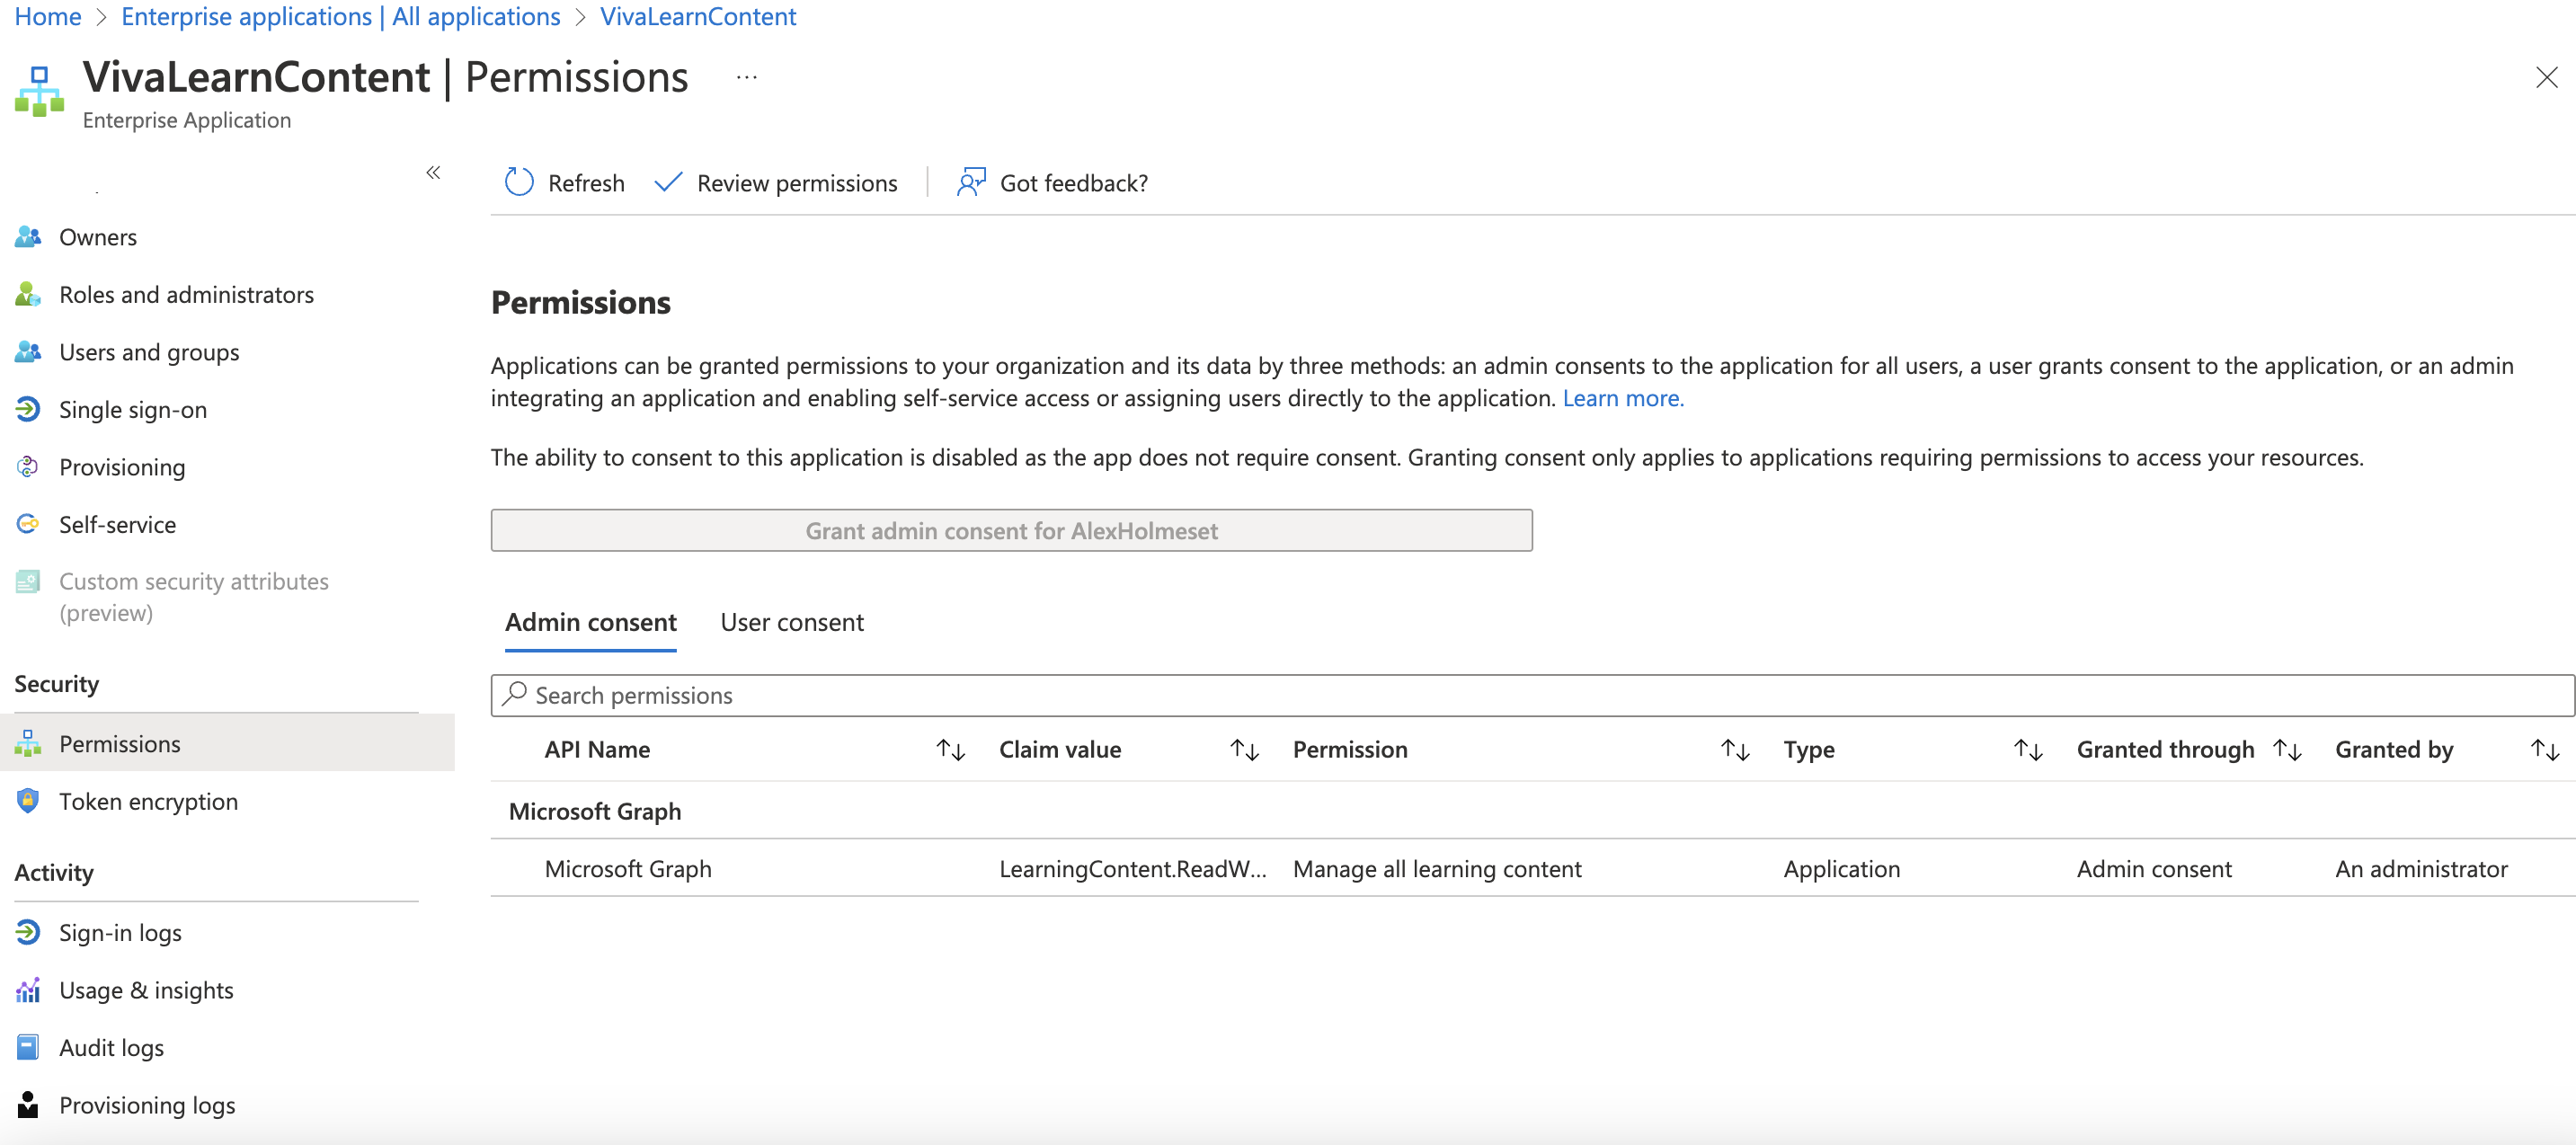
Click on the app and go to the Permissions menu. Here you can see the correct permissions is added.
Now the site can publish a new article, wait 1 hour (if that was the time you set in the RSS connector), and you should see a run in the logic app.
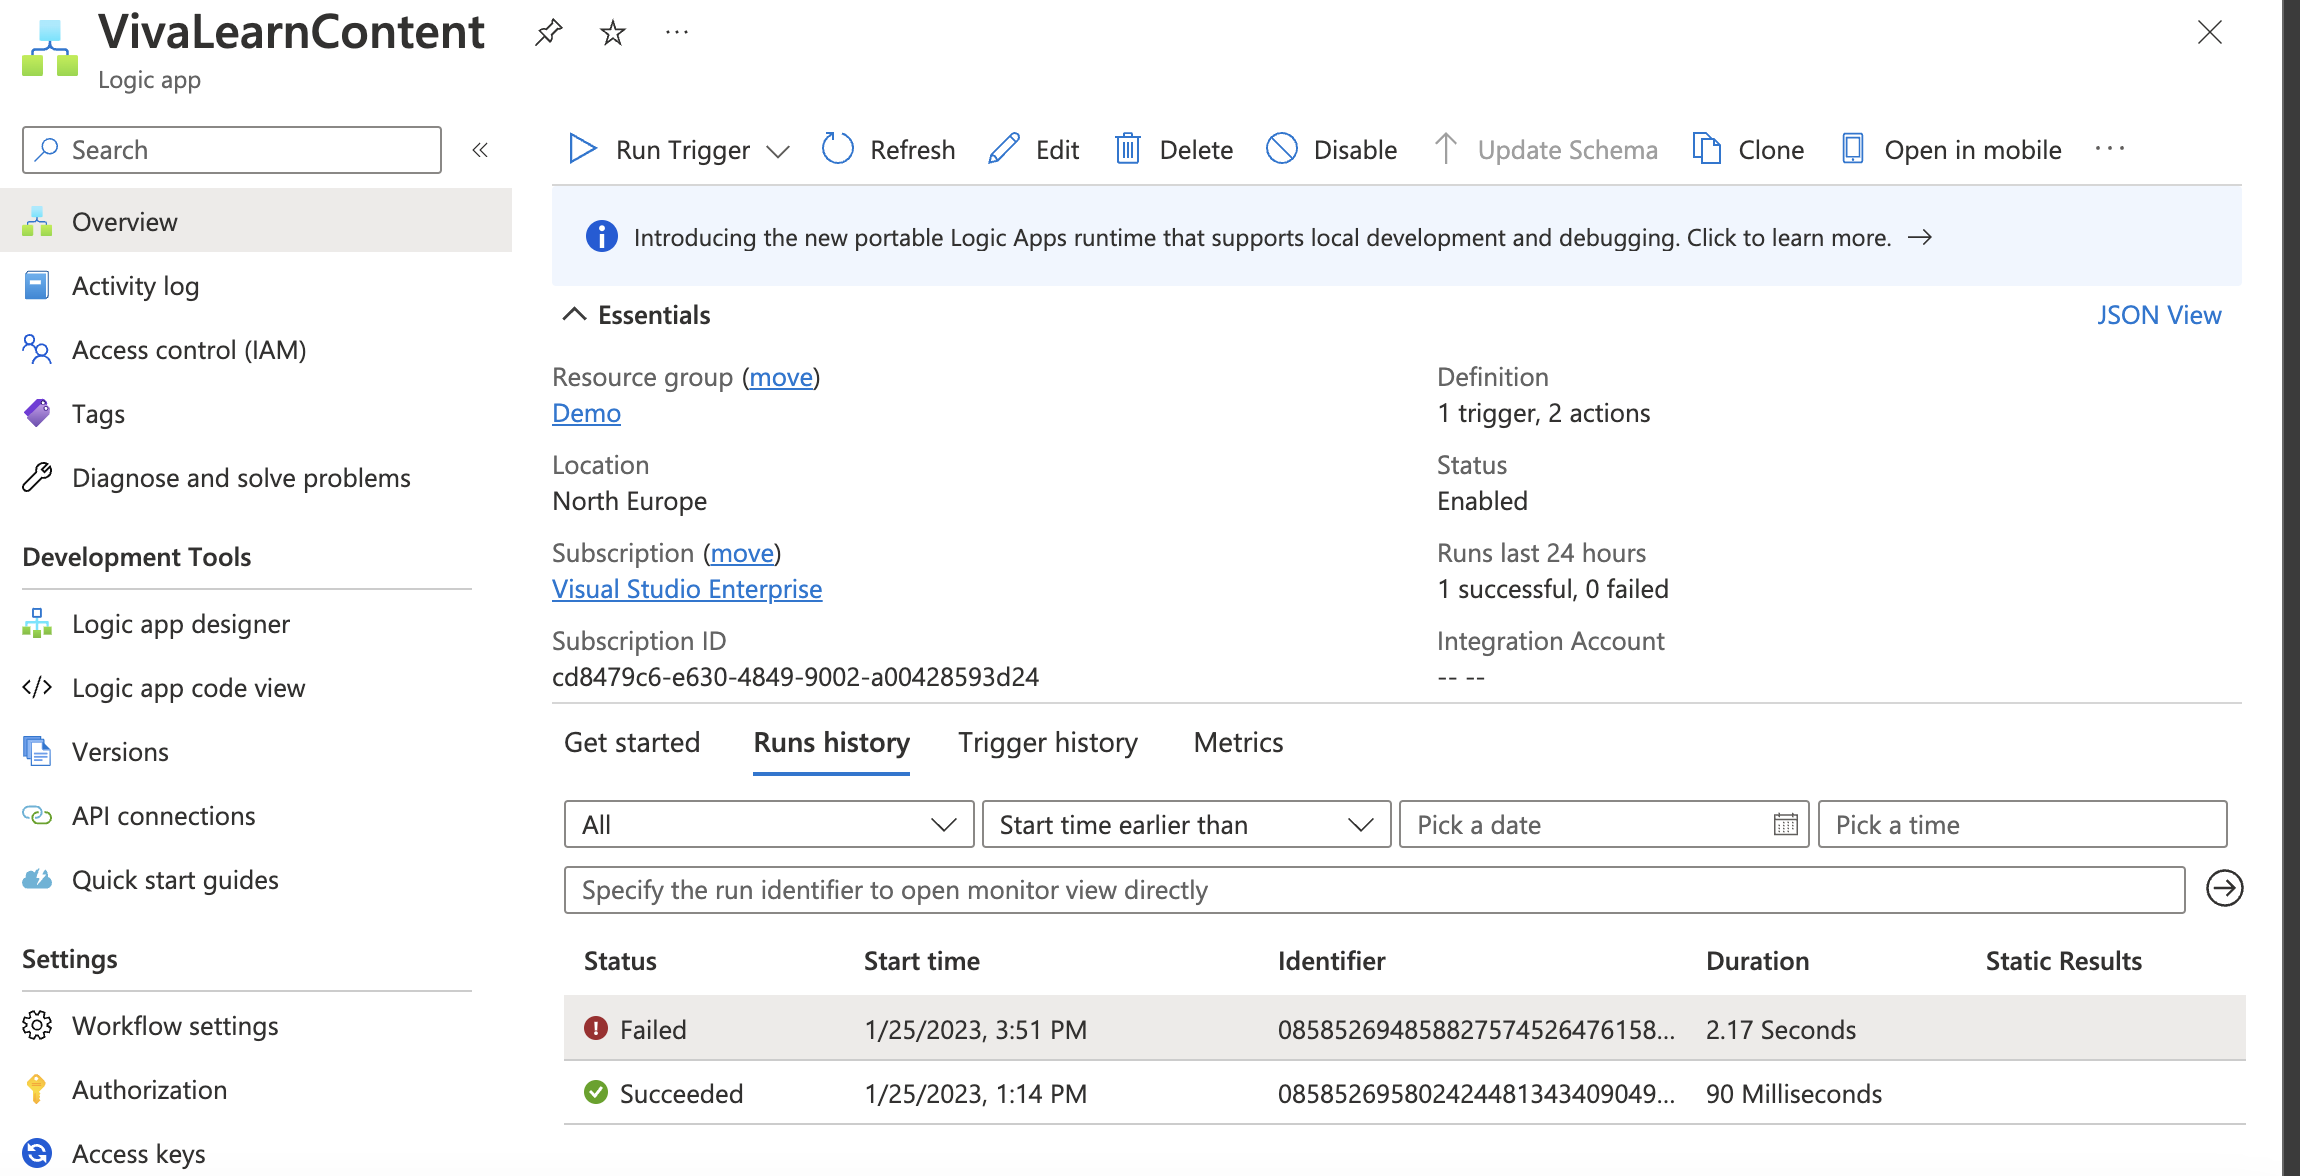
You see that it has failed, this is because the HTTP connector is returning a “404 not found” even though the API call was successful.

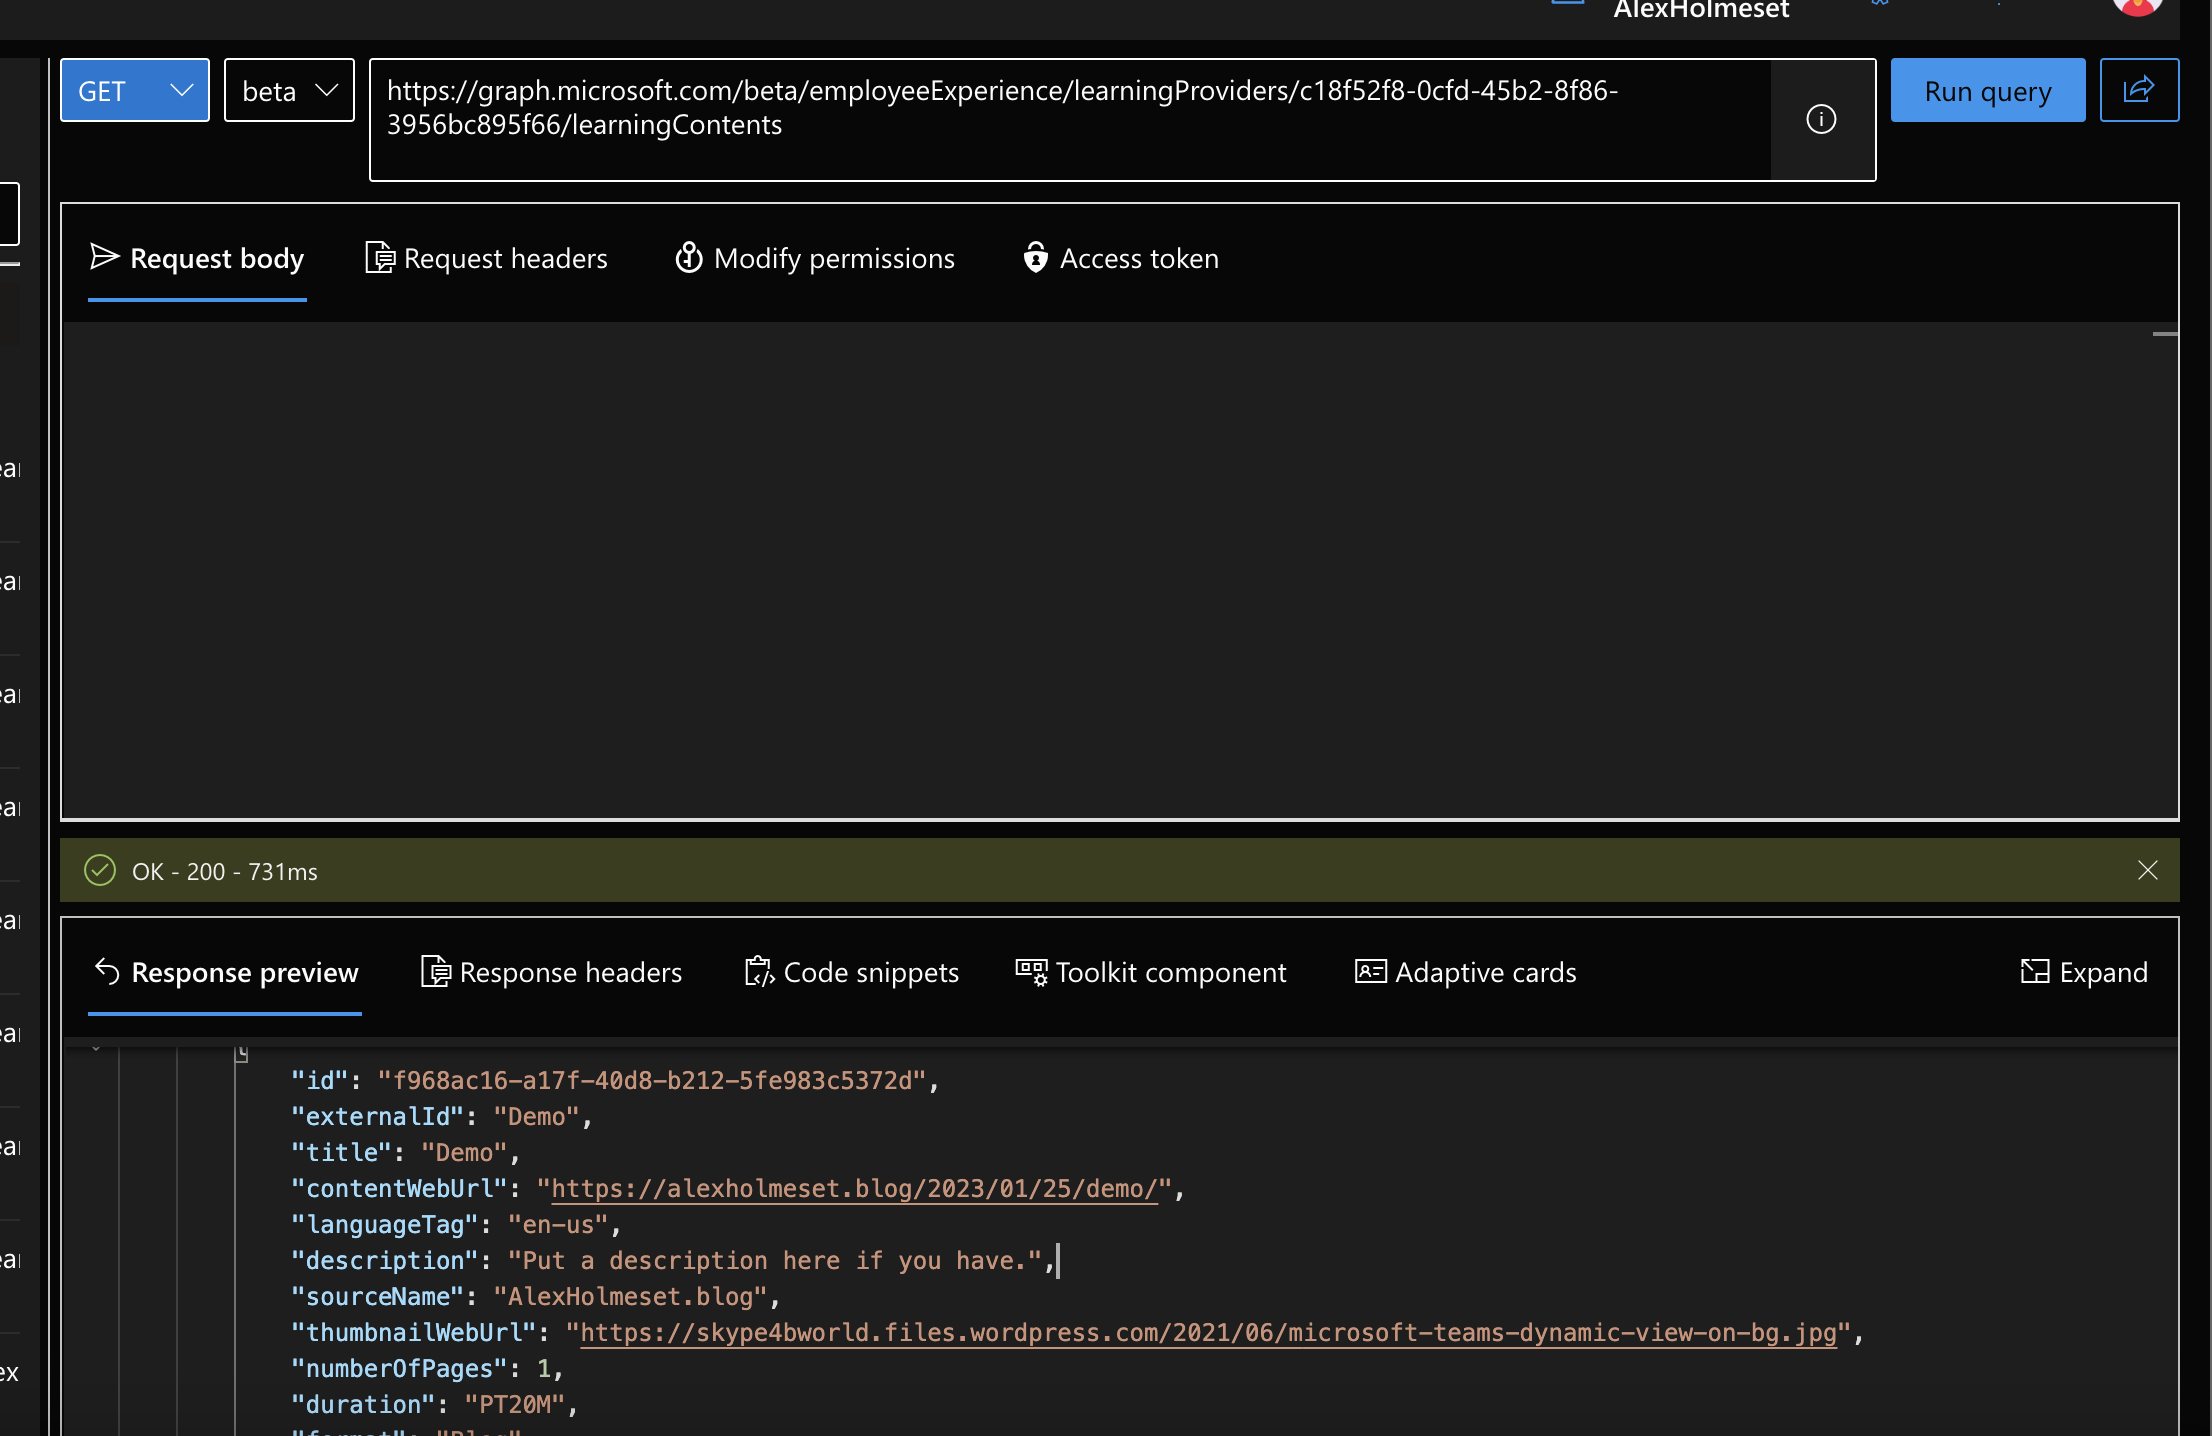
You can confirm it worked by checking against the learning provider ID in Graph Explorer.
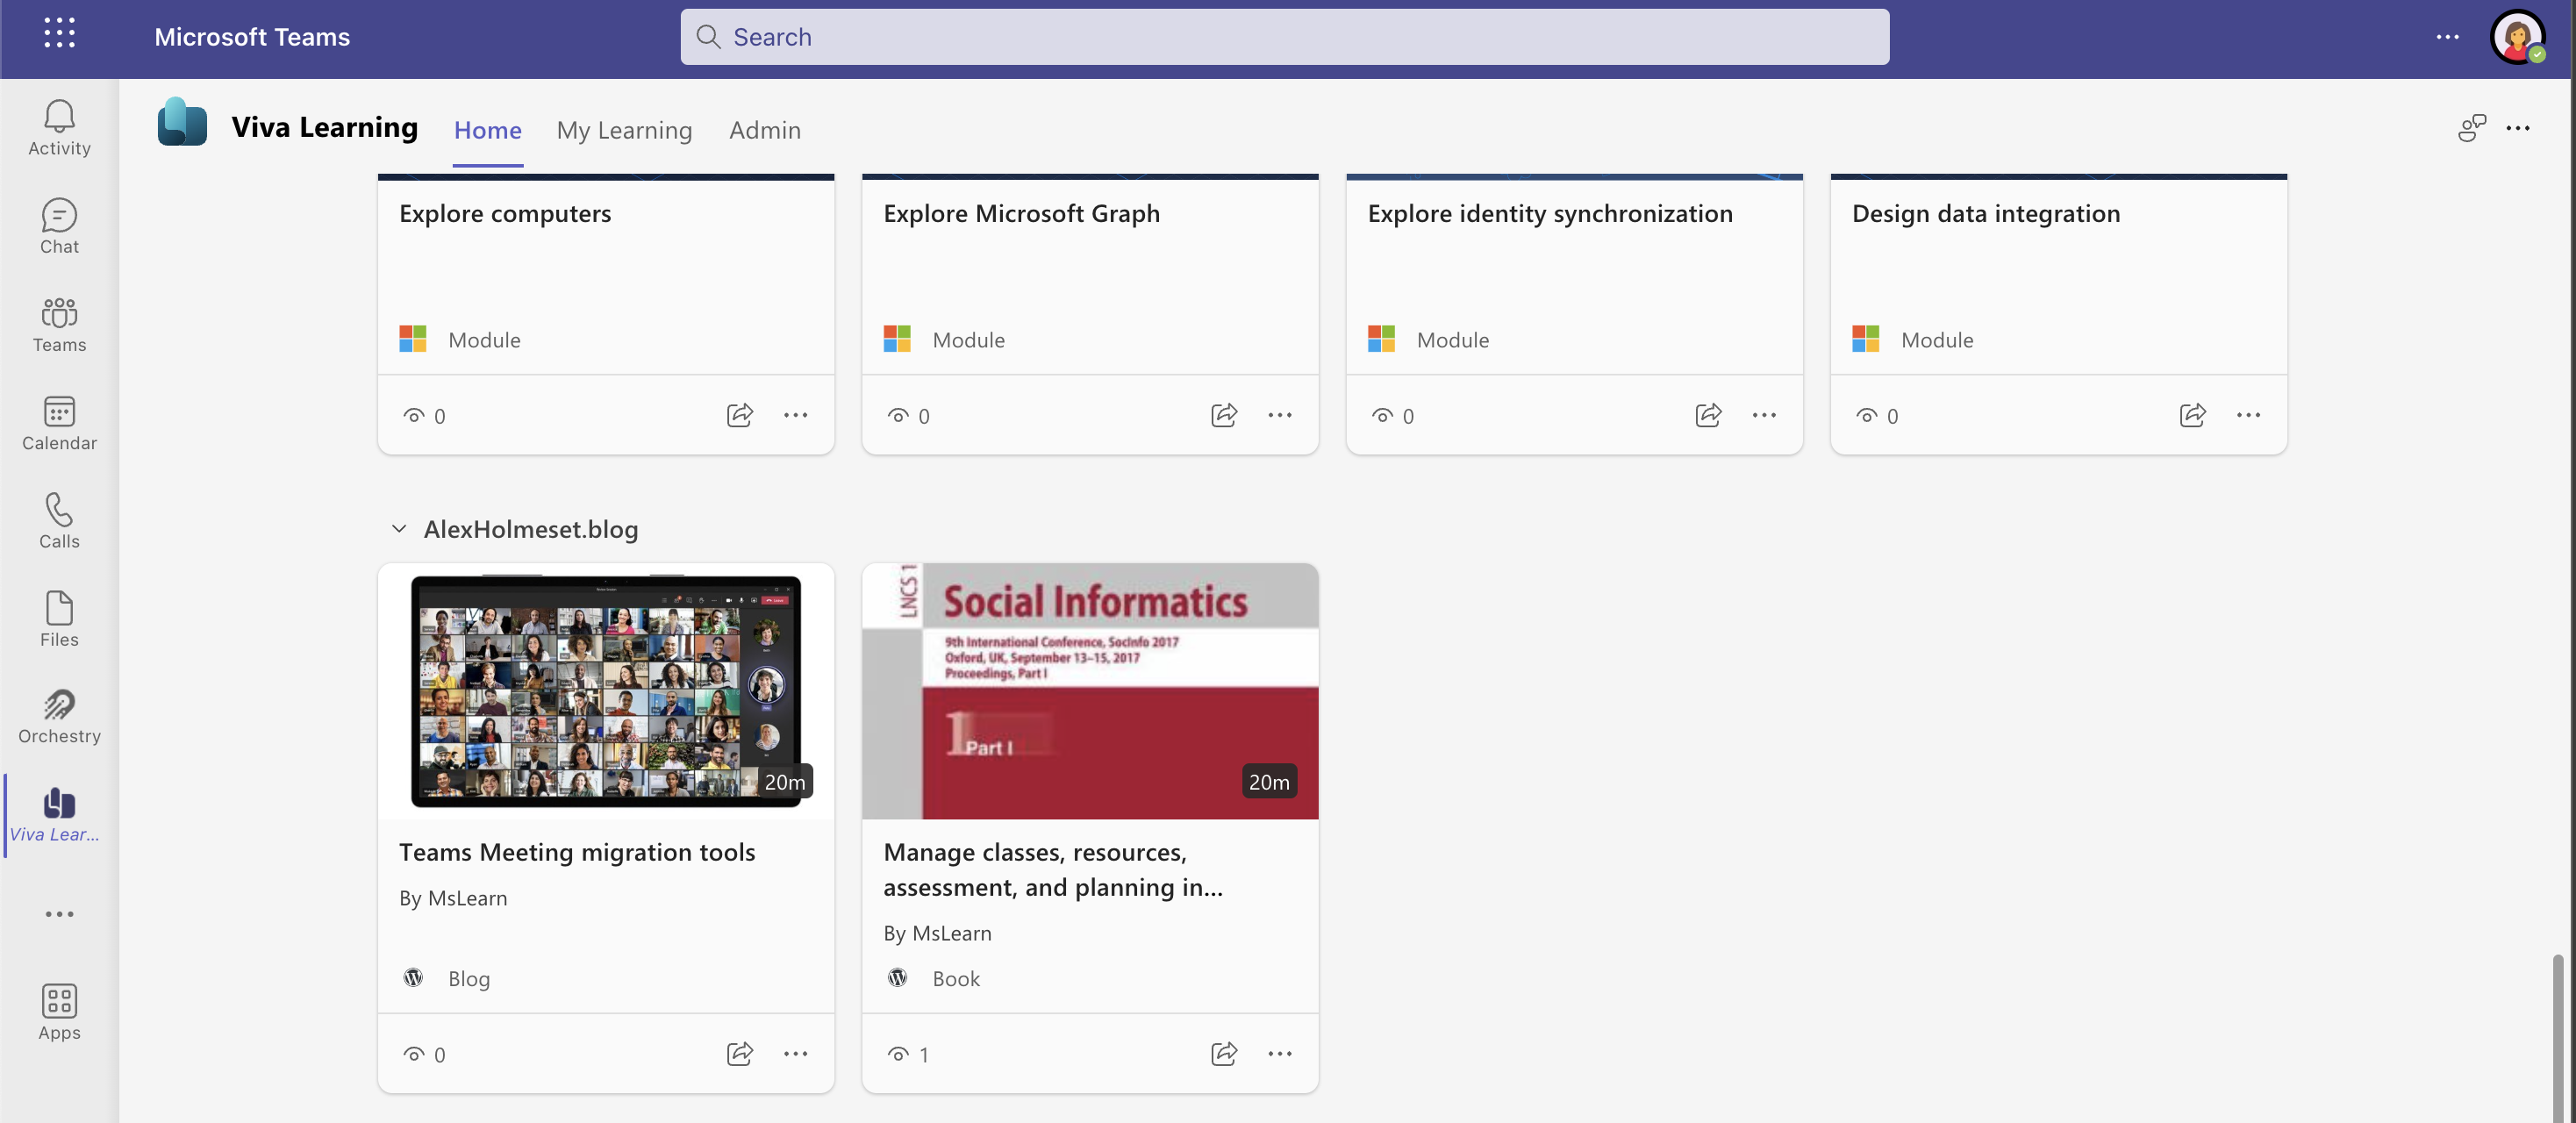
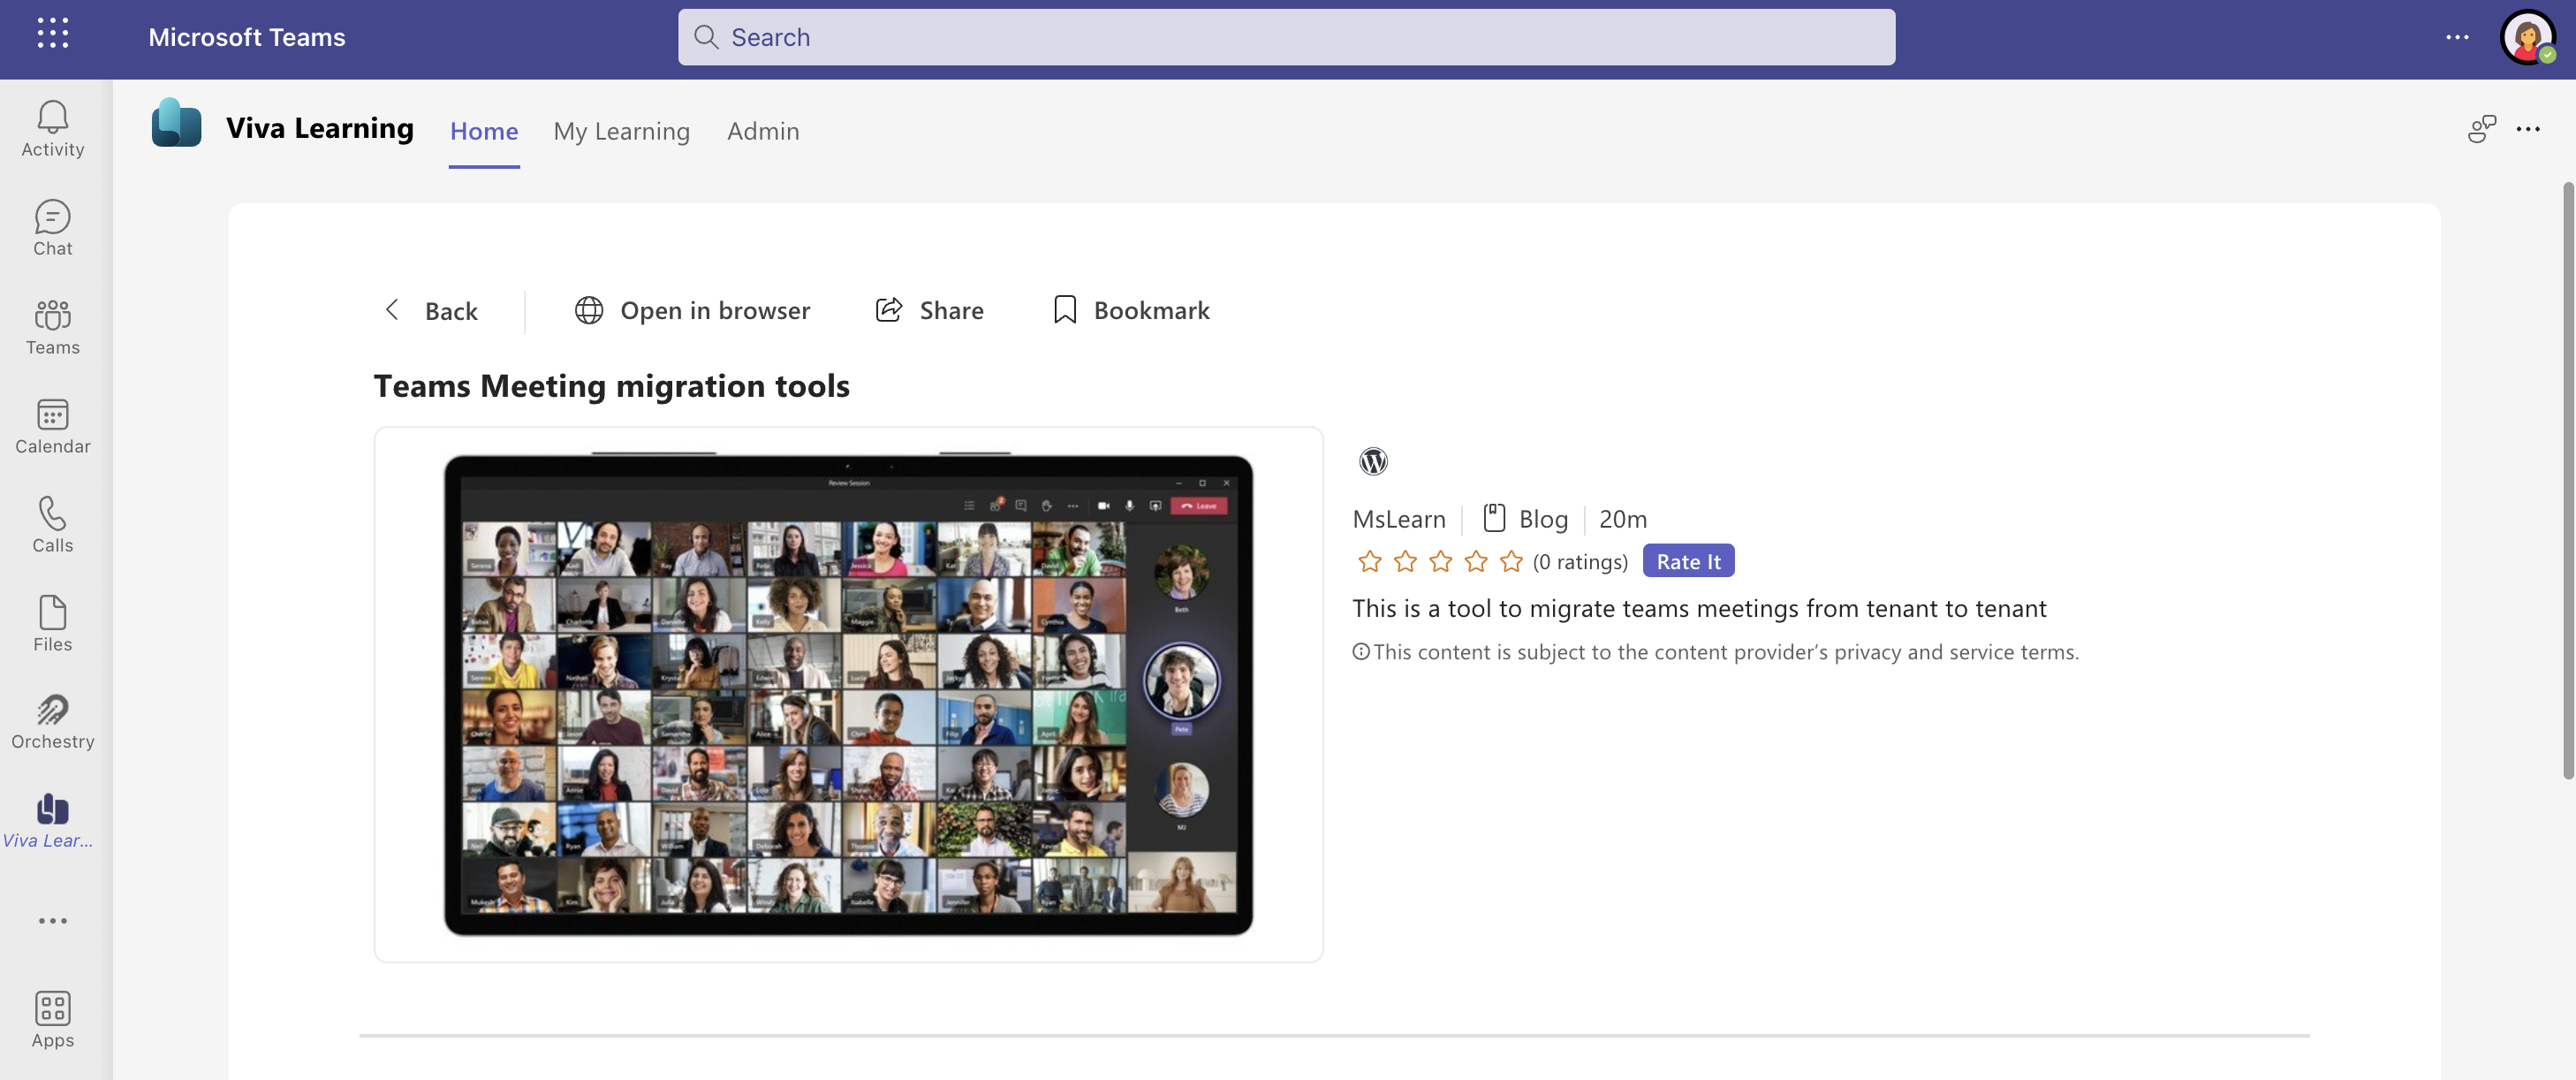
Now you just have to wait the 24 hours before Viva Learning syncs new content.
This is how it can look after its synced.

[…] Alexander Holmeset’s blog about how you can add a blog/website as a content provider in Microsoft Viva Learning: Update a custom content provider for Viva Learning with an RSS feed | A blog about automation and te… […]
LikeLike