Fewer emails after deploying Microsoft Teams?

Many organizations send files and have long conversations on email internally. What will happen to the number of emails sent internally after the deployment of Microsoft Teams?

I have created a verry simple script/method to automatically gather/messaure this by. You should set it up as soon as you are in the pre-planning of a Teams deployment. This way you have some pre-email “death” to compare against.

You setup a scheduled runbook in Azure Automation that daily checks how many internal emails have been sent, then uploads it to an Azure SQL database. Then you could connect these data to an Power BI report.

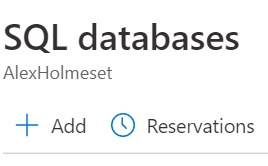
The first thing to do is creating an Azure SQL database.

Go to portal.azure.com and search for or find “SQL databases”.

Click Add.

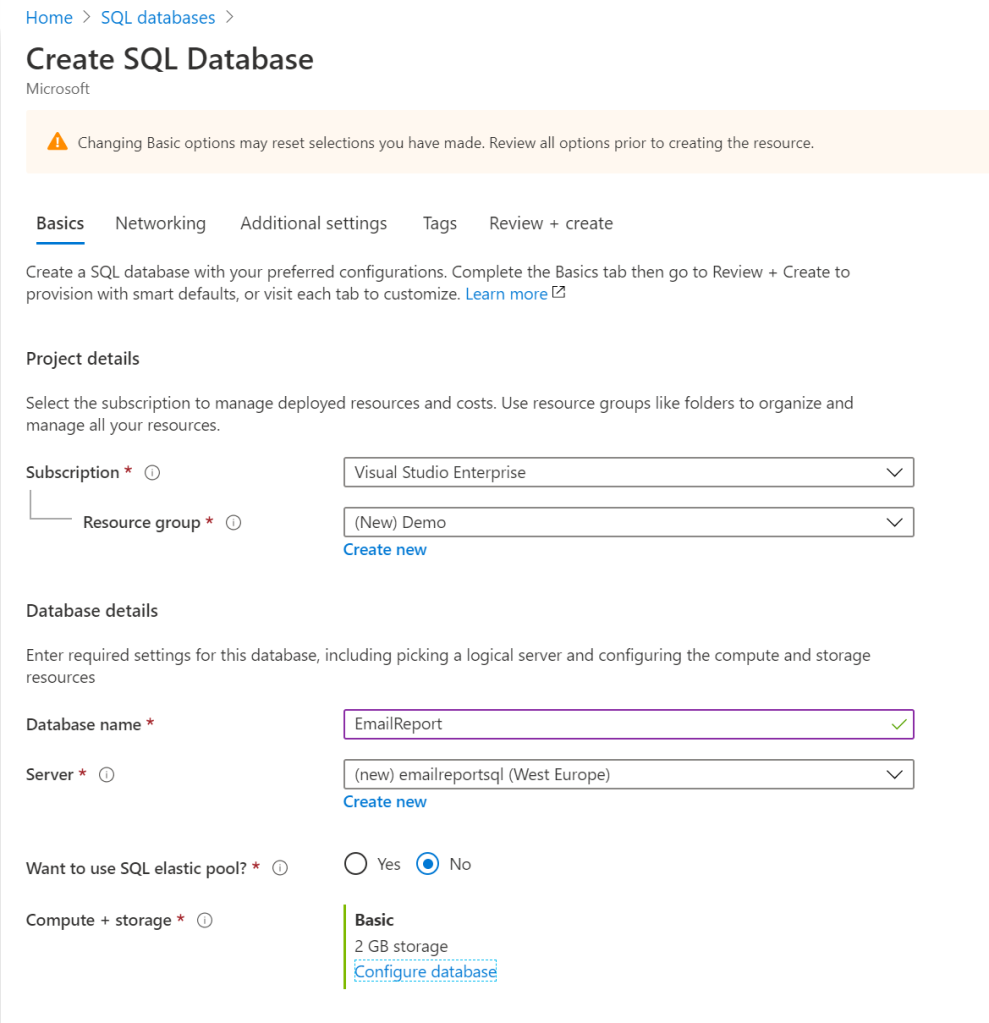
Go through this form, and create a new server if needed.

Its probably more than enough to choose the smallest type of server/database if you don’t have any from before you can use.

Click “Review + create” and then “Create”.

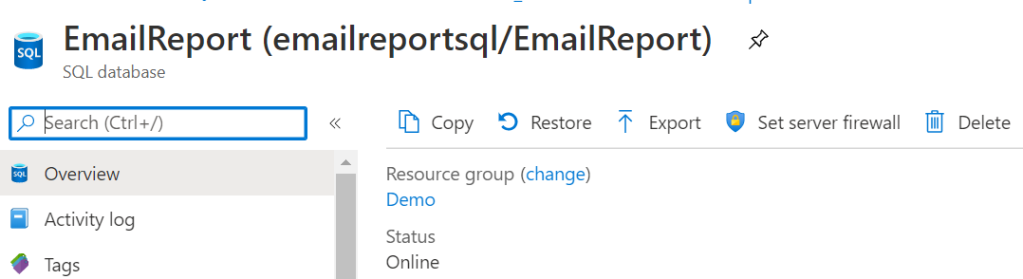
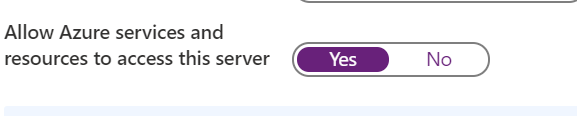
After the resource is deployed, open the page for the SQL server/database and click “Set server firewall”.

Set this to be yes.

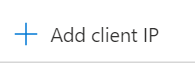
Also add the IP of the client you will access the database from, then press save.

Now we need to go to “Automation Accounts”.
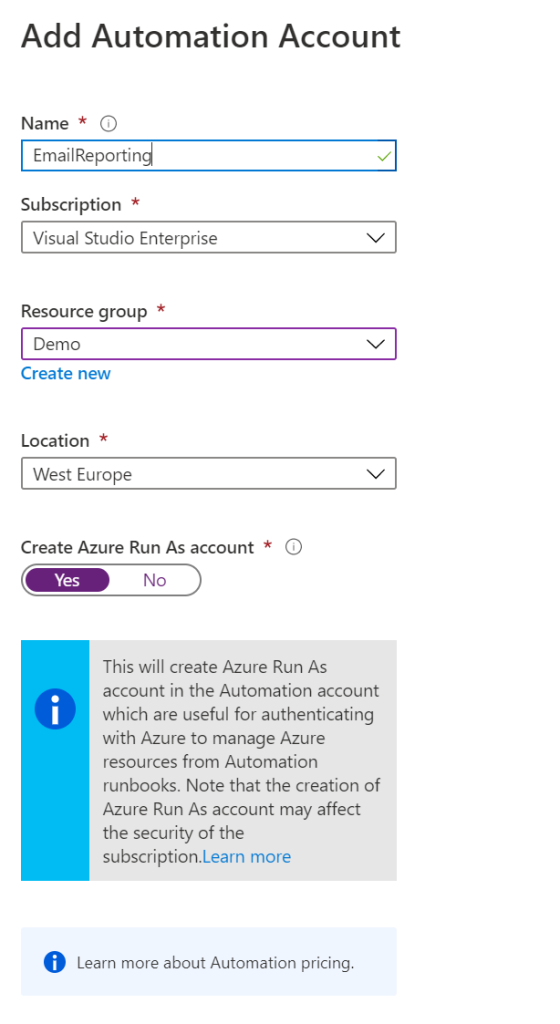
Click on “Add”.

Fill out and click “Create”.

Open the Automation Account you created, and go to “Variables”.

Click “Add a variable” . Create one for the usename and one for the password of the SQL server admin.

Now go to “Runnbooks” and click on “Create a runbook”.

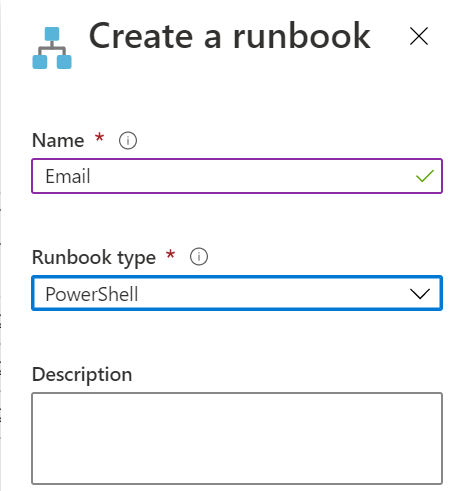
Give it a name, and set to PowerShell.

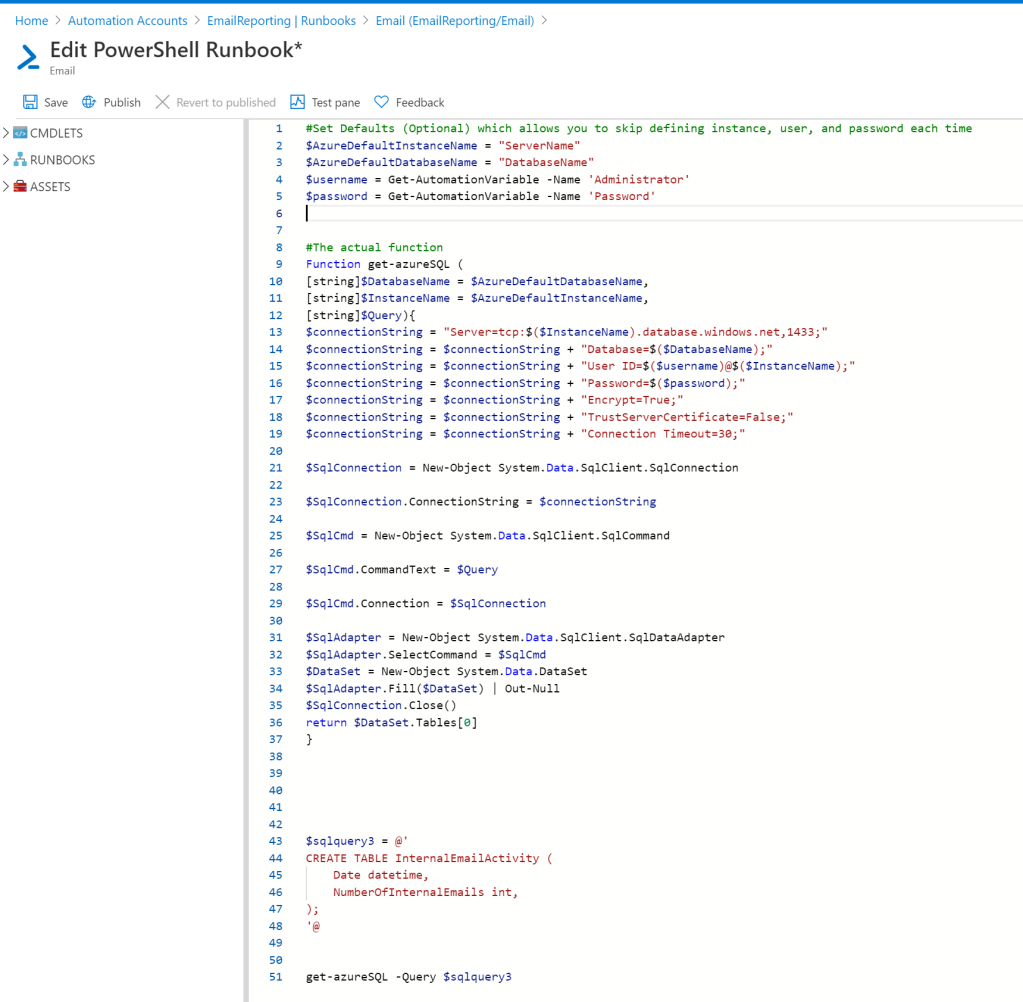
Now copy the following script:

#Set Defaults (Optional) which allows you to skip defining instance, user, and password each time
$AzureDefaultInstanceName = "ServerName"
$AzureDefaultDatabaseName = "DatabaseName"
$username = Get-AutomationVariable -Name 'Administrator'
$password = Get-AutomationVariable -Name 'Password'
#The actual function
Function get-azureSQL (
[string]$DatabaseName = $AzureDefaultDatabaseName,
[string]$InstanceName = $AzureDefaultInstanceName,
[string]$Query){
$connectionString = "Server=tcp:$($InstanceName).database.windows.net,1433;"
$connectionString = $connectionString + "Database=$($DatabaseName);"
$connectionString = $connectionString + "User ID=$($username)@$($InstanceName);"
$connectionString = $connectionString + "Password=$($password);"
$connectionString = $connectionString + "Encrypt=True;"
$connectionString = $connectionString + "TrustServerCertificate=False;"
$connectionString = $connectionString + "Connection Timeout=30;"
$SqlConnection = New-Object System.Data.SqlClient.SqlConnection
$SqlConnection.ConnectionString = $connectionString
$SqlCmd = New-Object System.Data.SqlClient.SqlCommand
$SqlCmd.CommandText = $Query
$SqlCmd.Connection = $SqlConnection
$SqlAdapter = New-Object System.Data.SqlClient.SqlDataAdapter
$SqlAdapter.SelectCommand = $SqlCmd
$DataSet = New-Object System.Data.DataSet
$SqlAdapter.Fill($DataSet) | Out-Null
$SqlConnection.Close()
return $DataSet.Tables[0]
}
$sqlquery3 = @'
CREATE TABLE InternalEmailActivity (
Date datetime,
NumberOfInternalEmails int,
);
'@
get-azureSQL -Query $sqlquery3

This script is to create the table you need in the SQL database.
Paste the script into the editor of the runbook, modify the parameters so its with your username and so on.

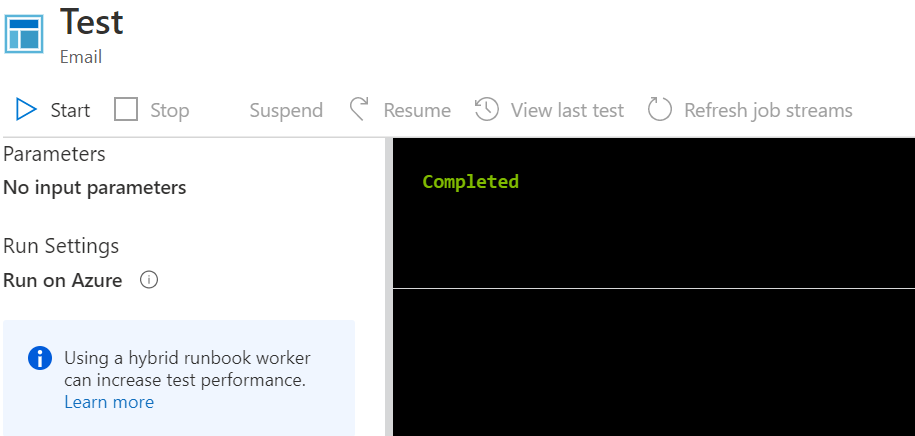
Click on “Test pane”, then on “Play”.

If it says “Completed” like this without any errors, then your SQL table is created.

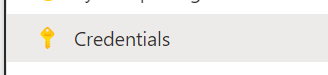
No need to save. Go to the Credentials part of the Automation Account.

Click “Add a credential” and enter the username and password for an Exchange admin account without MFA.

Now go back and edit the runbook and copy/paste the following script that will run on a schedule into the runbook editor. Remember to remove the previous script.

$credential = Get-AutomationPSCredential -Name 'Exchange'
$session = New-PSSession -ConfigurationName Microsoft.Exchange -ConnectionUri 'https://outlook.office365.com/powershell-liveid/' -Credential $credential -Authentication Basic -AllowRedirection
Import-Module (Import-PSSession -Session $session -DisableNameChecking -AllowClobber ) -Global
$TodaysDate = Get-Date (Get-Date).AddDays(-1) -Format 'MM/dd/yyyy'
$NumberOfInternalEmails = (Get-MessageTrace -StartDate $TodaysDate -EndDate $TodaysDate | Where-Object{$_.'SenderAddress' -like '*alexholmeset.onmicrosoft.com'} | Where-Object{$_.'RecipientAddress' -like '*alexholmeset.onmicrosoft.com'}).count
#Set Defaults (Optional) which allows you to skip defining instance, user, and password each time
$AzureDefaultInstanceName = "ServerName"
$AzureDefaultDatabaseName = "DatabaseName"
$AzureDefaultUserID = Get-AutomationVariable -Name 'Administrator'
$AzureDefaultPassword = Get-AutomationVariable -Name 'Password'
#The actual function
Function get-azureSQL (
[string]$DatabaseName = $AzureDefaultDatabaseName,
[string]$InstanceName = $AzureDefaultInstanceName
,[string]$UserID = $AzureDefaultUserID
,[string]$Password = $AzureDefaultPassword
,[string]$Query){
$connectionString = "Server=tcp:$($InstanceName).database.windows.net,1433;"
$connectionString = $connectionString + "Database=$($DatabaseName);"
$connectionString = $connectionString + "User ID=$($UserID)@$($InstanceName);"
$connectionString = $connectionString + "Password=$($Password);"
$connectionString = $connectionString + "Encrypt=True;"
$connectionString = $connectionString + "TrustServerCertificate=False;"
$connectionString = $connectionString + "Connection Timeout=30;"
$SqlConnection = New-Object System.Data.SqlClient.SqlConnection
$SqlConnection.ConnectionString = $connectionString
$SqlCmd = New-Object System.Data.SqlClient.SqlCommand
$SqlCmd.CommandText = $Query
$SqlCmd.Connection = $SqlConnection
$SqlAdapter = New-Object System.Data.SqlClient.SqlDataAdapter
$SqlAdapter.SelectCommand = $SqlCmd
$DataSet = New-Object System.Data.DataSet
$SqlAdapter.Fill($DataSet) | Out-Null
$SqlConnection.Close()
return $DataSet.Tables[0]
}
$sqlquery = @"
INSERT INTO InternalEmailActivity (Date, NumberOfInternalEmails)
VALUES ('$((get-date (get-date).AddDays(-1) -Format 'MM/dd/yyyy'))', '$NumberOfInternalEmails');
"@
#Querying Azure SQL using Defaults defined above
get-azureSQL -Query $sqlquery

Once again, edit your variables. Also remember to change the email domain you want to report on.

Before you press save and publish, you can do a test to see it runs without problems.

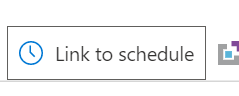
After publishing the runbook, click “Link to schedule”.
Create a schedule so it runs after midnight. Around 01:00 AM should be fine. This is because, then every time the script runs you collect a full day of email activity.

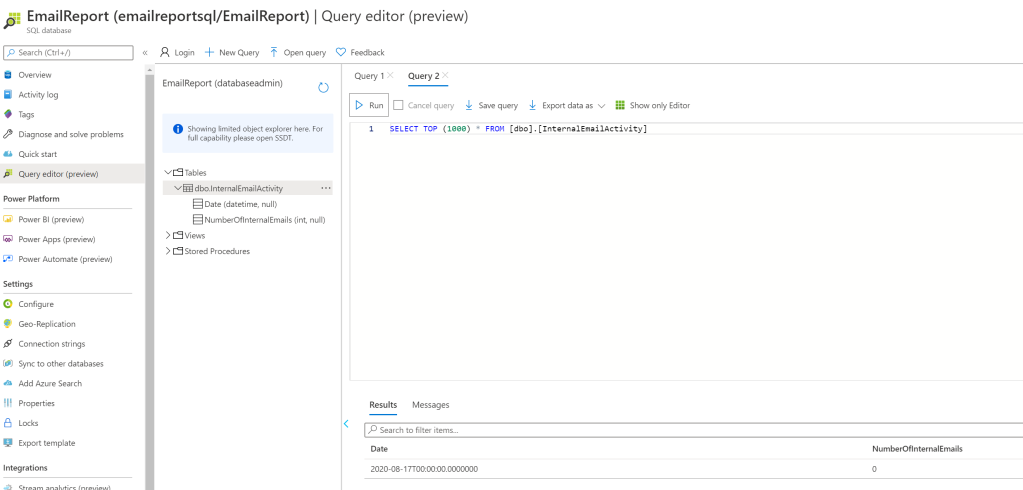
Now the last thing to do is to open the SQL database through the Querry Editor to see if any data have been added.

Now you can watch email usage decline (hopefully) either through text in your database or make a pretty Power BI report to show it.

Leave a comment