
So you have multiple Microsoft Teams Auto Attendants, and before every holiday your help desk is slammed with requests to update the out of office date on all these. There are always 3rd party tools you can buy to help you out, but I like to see what’s possible to create yourself almost for free. We are going to create form users can fill out to update holiday opening hours and greeting for your Auto Attendants.
First we need an App Registration in portal.azure.com. This is to be able to read the audio file users are uploading as a greeting message.

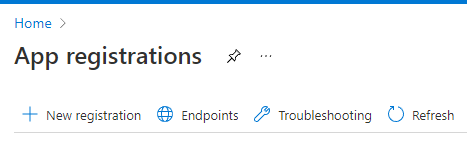
Click ‘New Registration’
Give it a name and click ‘Register’
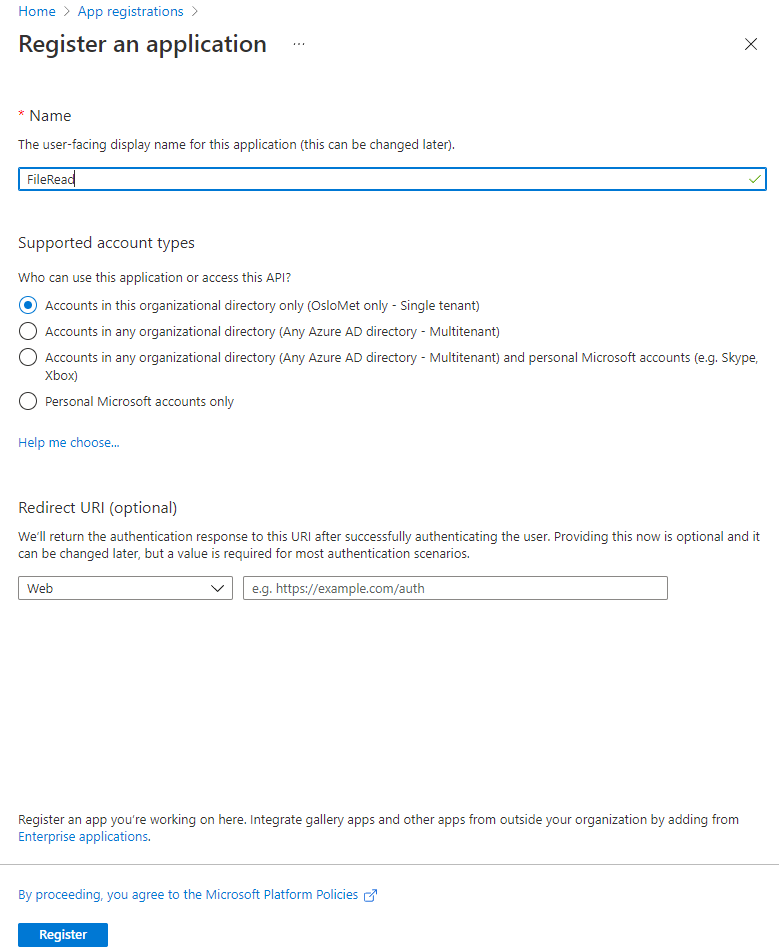
Take note of the Client ID and Tenant ID, you will need that in the PowerShell script further down.

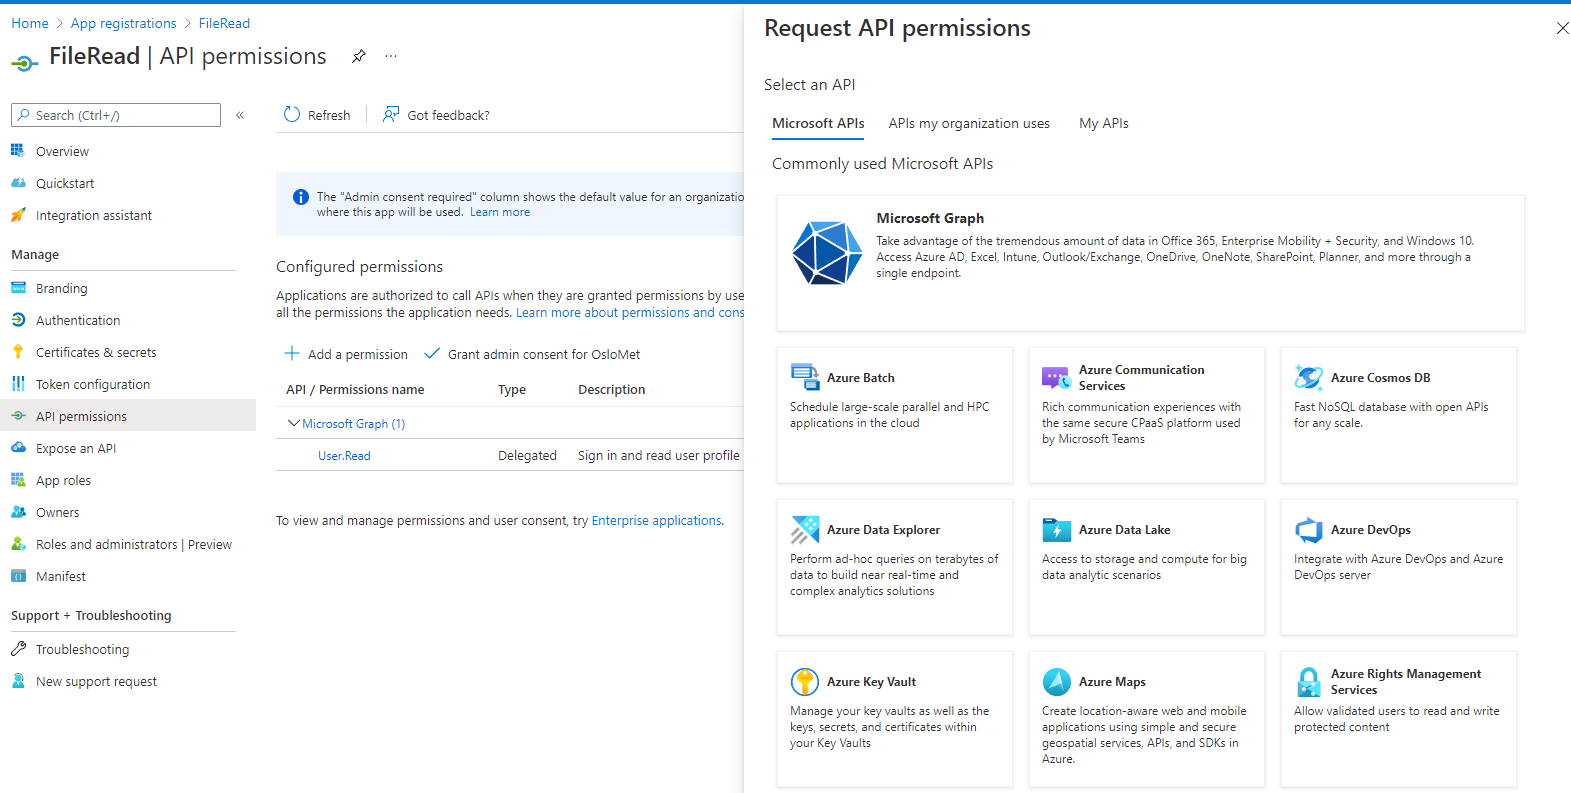
Click ‘API permissions’, ‘Add a permission’ and ‘Microsoft Graph’.
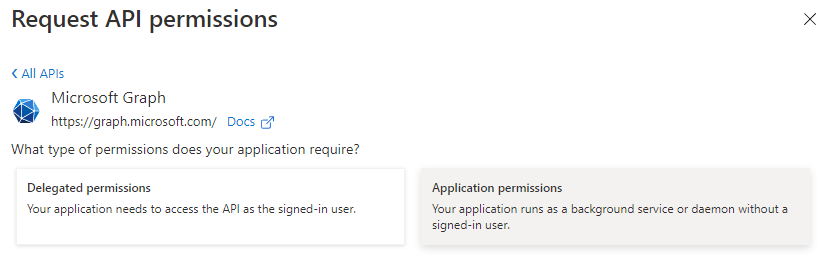
Click ‘Application permissions’.
Select ‘Files.Read.All’.
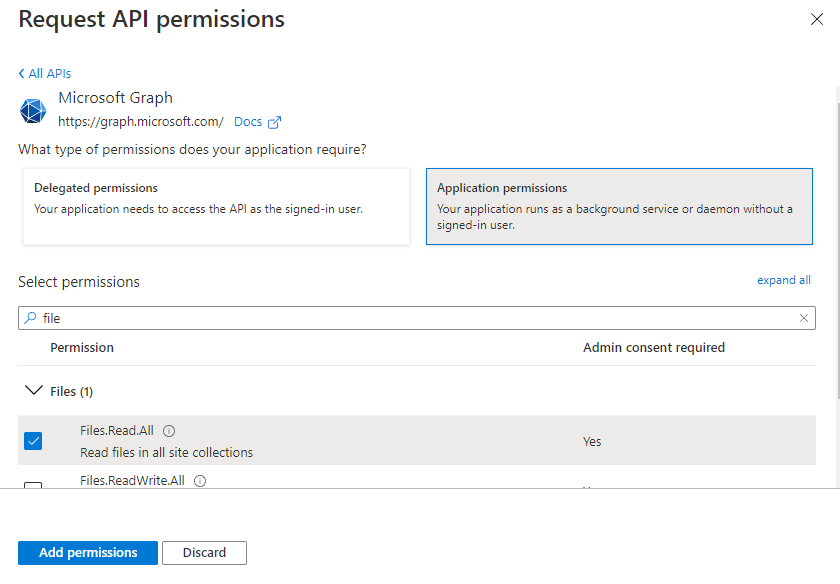
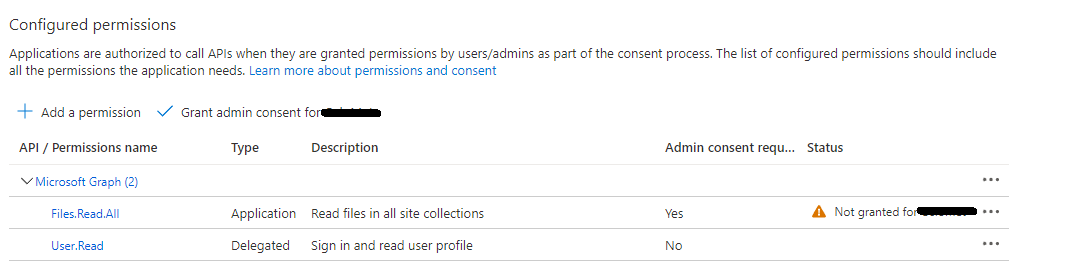
Click ‘Grant admin consent…’.
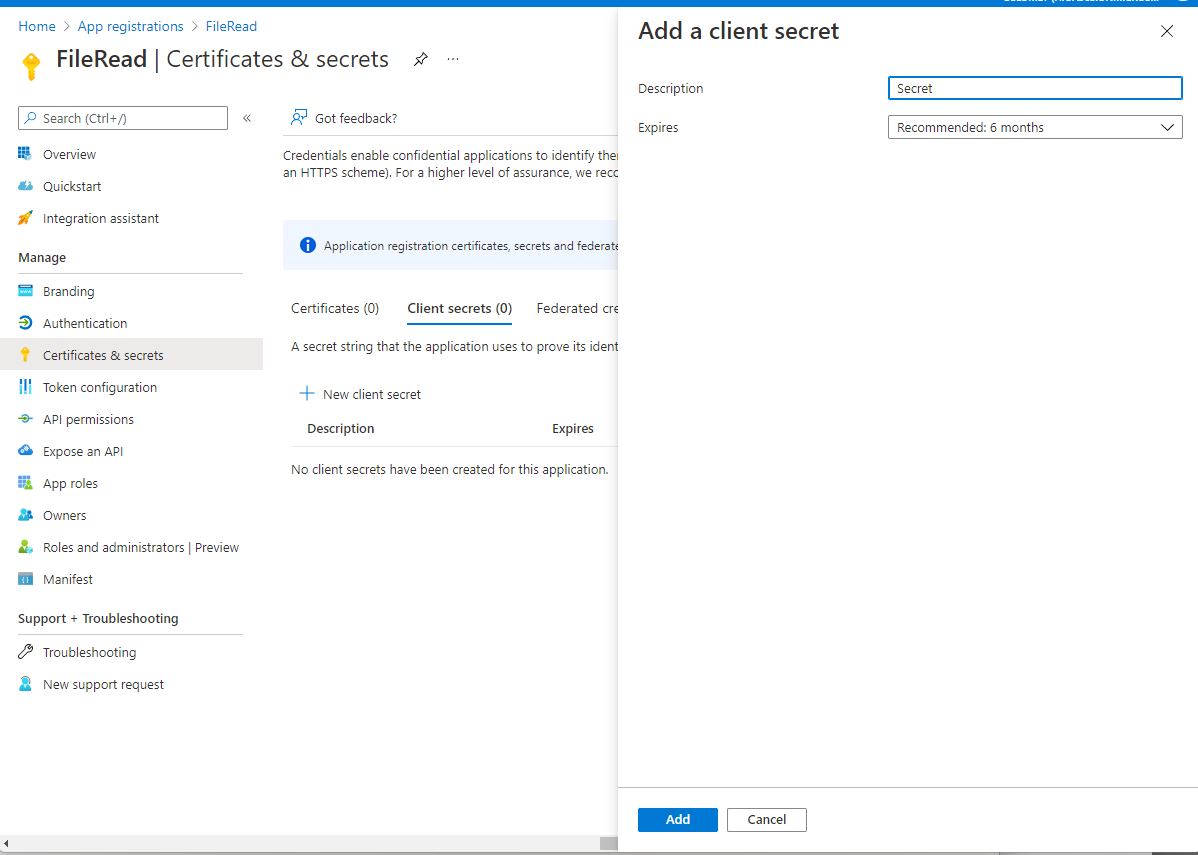
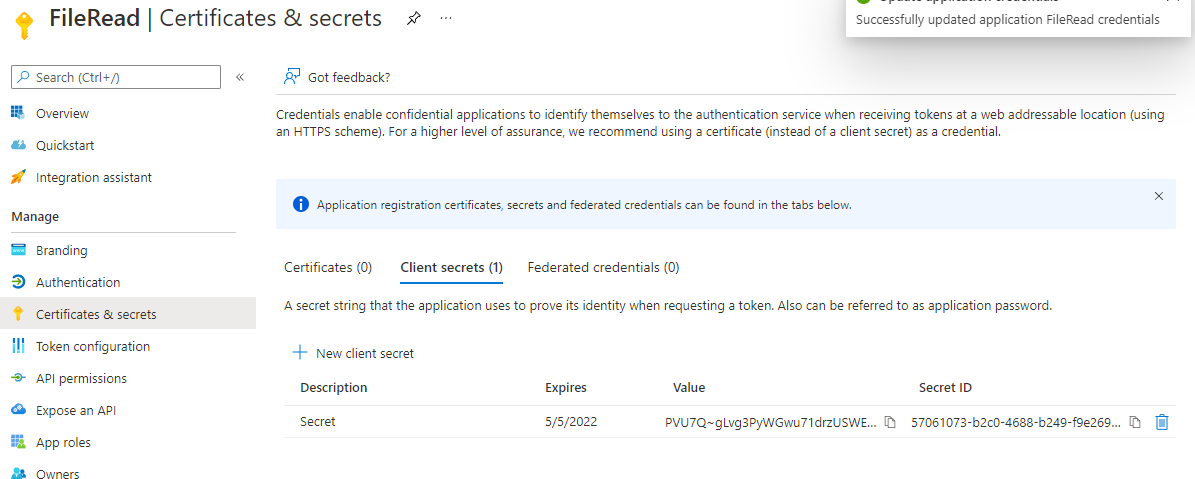
Go to ‘Certificates & secrets’ and click ‘New client secret’. Give it a name and click ‘Add’.
Copy the value of the secret.
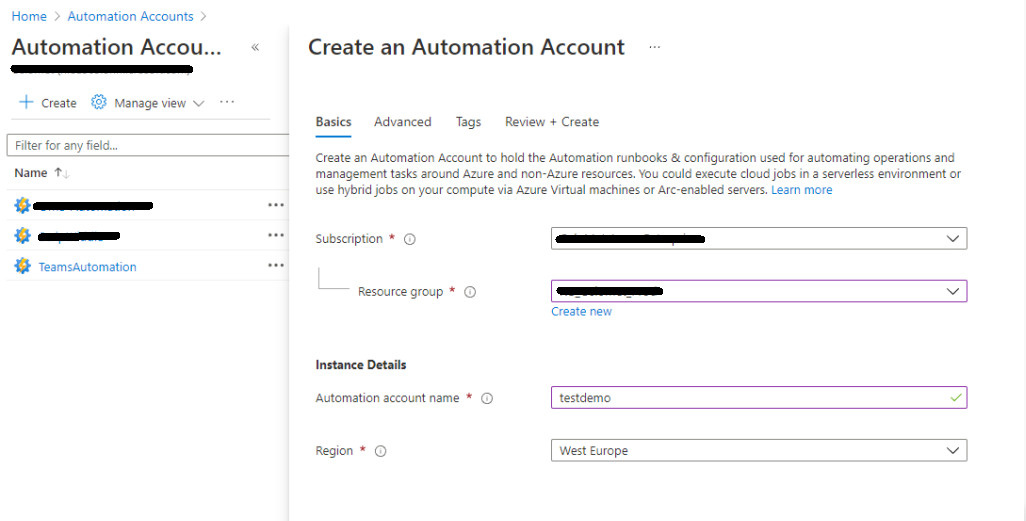
Now we need to register an Automation Account.

Click ‘Create’ and enter the needed info and click ‘Create’

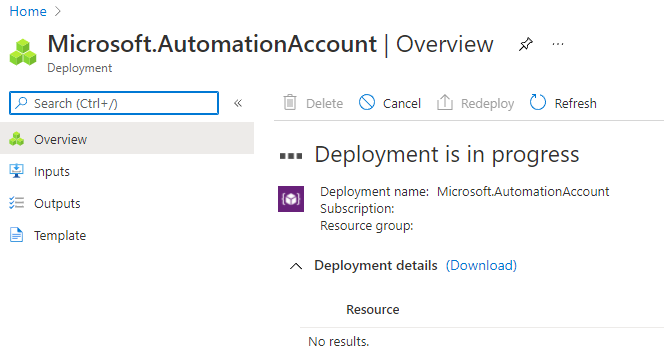
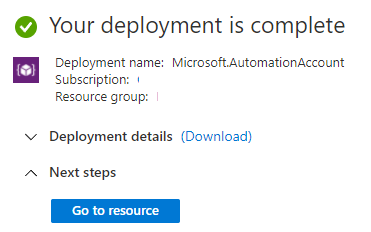
Click ‘Go to resource’.
Now we need to import the Teams PowerShell module into the Automation Account, so go to ‘Modules’ and click ‘Add a module’.
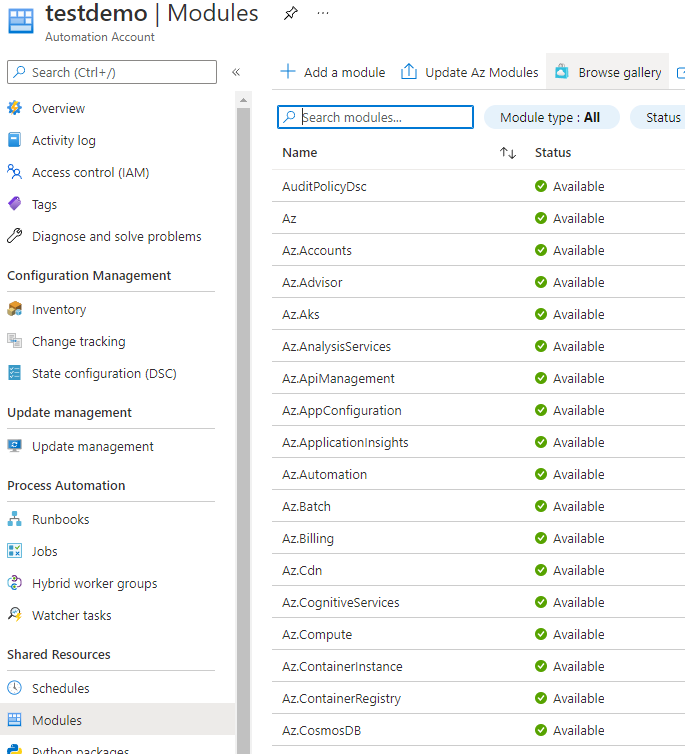
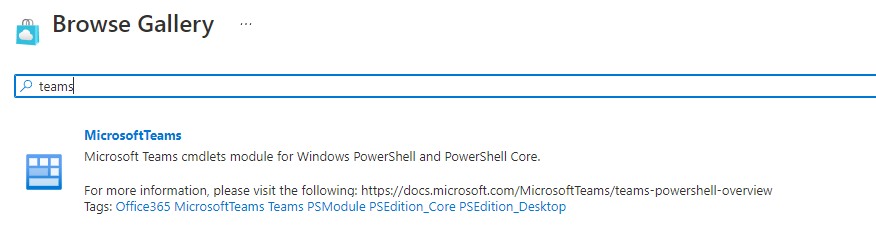
Search for ‘Teams’ and click on ‘Microsoft Teams’.
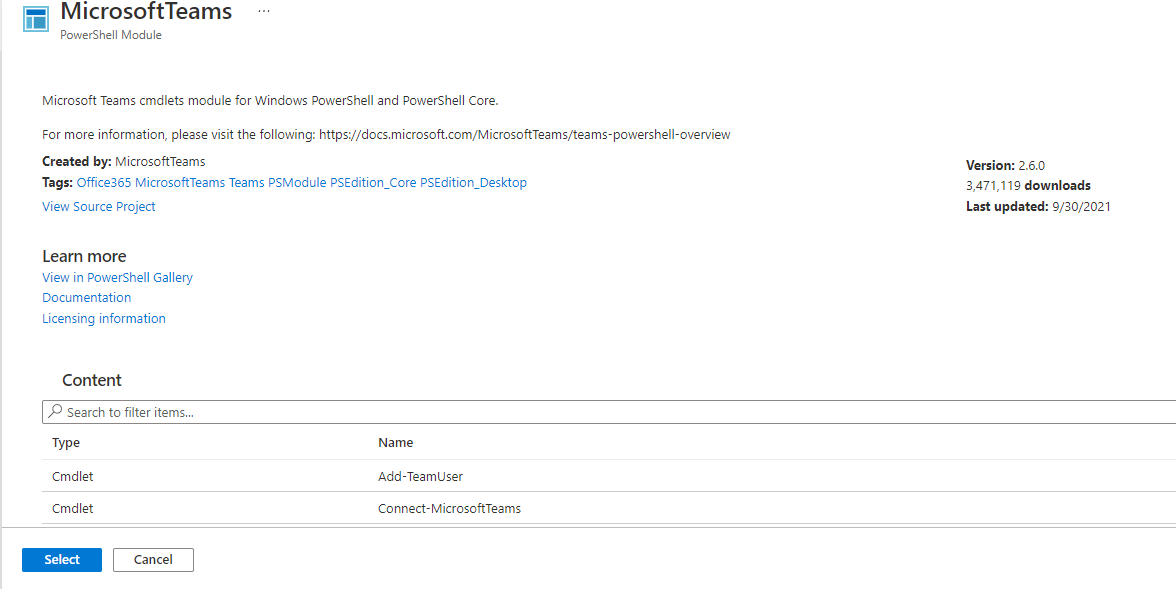
Click ‘Select’.
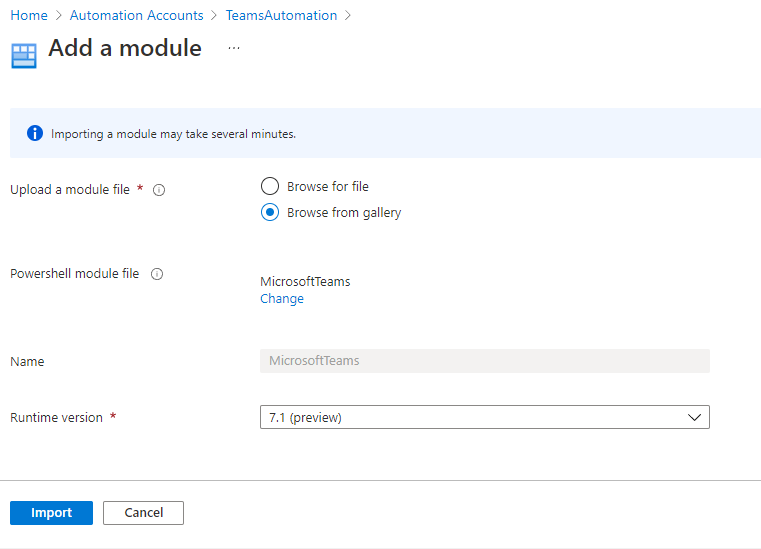
Select ‘7.1’ as the ‘Runtime version’. This is because PowerShell 5.1 in Azure Automation does not like to read wav files. Click ‘Import’.
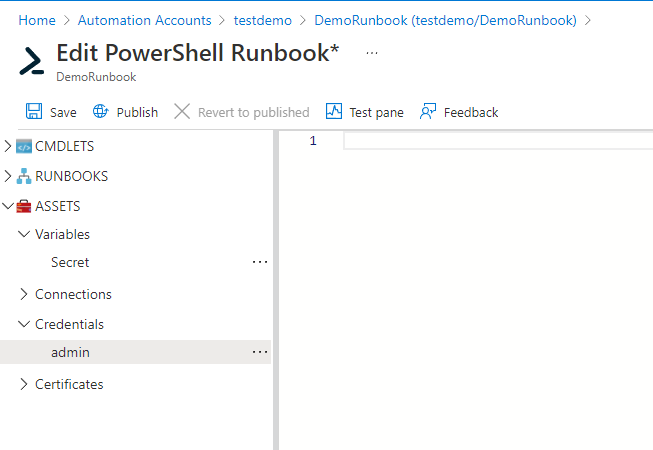
Go to ‘Variables’ and click ‘Add a variable’. Give it a name and paste the App Registration secret as the value. Click ‘Create’

Go to ‘Credentials’ and click ‘Add a credential’. Add the username and password of a Teams admin account, then click ‘Create’.

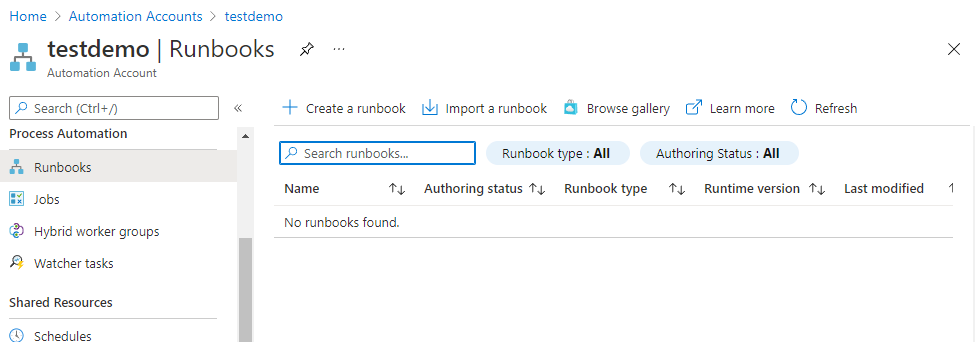
Go to ‘Runbooks’ and click ‘Create a runbook’.
Choose the following settings and click ‘Create’.
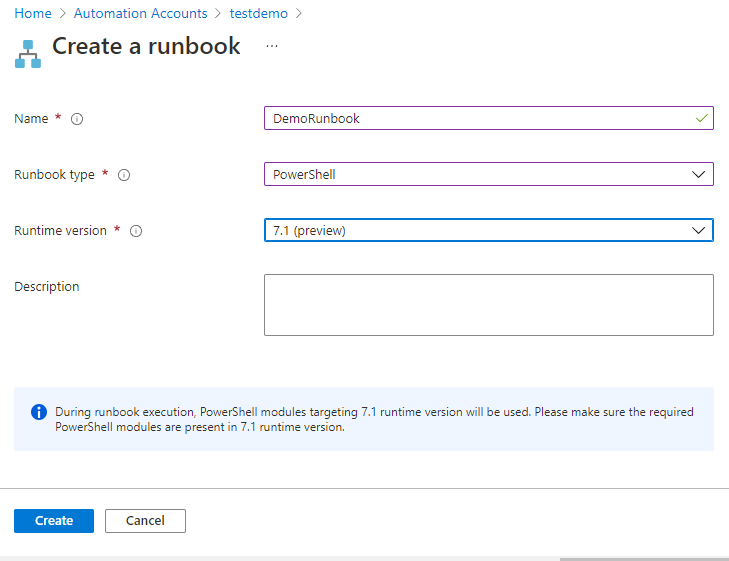
Here you paste the PowerShell script you can find below.
| Param( | |
| [Parameter (Mandatory= $true)] | |
| [String] $autoAttendantName, | |
| [Parameter (Mandatory= $false)] | |
| [String] $HolidayName, | |
| [Parameter (Mandatory= $false)] | |
| [String] $StartDate, | |
| [Parameter (Mandatory= $false)] | |
| [String] $EndDate, | |
| [Parameter (Mandatory= $false)] | |
| [String] $GreetingText, | |
| [Parameter (Mandatory= $false)] | |
| [String] $GreetingFileID, | |
| [Parameter (Mandatory= $false)] | |
| [String] $Choice | |
| ) | |
| ### Teams AA Administration ### | |
| ### Version 1.0 ### | |
| ### Author: Alexander Holmeset ### | |
| ### Email: [email protected] ### | |
| ### Twitter: twitter.com/alexholmeset ### | |
| ### Blog: alexholmeset.blog ### | |
| $TenantId = 'xxxxxxxxxxxxx' | |
| $ClientID = 'xxxxxxx' | |
| $ClientSecret = Get-AutomationVariable -Name 'secret' | |
| $Credentials = Get-AutomationPSCredential -Name 'admin' | |
| connect-microsoftteams -Credential $Credentials | |
| function Get-MSGraphAppToken{ | |
| <# .SYNOPSIS | |
| Get an app based authentication token required for interacting with Microsoft Graph API | |
| .PARAMETER TenantID | |
| A tenant ID should be provided. | |
| .PARAMETER ClientID | |
| Application ID for an Azure AD application. Uses by default the Microsoft Intune PowerShell application ID. | |
| .PARAMETER ClientSecret | |
| Web application client secret. | |
| .EXAMPLE | |
| # Manually specify username and password to acquire an authentication token: | |
| Get-MSGraphAppToken -TenantID $TenantID -ClientID $ClientID -ClientSecert = $ClientSecret | |
| .NOTES | |
| Author: Jan Ketil Skanke | |
| Contact: @JankeSkanke | |
| Created: 2020-15-03 | |
| Updated: 2020-15-03 | |
| Version history: | |
| 1.0.0 - (2020-03-15) Function created | |
| #> | |
| [CmdletBinding()] | |
| param ( | |
| [parameter(Mandatory = $true, HelpMessage = "Your Azure AD Directory ID should be provided")] | |
| [ValidateNotNullOrEmpty()] | |
| [string]$TenantID, | |
| [parameter(Mandatory = $true, HelpMessage = "Application ID for an Azure AD application")] | |
| [ValidateNotNullOrEmpty()] | |
| [string]$ClientID, | |
| [parameter(Mandatory = $true, HelpMessage = "Azure AD Application Client Secret.")] | |
| [ValidateNotNullOrEmpty()] | |
| [string]$ClientSecret | |
| ) | |
| Process { | |
| $ErrorActionPreference = "Stop" | |
| # Construct URI | |
| $uri = "https://login.microsoftonline.com/$tenantId/oauth2/v2.0/token" | |
| # Construct Body | |
| $body = @{ | |
| client_id = $clientId | |
| scope = "https://graph.microsoft.com/.default" | |
| client_secret = $clientSecret | |
| grant_type = "client_credentials" | |
| } | |
| try { | |
| $MyTokenRequest = Invoke-WebRequest -Method Post -Uri $uri -ContentType "application/x-www-form-urlencoded" -Body $body -UseBasicParsing | |
| $MyToken =($MyTokenRequest.Content | ConvertFrom-Json).access_token | |
| If(!$MyToken){ | |
| Write-Warning "Failed to get Graph API access token!" | |
| Exit 1 | |
| } | |
| $MyHeader = @{"Authorization" = "Bearer $MyToken" } | |
| } | |
| catch [System.Exception] { | |
| Write-Warning "Failed to get Access Token, Error message: $($_.Exception.Message)"; break | |
| } | |
| return $MyHeader | |
| } | |
| } | |
| $global:Header = Get-MSGraphAppToken -TenantID $TenantId -ClientID $ClientID -ClientSecret $ClientSecret | |
| $AutoAttendantID = (Get-CsAutoAttendant | Where-Object{$_.Name -like "$AutoAttendantName"}).Identity | |
| $autoAttendant = Get-CsAutoAttendant -Identity "$AutoAttendantID" | |
| If($Choice -like "Audio"){ | |
| $uri = "https://graph.microsoft.com/v1.0/users/$($credentials.username)/drive/items/$GreetingFileID/content" | |
| $content = Invoke-RestMethod -Method GET -Headers $global:Header -uri $uri -OutFile c:\temp\greeting.wav | |
| $content = Get-Content "C:\temp\greeting.wav" -asbytestream | |
| $audioFile = Import-CsOnlineAudioFile -ApplicationId "OrgAutoAttendant" -FileName "greeting.wav" -Content $content | |
| $GreetingPrompt = New-CsAutoAttendantPrompt -AudioFilePrompt $audioFile | |
| } | |
| if($Choice -like "Text"){ | |
| $GreetingPrompt = New-CsAutoAttendantPrompt -TextToSpeechPrompt $GreetingText | |
| } | |
| $StartDate = Get-Date $StartDate -Format "dd/MM/yyyy" | |
| $EndDate = Get-Date $EndDate -Format "dd/MM/yyyy" | |
| $MenuOption = New-CsAutoAttendantMenuOption -Action DisconnectCall -DtmfResponse Automatic | |
| $Menu = New-CsAutoAttendantMenu -Name "$HolidayName Menu" -MenuOptions @($MenuOption) | |
| $CallFlow = New-CsAutoAttendantCallFlow -Name "$HolidayName" -Greetings @($GreetingPrompt) -Menu $Menu | |
| $dtr = New-CsOnlineDateTimeRange -Start $StartDate -End $EndDate | |
| $Schedule = New-CsOnlineSchedule -Name "$HolidayName" -FixedSchedule -DateTimeRanges @($dtr) | |
| $CallHandlingAssociation = New-CsAutoAttendantCallHandlingAssociation -Type Holiday -ScheduleId $Schedule.Id -CallFlowId $CallFlow.Id | |
| $autoAttendant.CallFlows += @($CallFlow) | |
| $autoAttendant.CallHandlingAssociations += @($CallHandlingAssociation) | |
| Set-CsAutoAttendant -Instance $autoAttendant | |
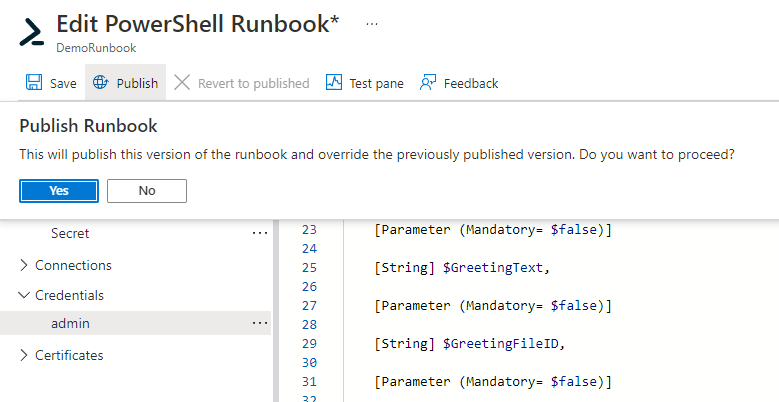
Click on ‘Publish’ and ‘Yes’.
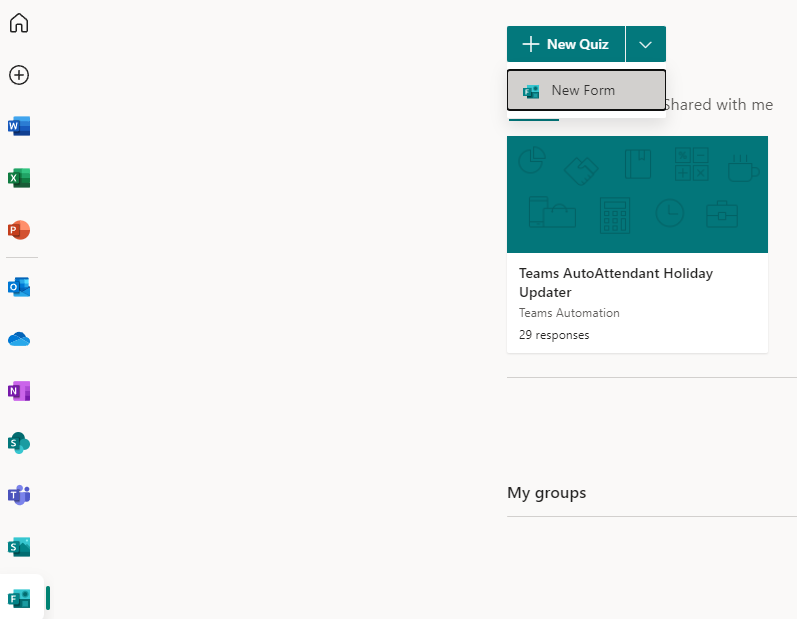
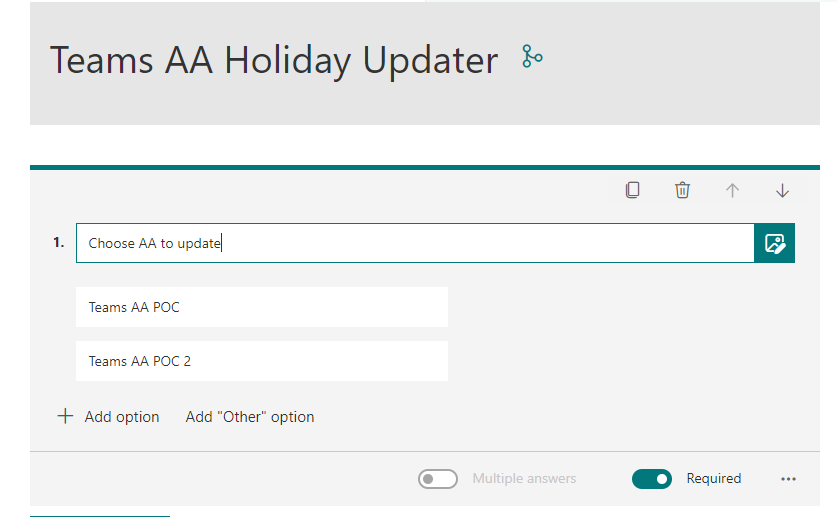
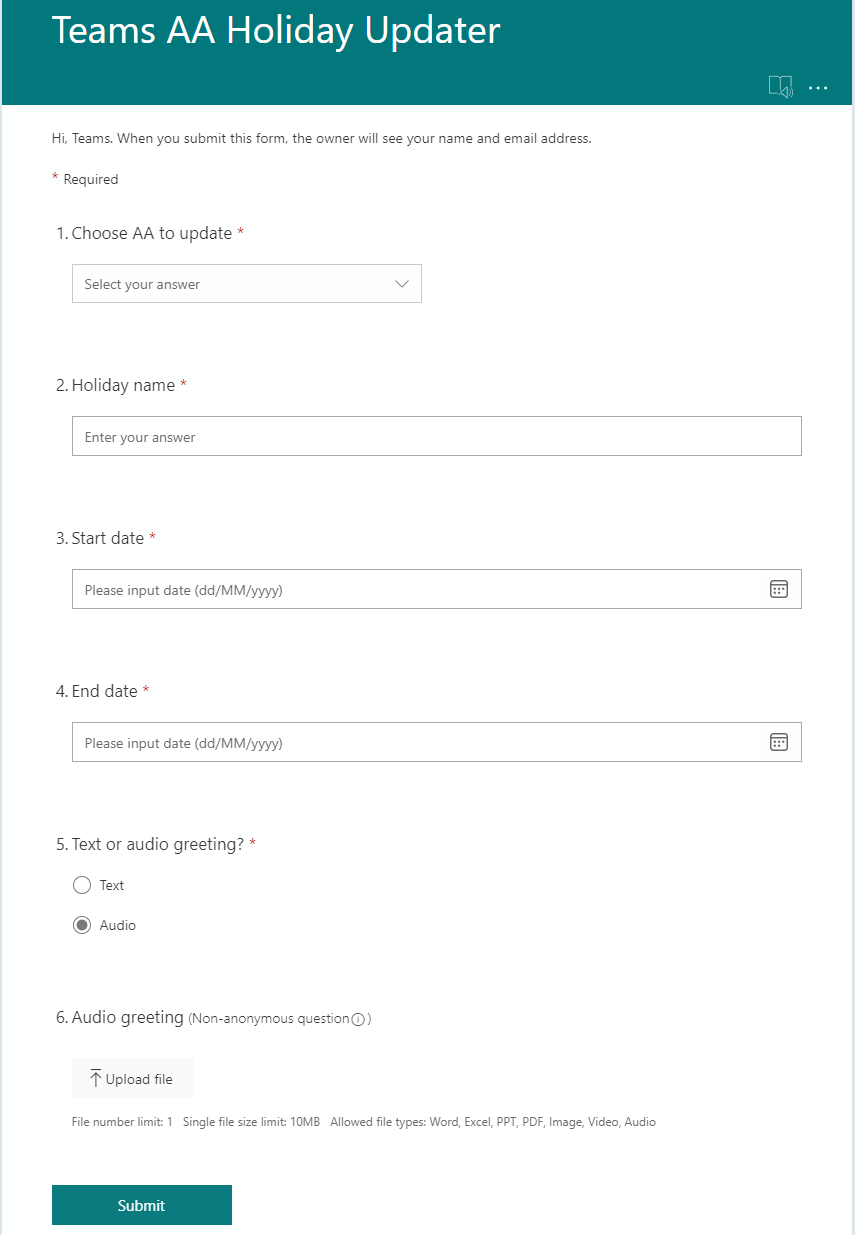
Now we need to create a Microsoft Form. Click ‘New Form’.
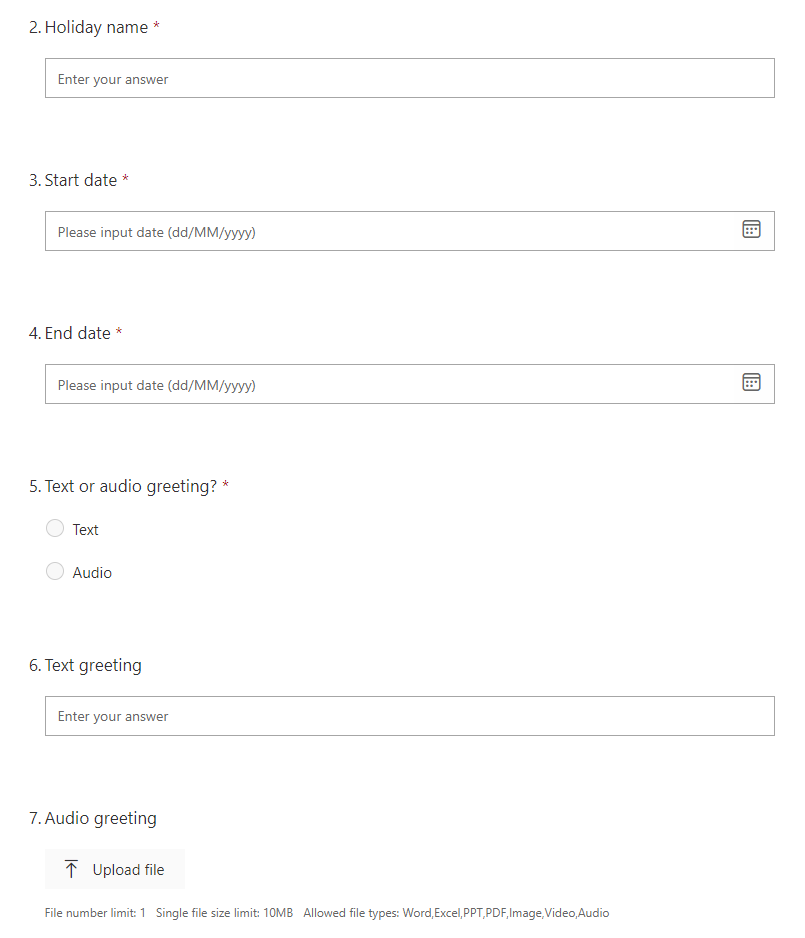
Create the form based on the screenshots below. We use the display name of the Auto Attendant to find the correct one in the script, so that’s what’s added to field number 1.
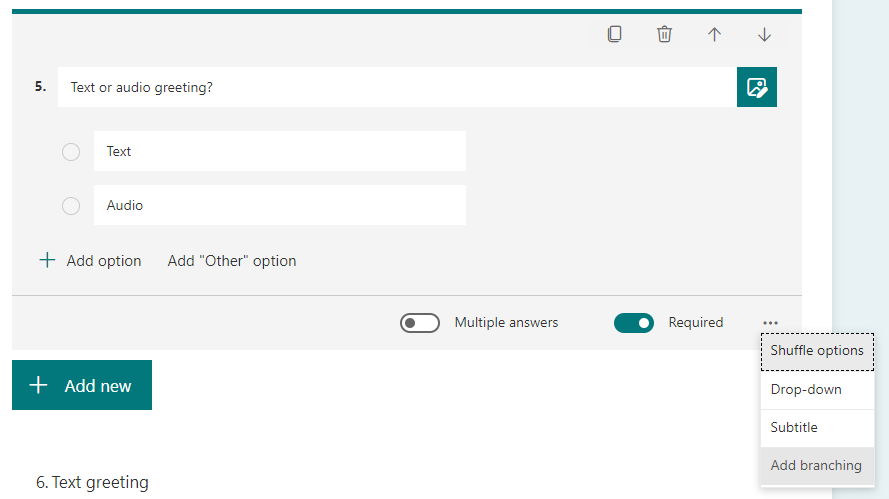
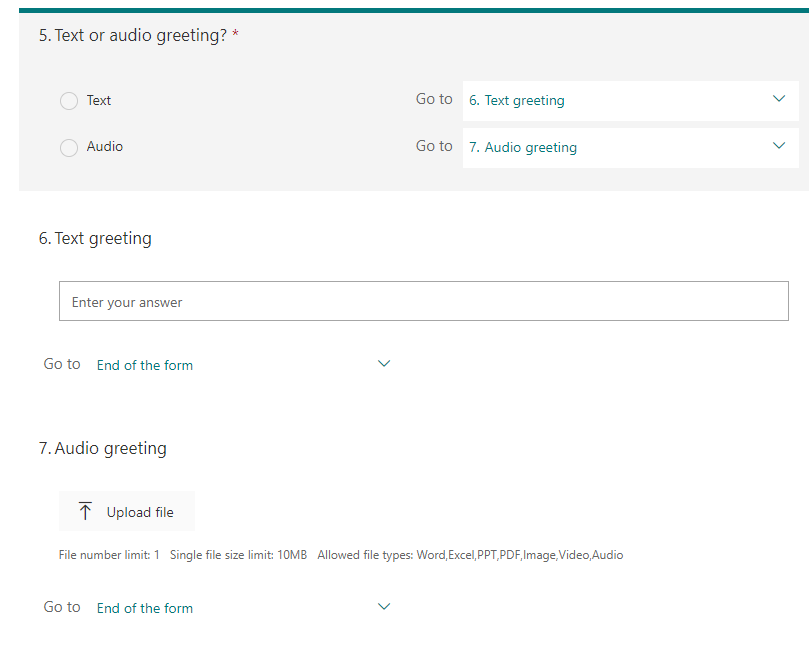
Now we need to add some branching.
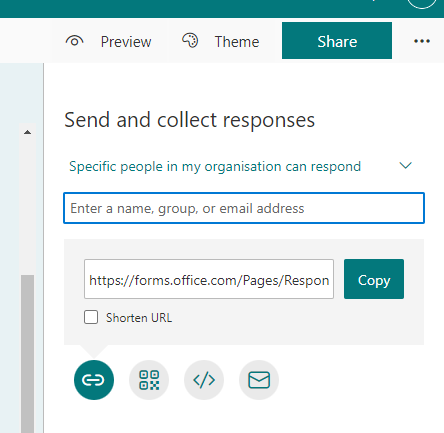
You can choose to share this openly or with specific people/groups.
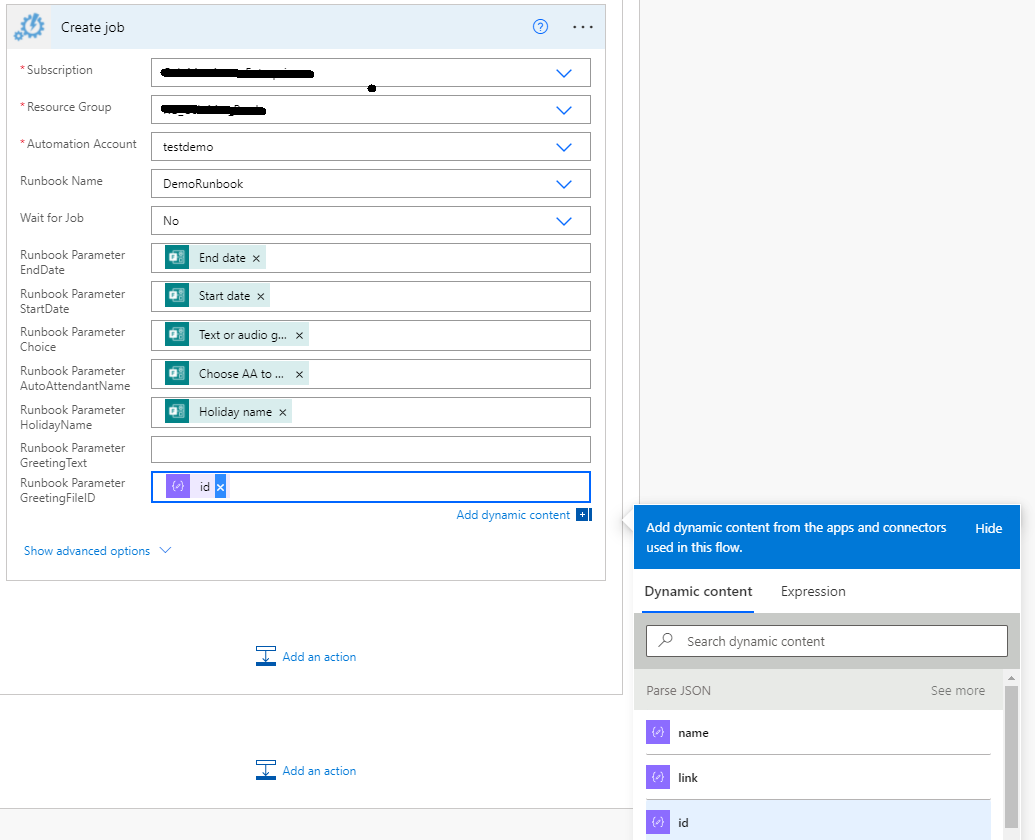
The last part of the puzzle is to create a Power Automate flow that is triggered by the form and kicks of Azure Automation.
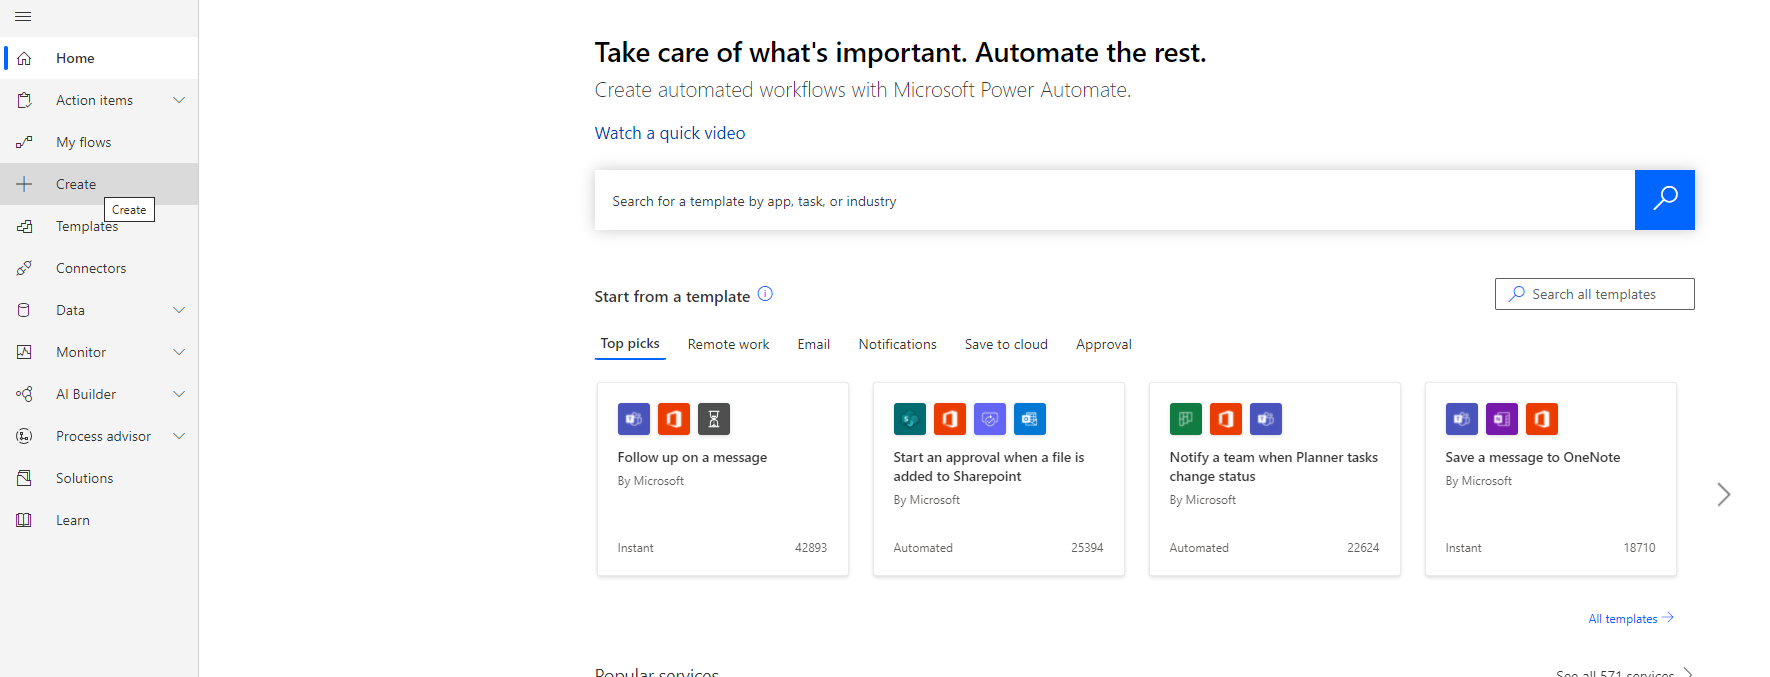
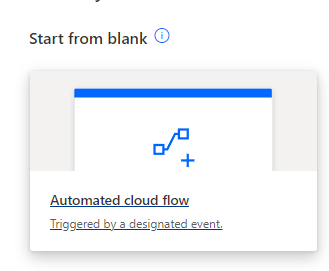
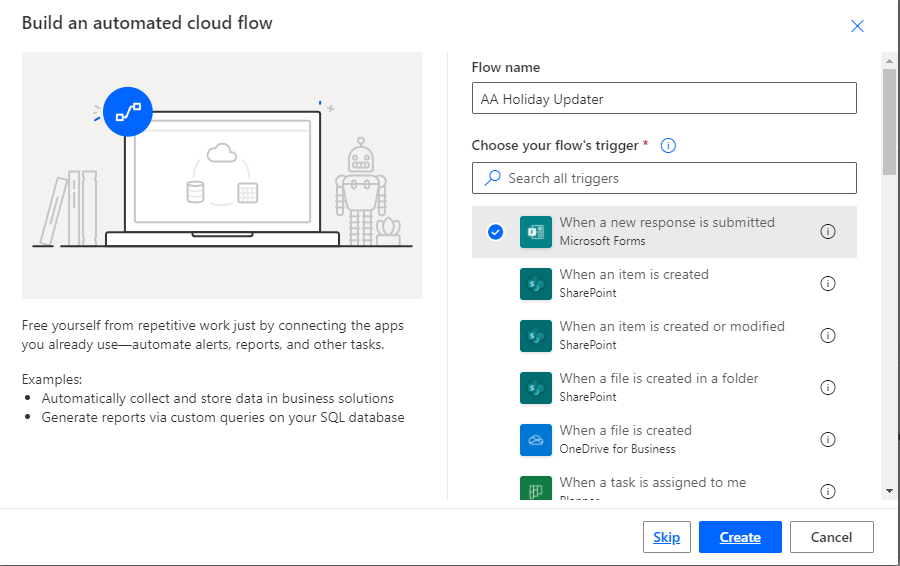
Go to ‘Create’ and click ‘Automated cloud flow’.
Give it a name and select ‘When a new response is submitted’.
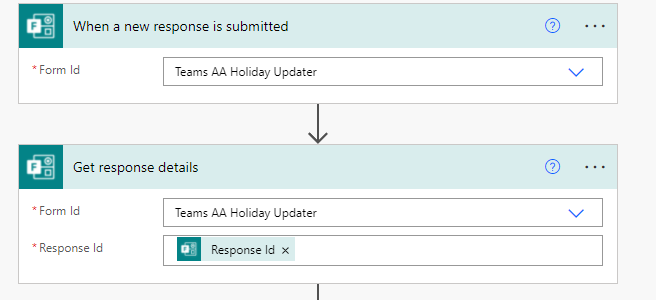
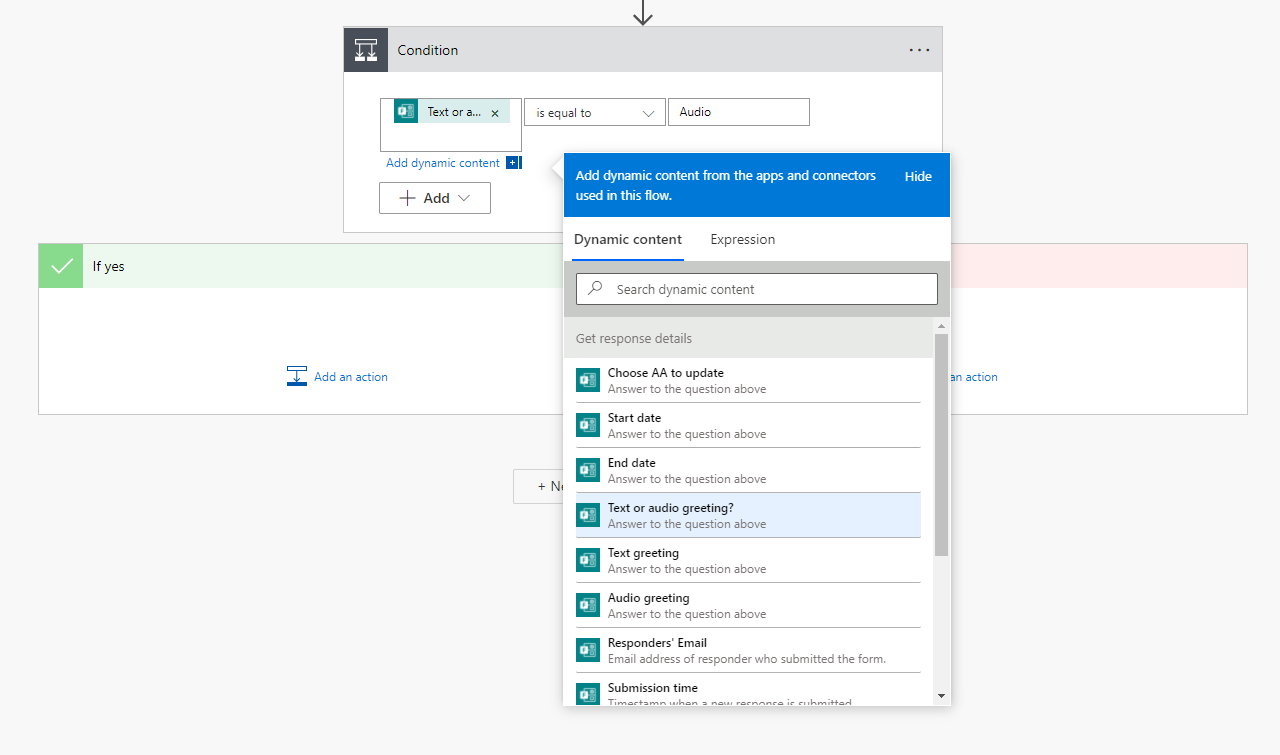
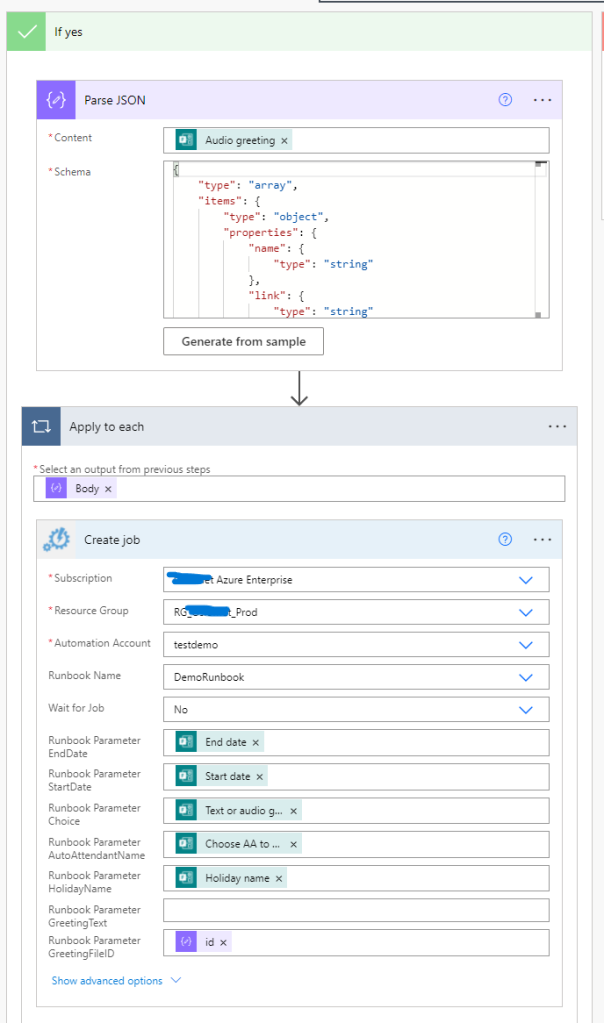
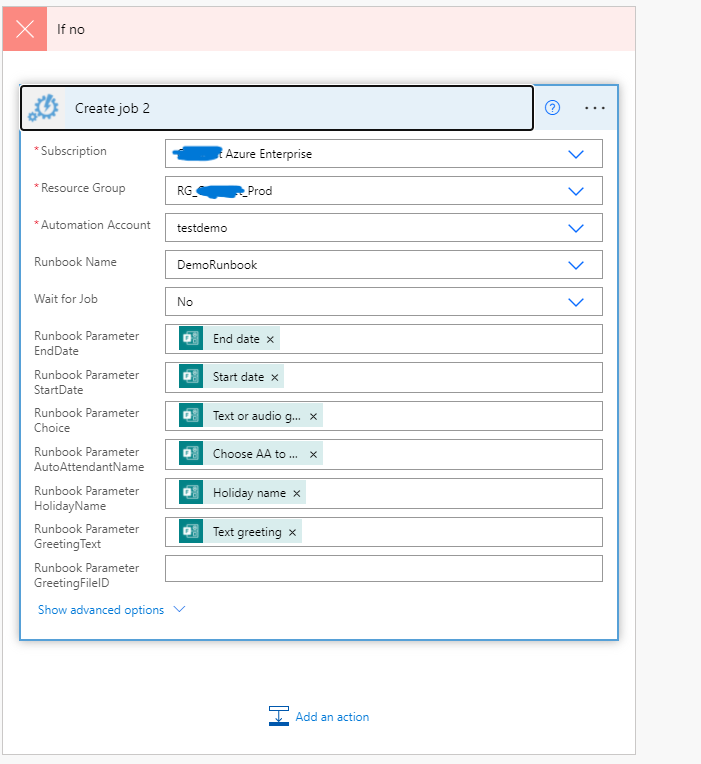
Follow along and create the same actions as in the screenshots below.
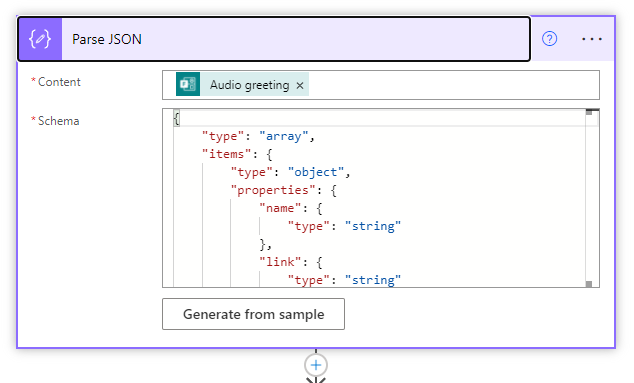
Copy this JSON Schema and paste in under ‘Schema’ in the next action.
{
    "type": "array",
    "items": {
        "type": "object",
        "properties": {
            "name": {
                "type": "string"
            },
            "link": {
                "type": "string"
            },
            "id": {
                "type": "string"
            },
            "type": {},
            "size": {
                "type": "integer"
            },
            "referenceId": {
                "type": "string"
            },
            "driveId": {
                "type": "string"
            },
            "status": {
                "type": "integer"
            },
            "uploadSessionUrl": {}
        },
        "required": [
            "name",
            "link",
            "id",
            "type",
            "size",
            "referenceId",
            "driveId",
            "status",
            "uploadSessionUrl"
        ]
    }
}
Now we are done, so let’s test to see everything is working.
This is just one example of what’s possible to create a self-service solution for Microsoft Teams Auto Attendant. Another thing you could create is the possibility to change the weekly recurring opening hours or maybe add a new greeting.

Very cool.
How do you control who can run it? By who can submit the form?
Why do you use an App Registration and Credential?
LikeLike
Correct, the ones with access to the form.
App registration to be get permission to read the files stored from the form in OneDrive. (The audio greeting file) credential to log on to teams PowerShell.
LikeLike
[…] https://alexholmeset.blog/2021/11/05/self-service-microsoft-teams-auto-attendant-administration/ […]
LikeLike
Many thanks for this very helpful information
LikeLike
[…] Self-service Microsoft Teams Auto Attendant administration. Automate your Teams Auto Attendant administration ahead of the upcoming holiday season and take the pressure off yourself and your technicians. Almost for free. Step-by-step guide. […]
LikeLike
[…] https://alexholmeset.blog/2021/11/05/self-service-microsoft-teams-auto-attendant-administration/ […]
LikeLike
Hello
You talked about third party tools earlier on that could do exactly this, would you mind sharing what these are? I’ve searched high and low for a third party app and I haven’t come across any.
Thank you in advance!
LikeLike
Hi, If not, would not hurt to check with Landis if they have something.
sorry but looks like i might have misunderstood the functionality of a product i saw. Landis Teams Attendant Console is for handling calls in a que your already in, not to manage the Attendant
https://landistechnologies.com/
LikeLike
Hi Alex, have you worked out how to edit an existing auto attendant audio greeting? I’ve got a local PowerShell script using c:\temp and tried to use flow and forms\power apps but getting stuck. It says it goes through OK but doesn’t actually change the audio file.
LikeLike
So just upload a new audio file to an existing “setup”? or download, then upload a new edited version?
LikeLike
Yes, upload a new audio file to an existing auto attendant (this would be the primary greeting)
LikeLike
https://docs.microsoft.com/en-us/powershell/module/skype/set-csautoattendant?view=skype-ps
Would take a look at the docs.
Looks like you need to create a CsAutoAttendantPrompt then add that to CsAutoAttendantCallFlow and set it to your autoattendant of choice.
Let me know if you figure it out, if not ping me in end of August, and i probably can looke closer at it. In the middle of moving to another country.
LikeLike