
For a couple of years now, I have struggled to find a secure way to set sensitivity labels on M365 Groups/teams and SharePoint sites. Yes, I know you can set it with Microsoft Graph, but that’s with Delegated rights. I want to be able to set this fully automatically as a background automation task. For example, setting the sensitivity label at the time of creation while a user orders a new Teams team through an approval process. What if an owner changes the original set label? I want to store the originally set label somewhere, and continuously check if the correct label is set, and reset it if it has been changed.
This was possible with the Exchange Online PowerShell module, but it was very unsecure, as it needed basic auth (username/password) to run as a background automation task. You could write the originally set label to one of Exchanges extension attributes also. This was only for M365 Groups and did not work for group-less SharePoint sites like Communication Sites. You could log on to Exchange Online PowerShell with a certificate, but the setting of Sensitivity Labels did not support this authentication method.
I have now discovered a method that accomplishes all this with App rights only and a managed identity in Azure Automation. The way it works is that we will use the PNP PowerShell module for setting up the rights needed, setting the label, storing the original set label in the SharePoint sites PropertyBag, and reading/monitoring the current set label. Setting the sensitivity label directly on the SharePoint site, which we can do with App Rights, then it syncs over to the connected M365 group. Below I will guide you through all the steps needed to set up a working proof of concept for setting the sensitivity label, storing it, and monitoring/resetting it.
First of all, you need to install the prerelease/nightly build of the PNP PowerShell module in PowerShell Core.

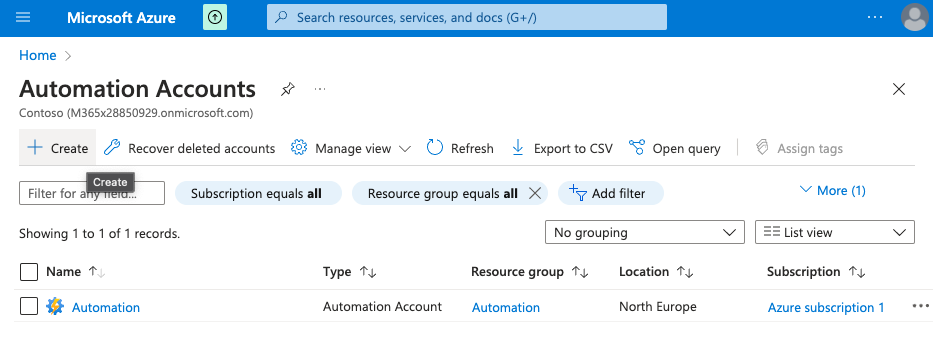
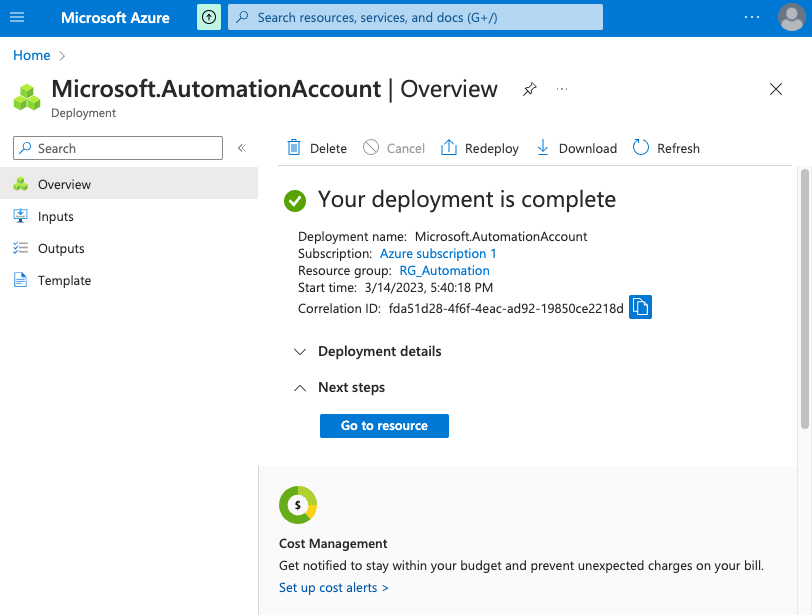
Next, we need to create an Azure Automation Account.
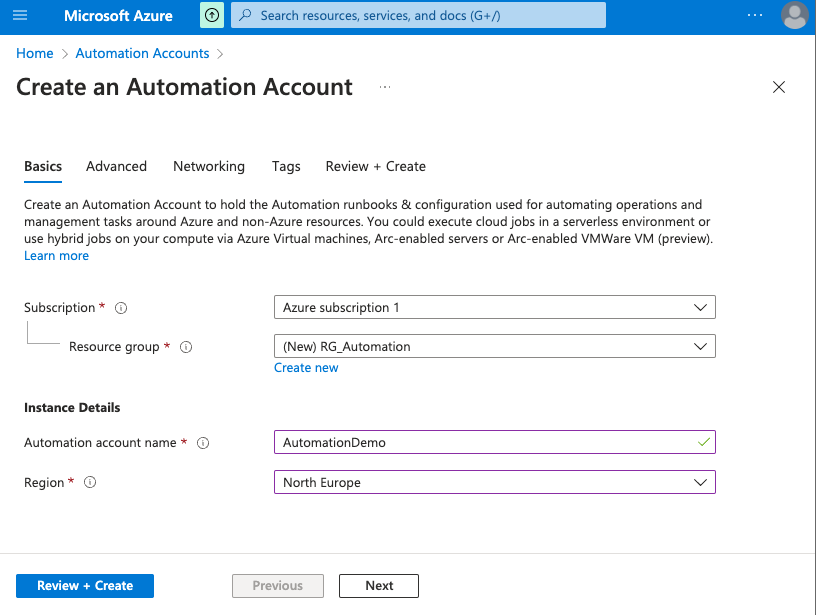
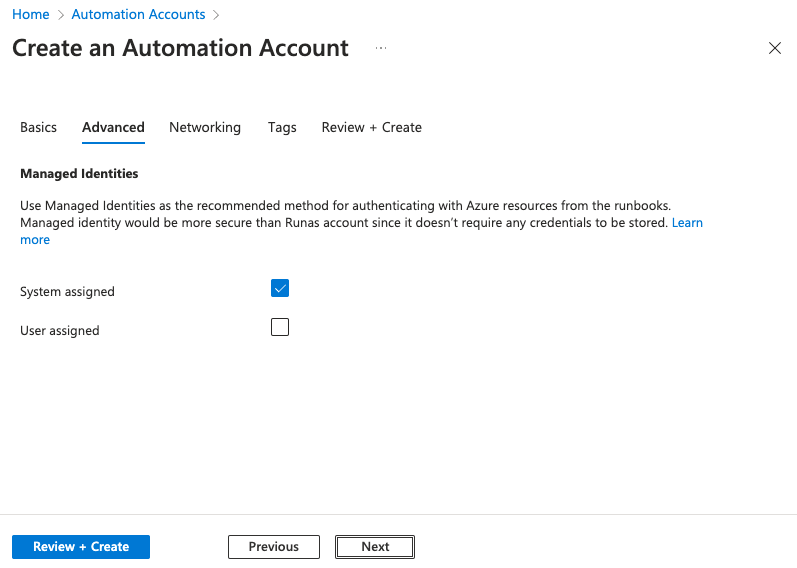
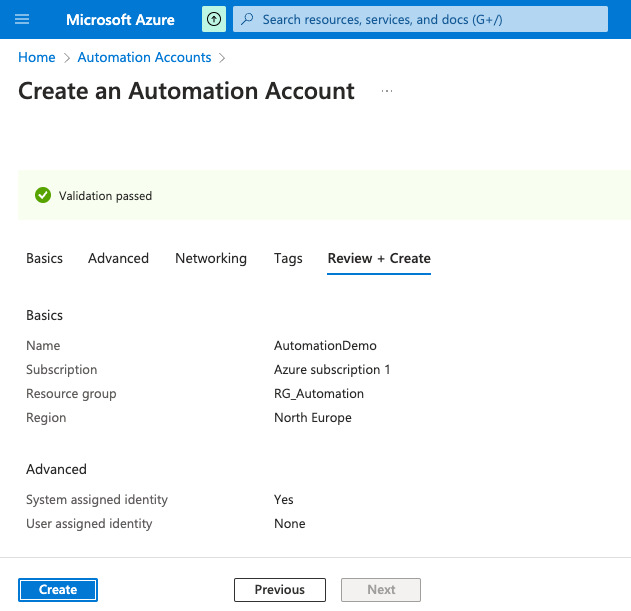
Remember to check so a system-assigned identity is created. (If you forget, it can be enabled for the Automation Account later on also.)
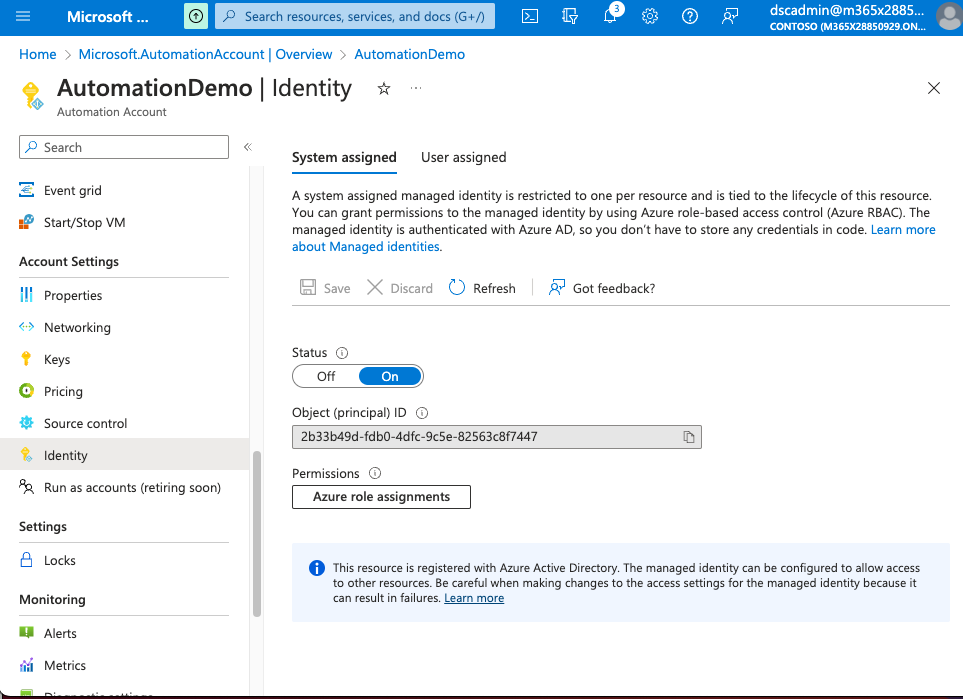
Go to the identity menu, and copy the ID of the managed identity.
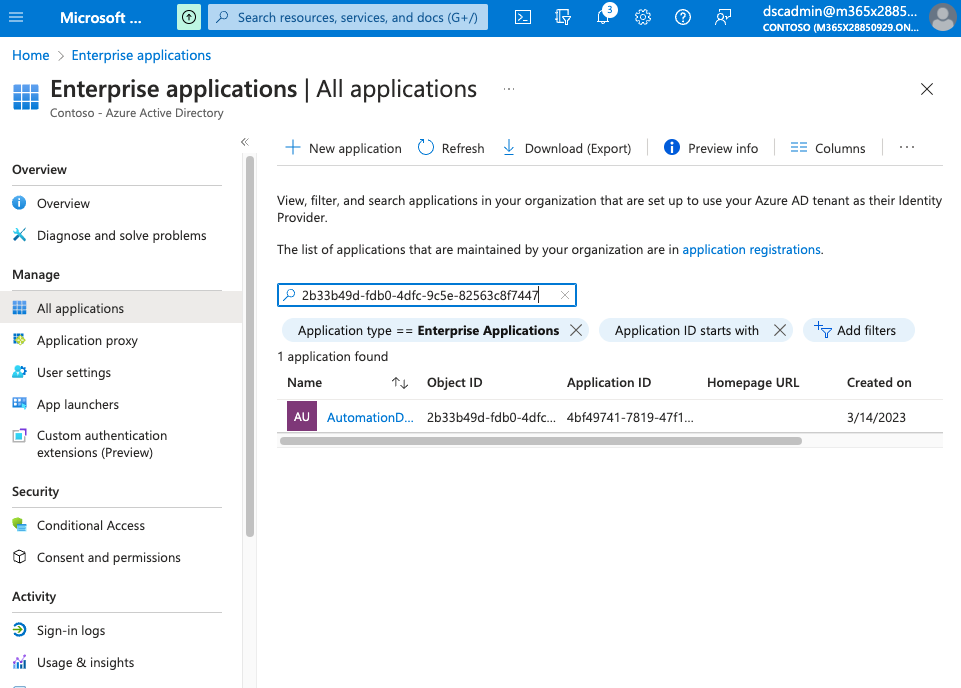
Go to the Enterprise Applications menu in Azure, and search for your Managed Identity by using the ID you copied. Open the application.
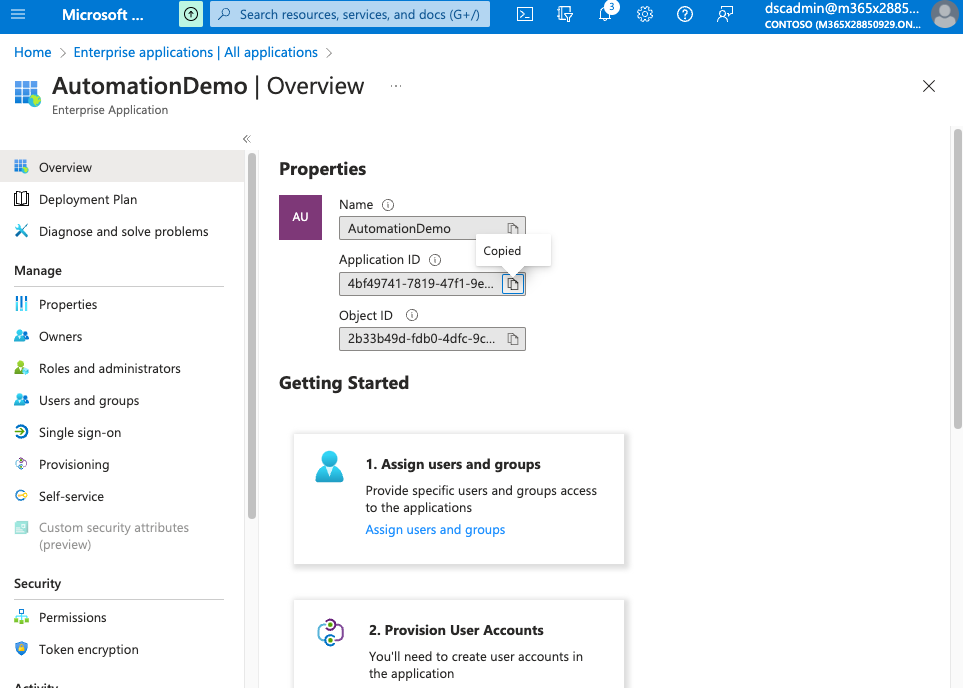
Copy the application ID, you will need this when assigning app permissions.
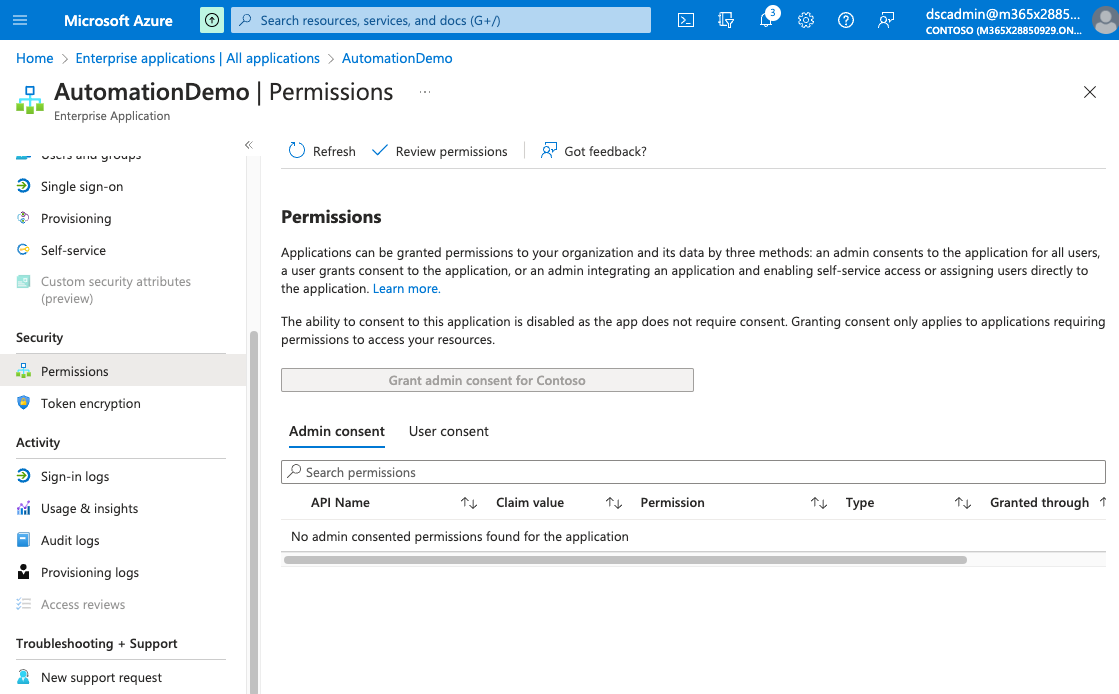
Check under Permissions, and you can see there is no rights assigned.
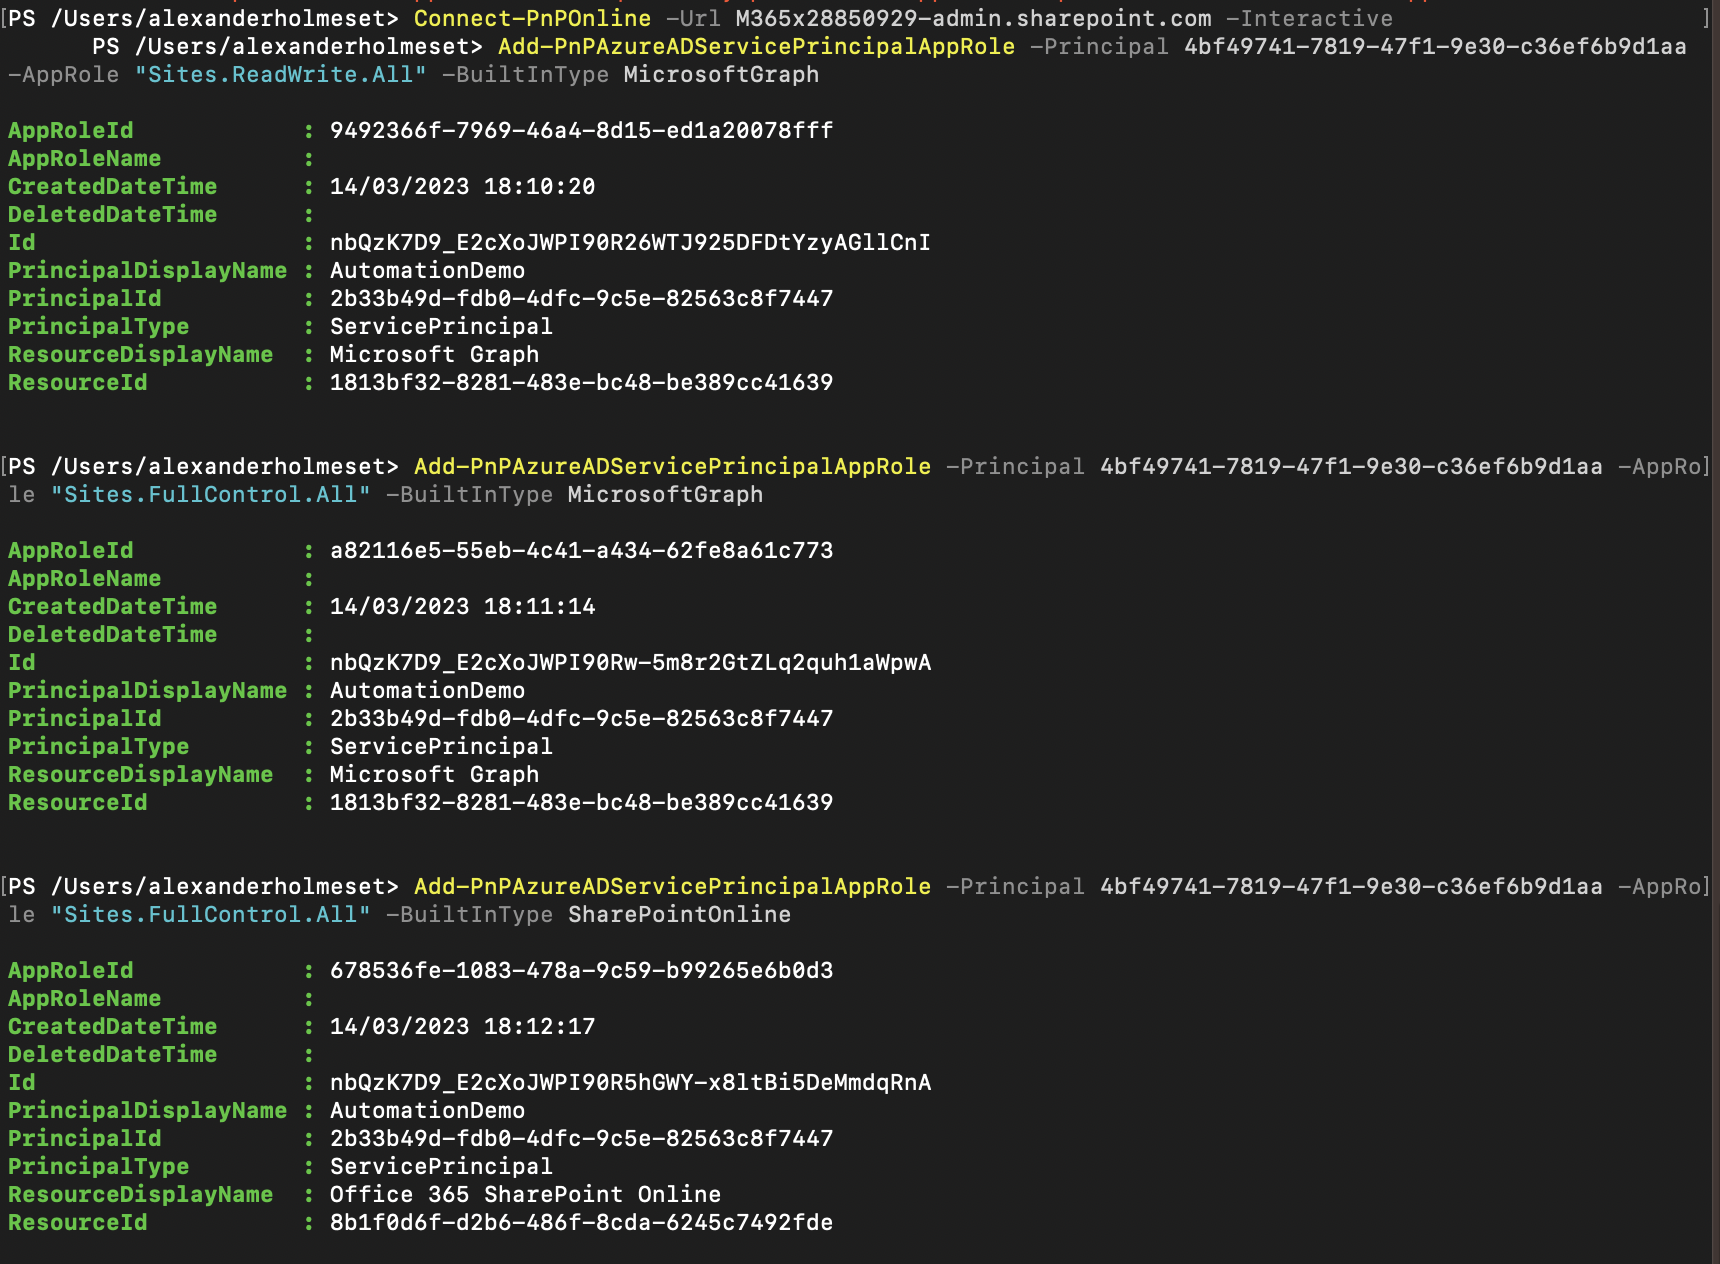
Now copy and run these lines in PowerShell.
| #Connect using your tenants SharePoint admin url. | |
| Connect-PnPOnline -Url M365x28850929-admin.sharepoint.com -Interactive | |
| #Enter the App ID you coped from the Enterprise Application. | |
| $ManagedIdentityID = "4bf49741-7819-47f1-9e30-c36ef6b9d1aa" | |
| Add-PnPAzureADServicePrincipalAppRole -Principal $ManagedIdentityID -AppRole "Sites.ReadWrite.All" -BuiltInType MicrosoftGraph | |
| Add-PnPAzureADServicePrincipalAppRole -Principal $ManagedIdentityID -AppRole "Sites.FullControl.All" -BuiltInType MicrosoftGraph | |
| Add-PnPAzureADServicePrincipalAppRole -Principal $ManagedIdentityID -AppRole "Sites.FullControl.All" -BuiltInType SharePointOnline |
You will get prompted to give PnP PowerShell some rights in your tenant.

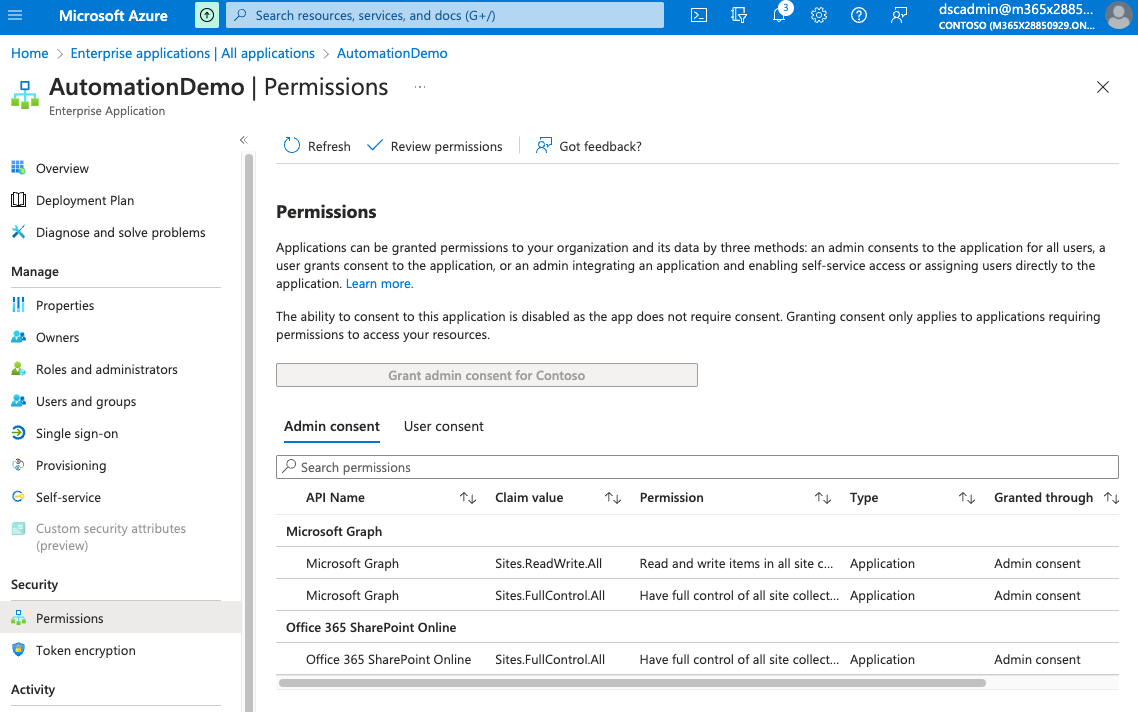
Refresh your permissions page in the Enterprise Application, and you will see some new rights have appeared.
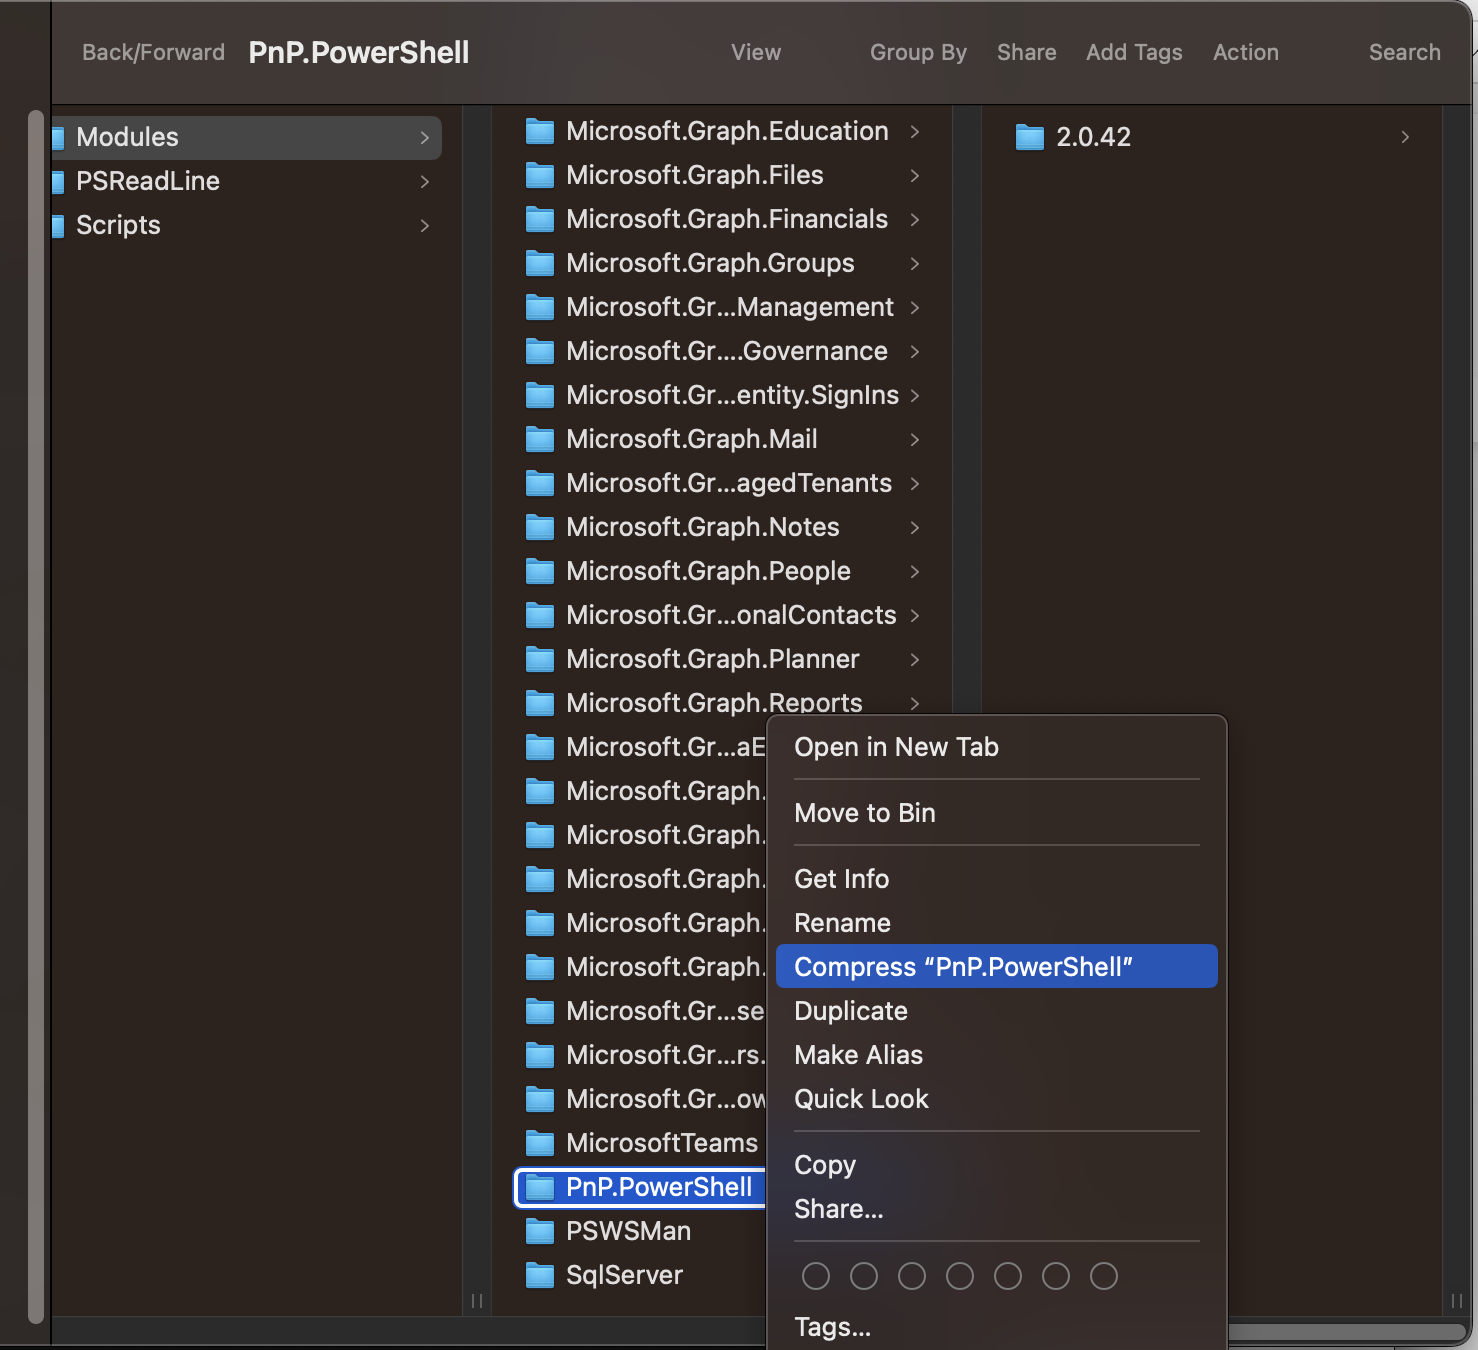
The next step is to zip the PNP PowerShell prerelease module so we can upload it to Azure Automation. We need to do it like this, as we need the prerelease version to get all this to work. My screenshot shows this on Mac OS.
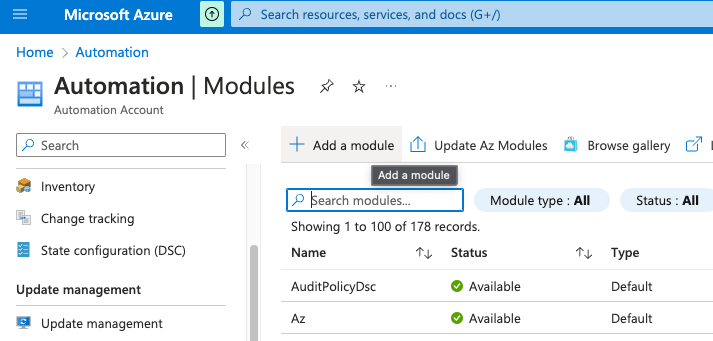
Go to your automation account, and open the module menu. Click Add a module.
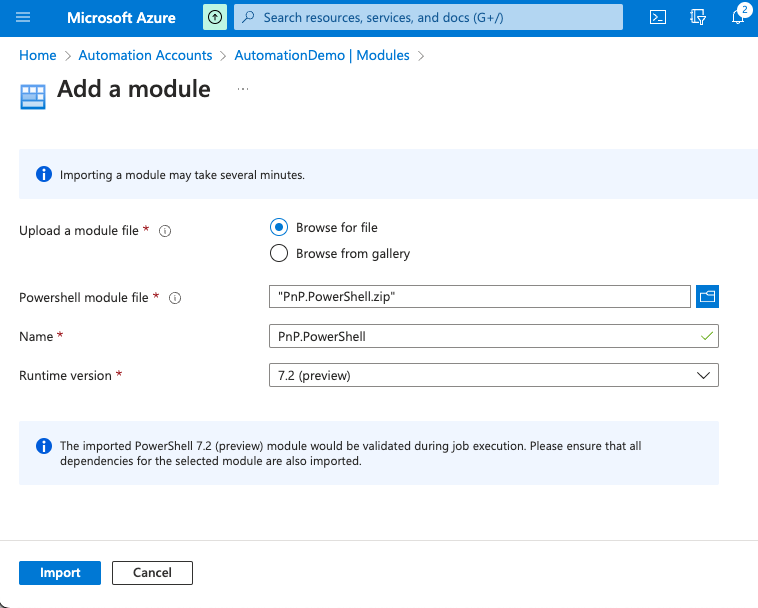
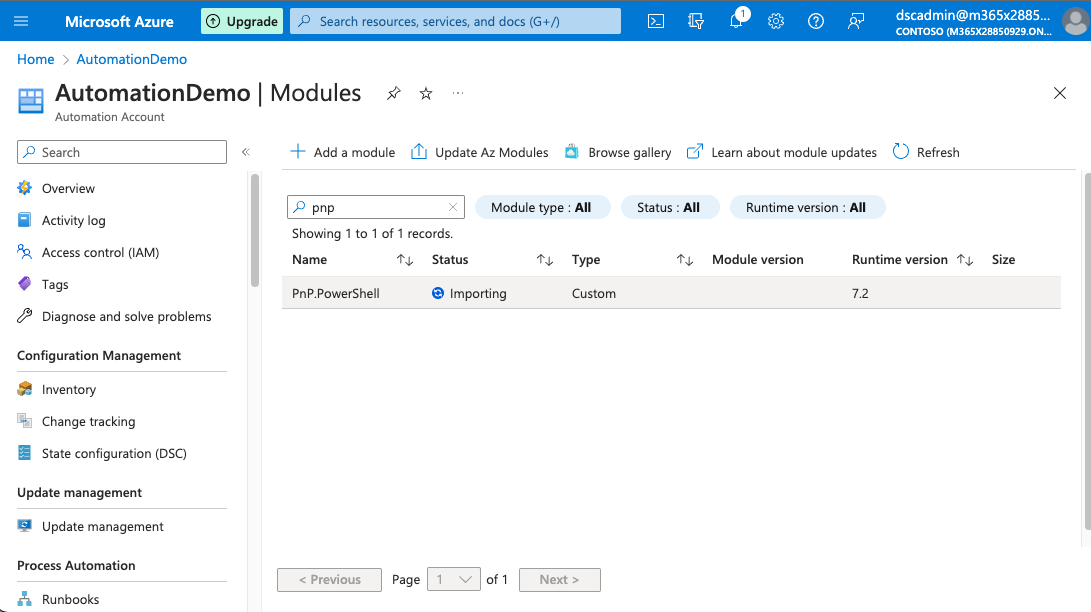
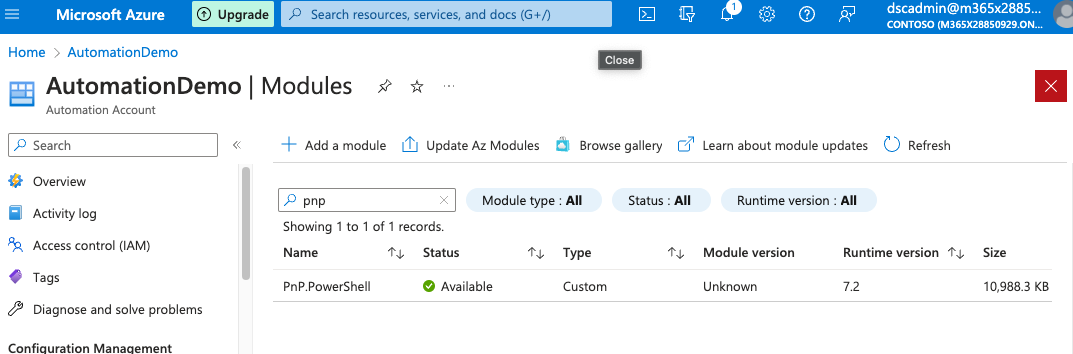
Select the zipped module file, and remember to select 7.2 (preview) as the runtime version before clicking Import.
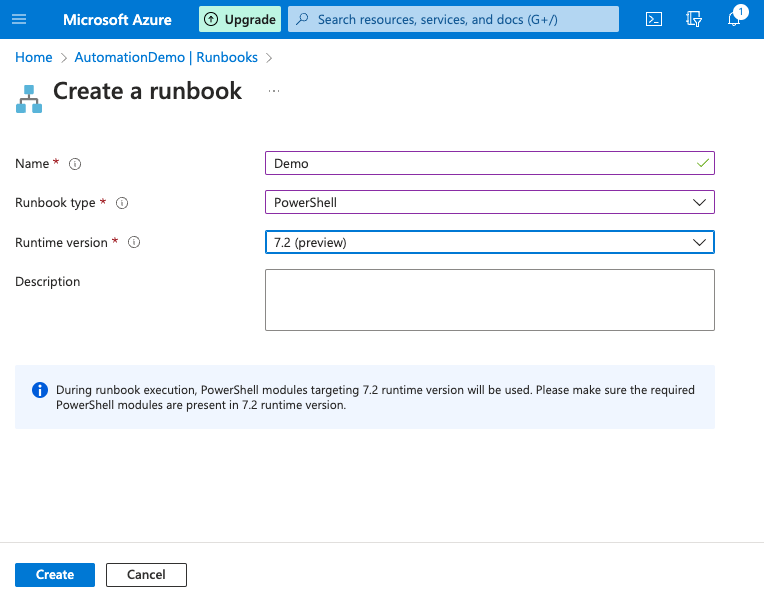
Create a runbook with the 7.2(preview) runtime version.
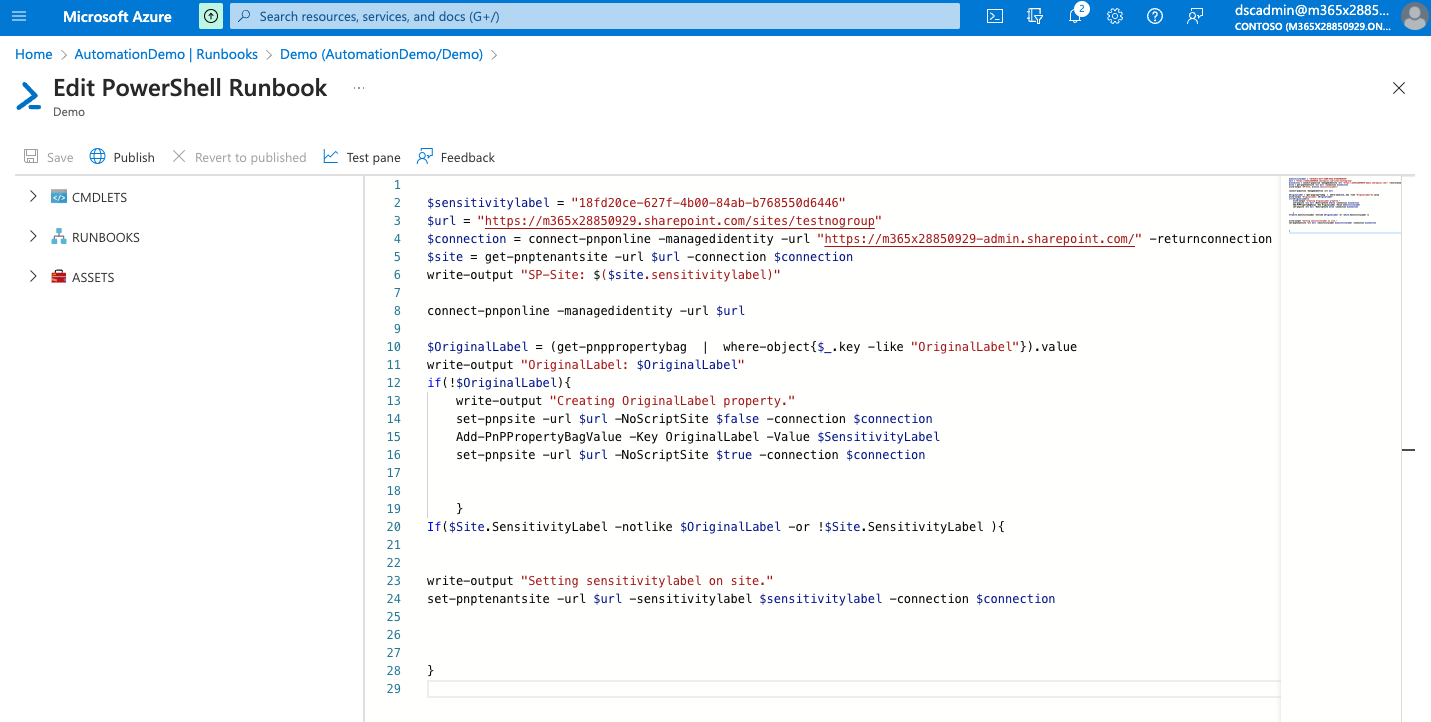
Copy/paste the following script, and add your own details.
| #set your sensitivity label. | |
| $sensitivitylabel = "18fd20ce-627f-4b00-84ab-b768550d6446" | |
| #set the url of the site/group you want to monitor and set assign label to. | |
| $url = "https://m365x28850929.sharepoint.com/sites/testnogroup" | |
| #connect to your SharePoint admin site. | |
| $connection = connect-pnponline -managedidentity -url "https://m365x28850929-admin.sharepoint.com/" -returnconnection | |
| $site = get-pnptenantsite -url $url -connection $connection | |
| write-output "SP-Site: $($site.sensitivitylabel)" | |
| connect-pnponline -managedidentity -url $url | |
| $OriginalLabel = (get-pnppropertybag | where-object{$_.key -like "OriginalLabel"}).value | |
| write-output "OriginalLabel: $OriginalLabel" | |
| if(!$OriginalLabel){ | |
| write-output "Creating OriginalLabel property." | |
| #we are temporary allowing scripts to be run on the SharePoint site. | |
| set-pnpsite -url $url -NoScriptSite $false -connection $connection | |
| Add-PnPPropertyBagValue -Key OriginalLabel -Value $SensitivityLabel | |
| set-pnpsite -url $url -NoScriptSite $true -connection $connection | |
| } | |
| If($Site.SensitivityLabel -notlike $OriginalLabel -or !$Site.SensitivityLabel ){ | |
| write-output "Setting sensitivitylabel on site." | |
| set-pnptenantsite -url $url -sensitivitylabel $sensitivitylabel -connection $connection | |
| } |
Save and Publish.
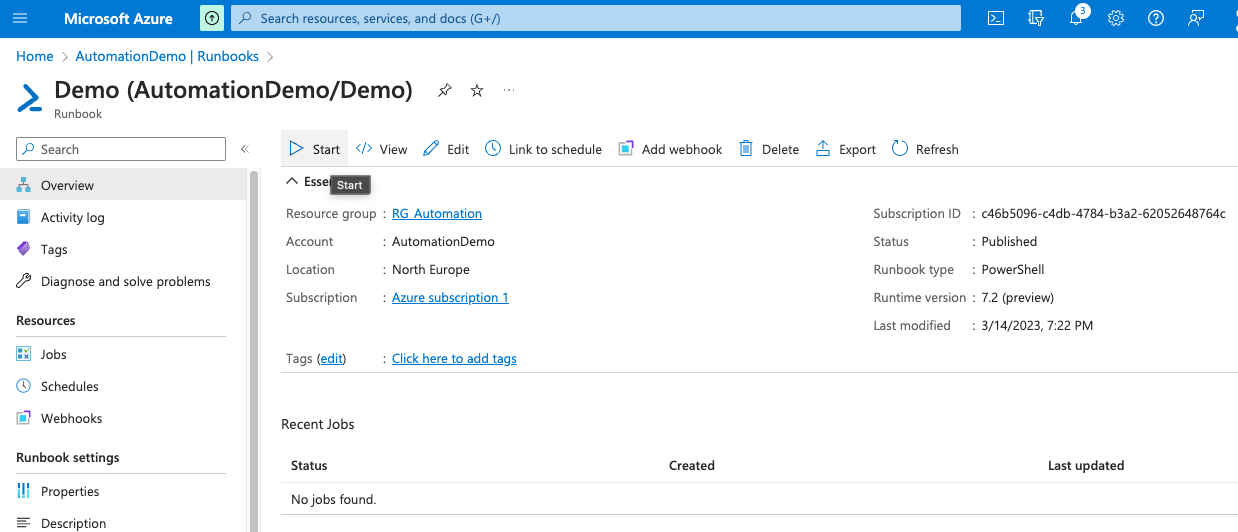
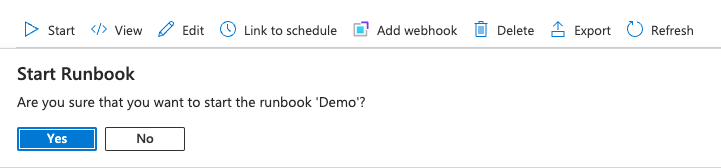
Start the runbook.
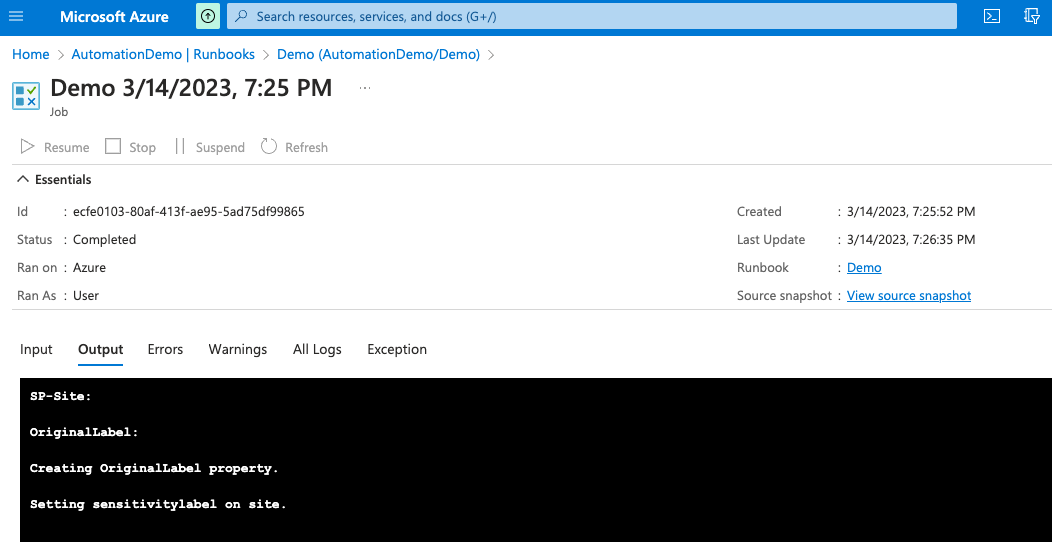
You will see that there is no label set or stored, but its being applied.
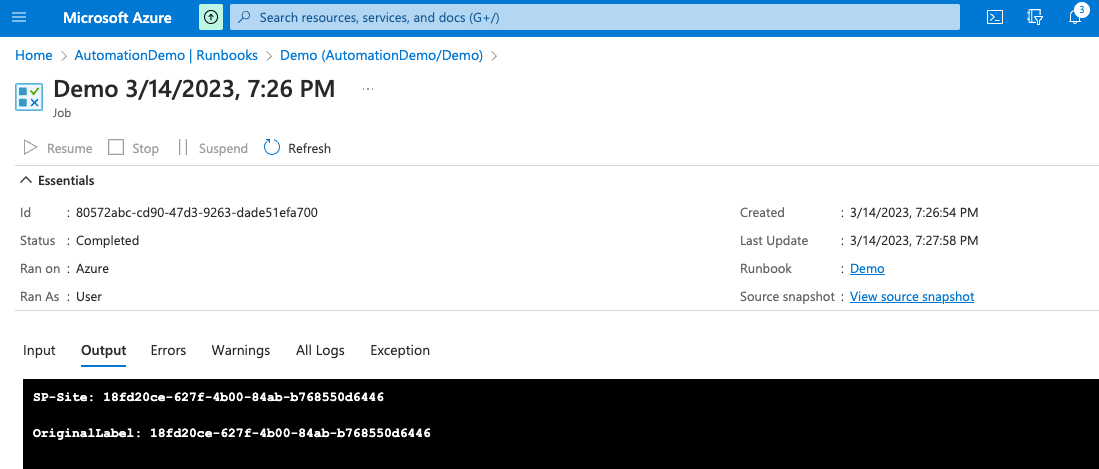
Start the runbook one more time, and you now can see its applied.
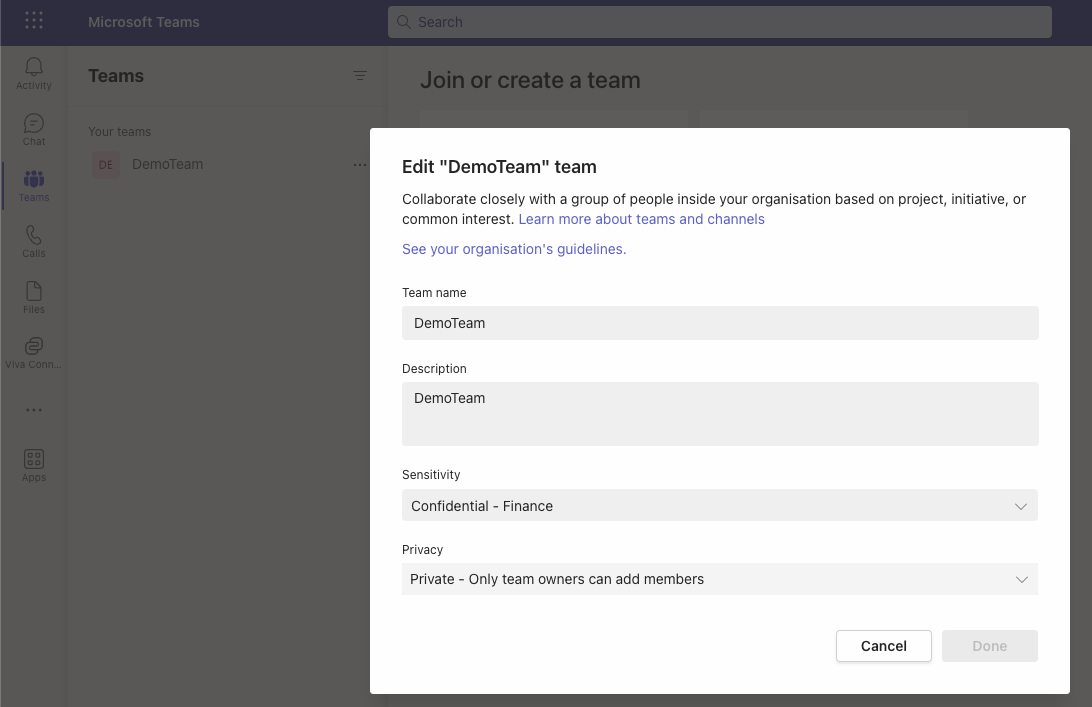
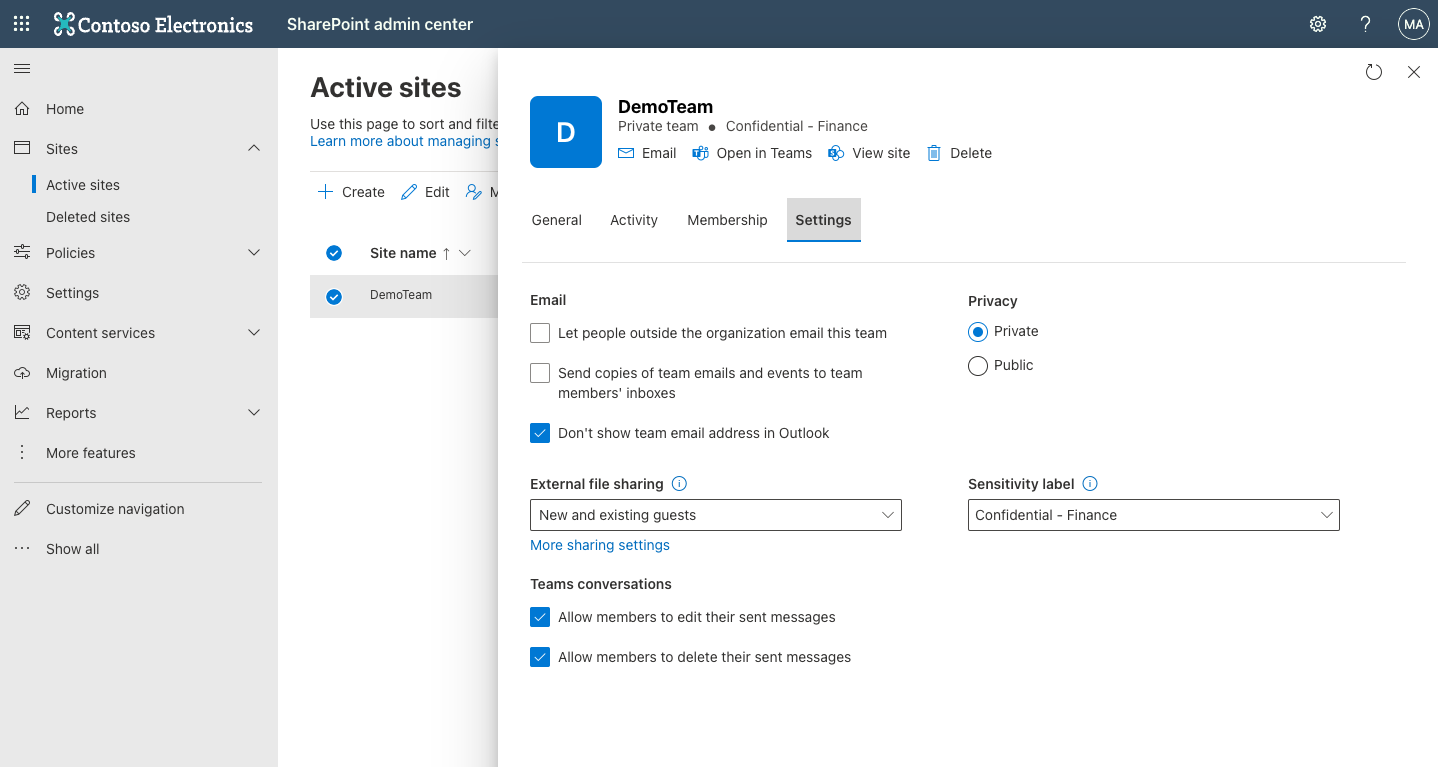
You can also check that the label is now applied in AzureAD, Teams and SharePoint.


Hope this was an understandable and useful guide. Next is to apply these bits to your provisioning solution and loop through your sites/groups to see if the correct sensitivity label is set!
